Hens with chicks

Difficulty: 3
Technique: embroidery, cross stitch

Embroidered needlework canvas with cross stitch

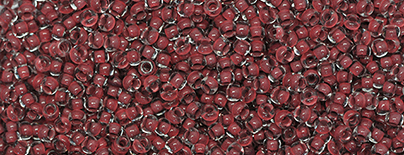
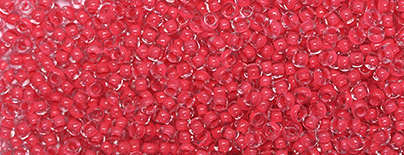
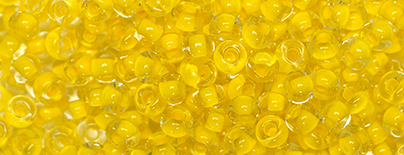
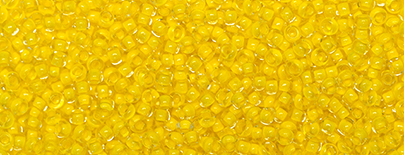
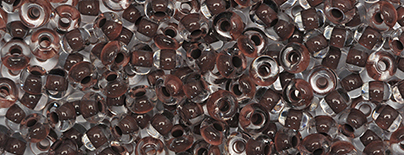
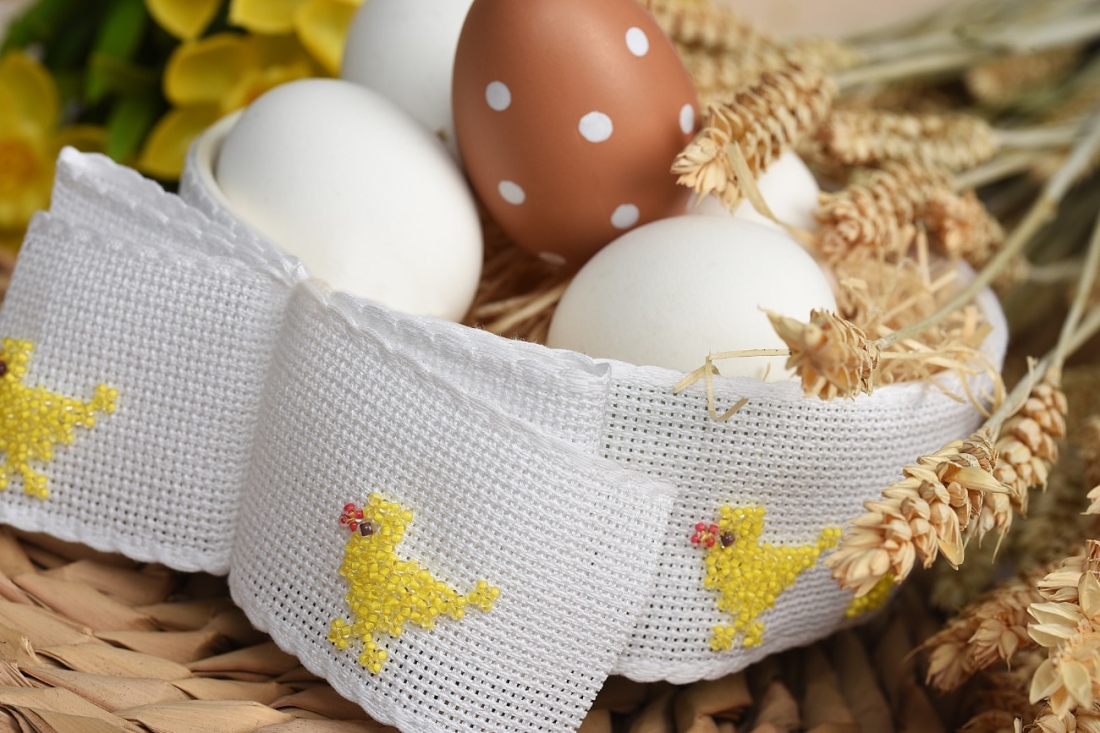
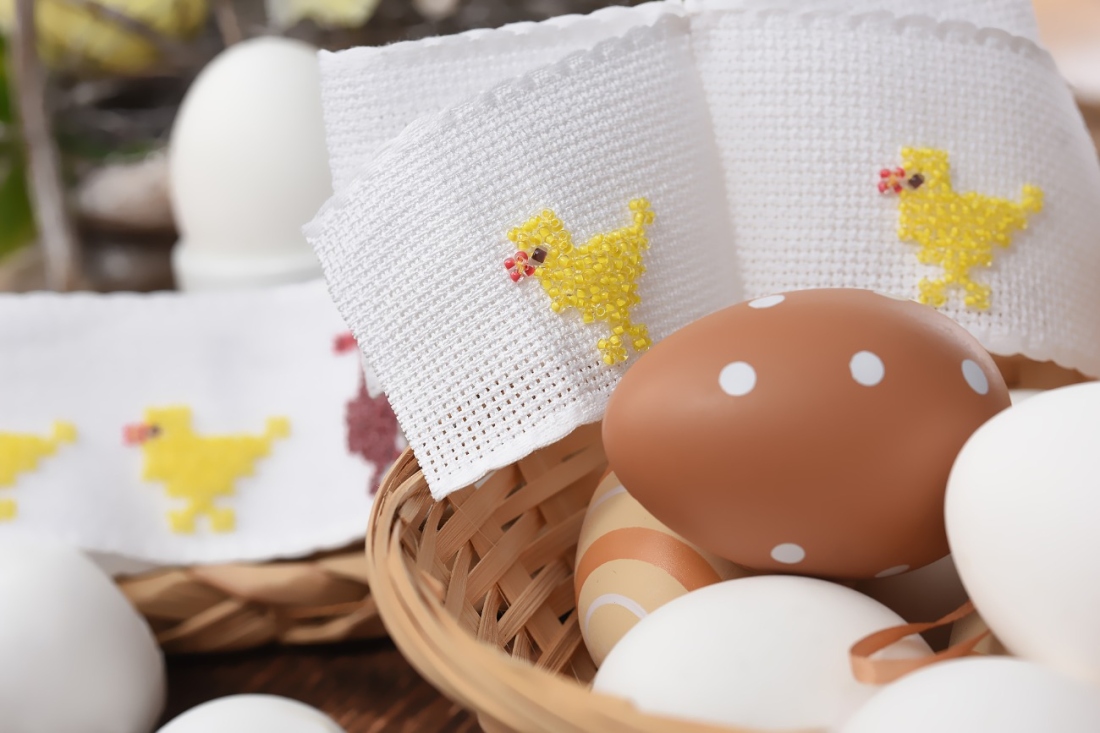
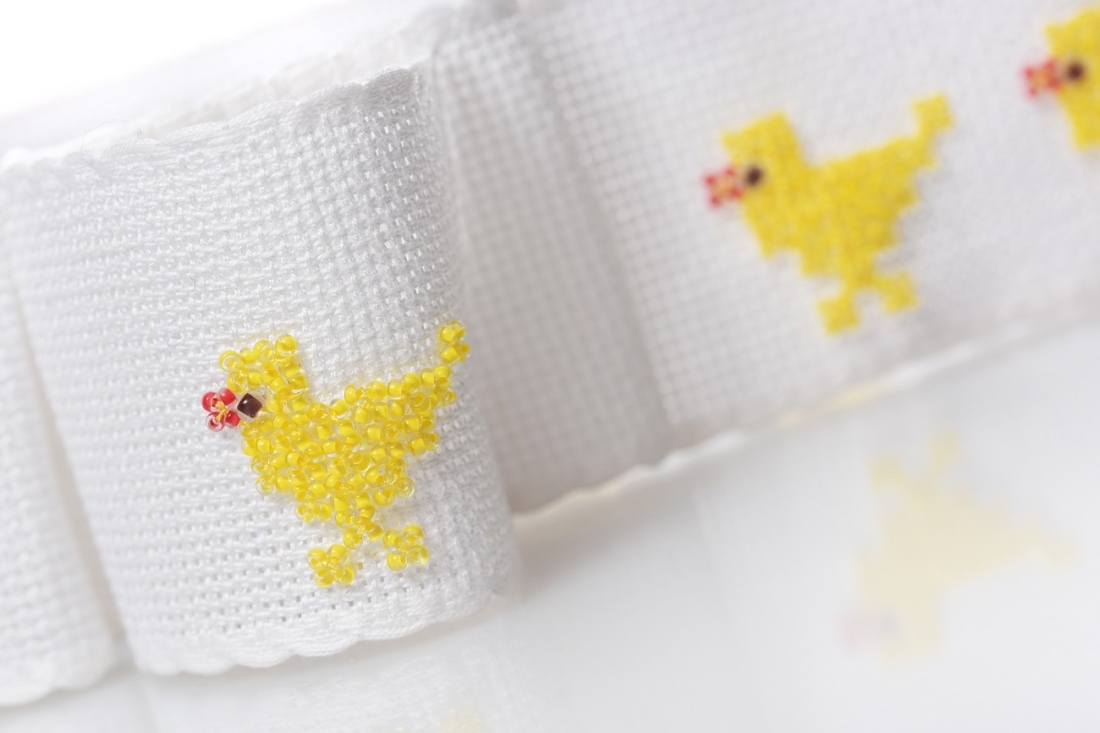
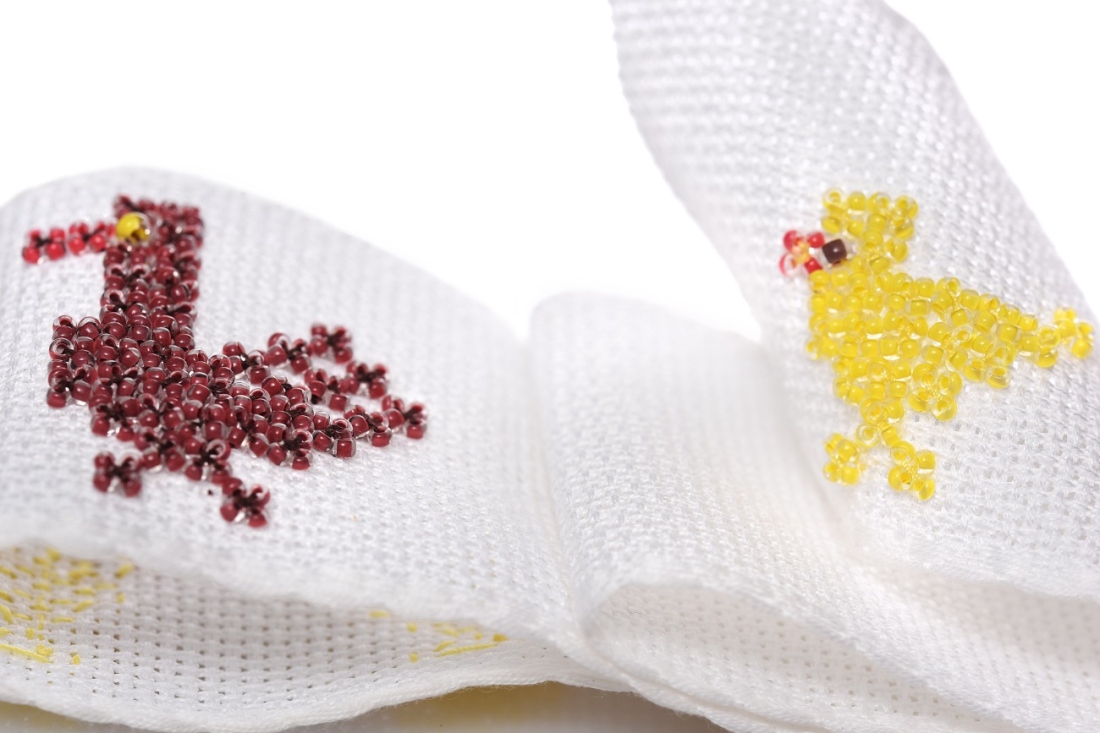
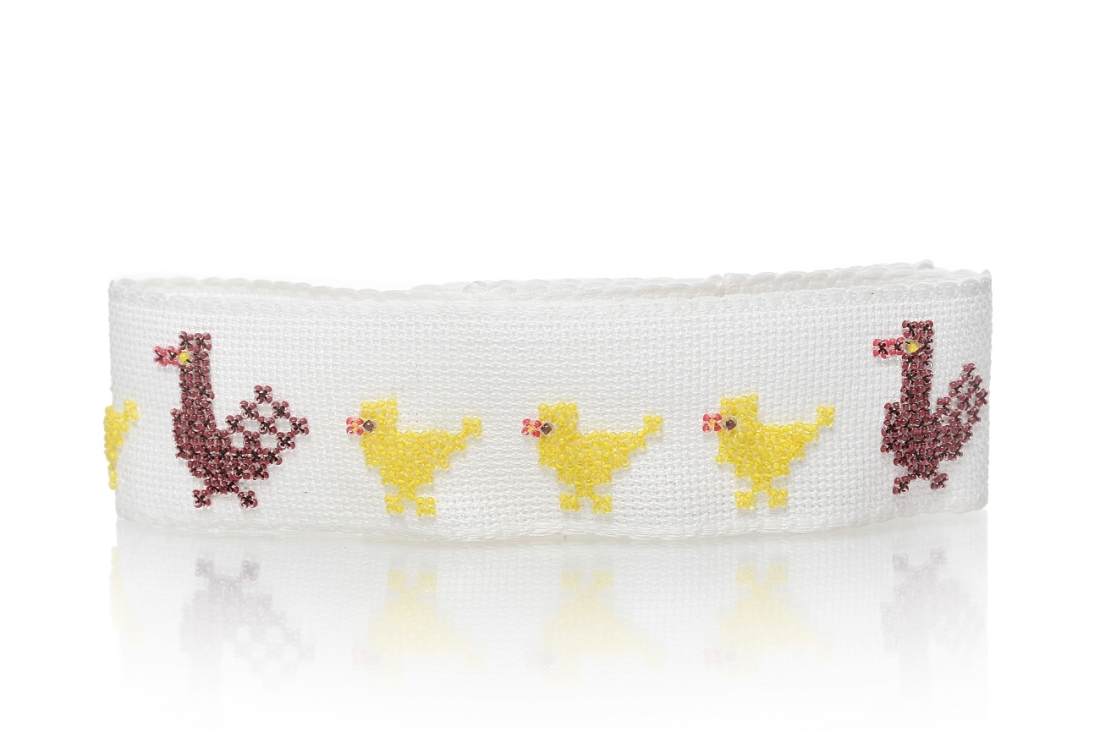
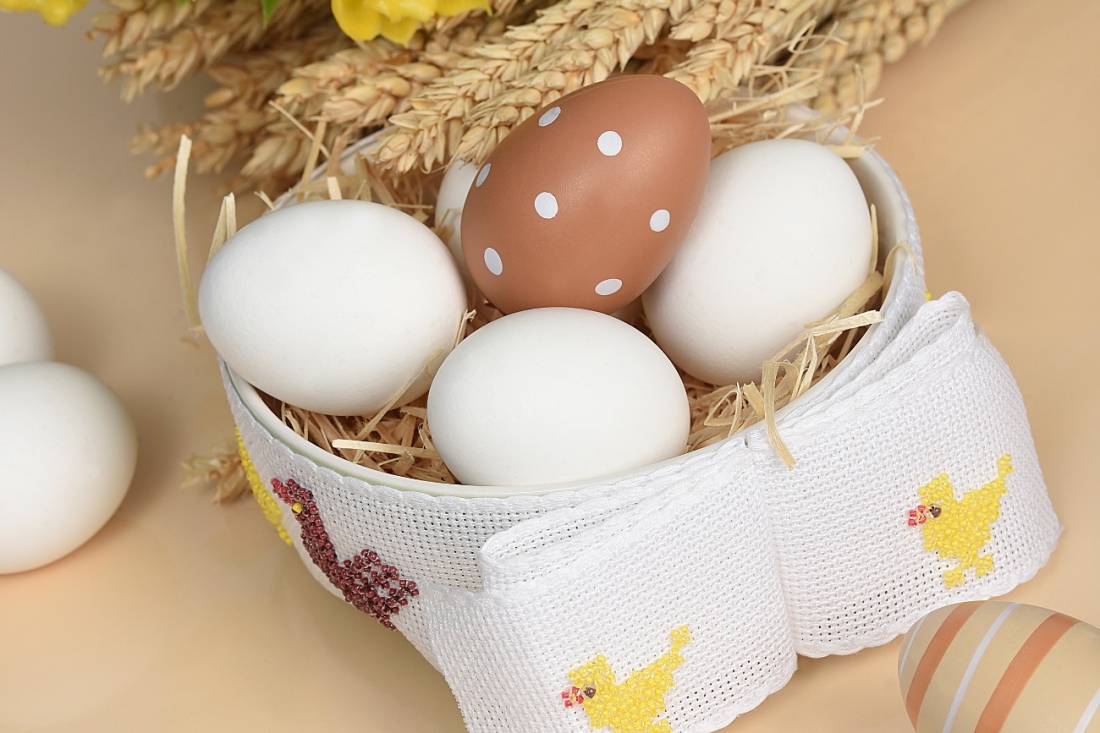
Liven up your Easter decorations with delicate handcrafts made with Czech seed beads in the PRECIOSA Terra Intensive Lining colors! Try out our tutorial for hens and chicks embroidered on a ribbon that is sure to make you happy. Add the magic of tradition and your own creativity to Easter decorations!

Ambassadors

Helena Chmelíková

She is able to switch from luxurious and extravagant fashion show pieces to the preparation of hobby projects,

Learn More

The chick


Tools

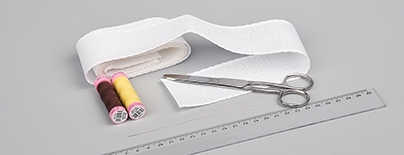
Needlepoint canvas ribbon (width: 5.3 cm; a mesh with ca 58 holes every 10 cm); no. 120 tailor's thread (Amann Group Aspo, the hen – dark brown, the chick – yellow); a thin needle; scissors; a ruler

Procedure

Step 1

You need 2m of thread for the chicken and 1.5m of thread for the chick. String them into the eye of a needle. Slide the needle to the middle of the thread.

1 / a

Step 2

Start in the middle of the width of the ribbon and thread the needle through the back outer layer of the needlepoint canvas in the direction towards the edge of the ribbon. Make sure you sew through at a place thta is in the centre of the future embroidered body. Create a loop of embroidery thread at the height of the third hole from the edge around and above the thread from the needlepoint canvas. Thread it through twice with the needle and tighten it.

2 / a

Step 3

Sew a cross onto a square, whose corners have empty holes. Pass the thread from the back to the front of one hole. String 2x R. Thread the needle diagonally through the adjacent hole from the front to the back. Thread the needle through an empty mesh hole from the back to the front. String 1x R. Shift the R to the needlepoint canvas. Guide the embroidery thread above the thread between the previous two R. Pass the needle through the upper thread on the front of the needlepoint canvas. Complete the loop above the thread between the R. Hold the R and tighten the embroidery thread. String 1x R and thread the needle through the last empty hole in the corner of the square.

3 / a

Step 4

Sew through the holes of the neighbouring crosses using the shortest "path". The sewn-through neighbouring crosses should lie next to one another. Think out the embroidery "path" in advance. If the crosses are more distant from one another, guide the embroidery thread along the back by sewing through the needlepoint canvas thread (similarly to in Step 2).

4 / a

Step 4

/ a

Step 4

The hen

Start at the left-hand leg in the upper left-hand corner. Create a cross from R1. Pass to the 2nd row and create both crosses using R1. Create a cross of R1 for the right-hand leg. Occasionally pass the needle through the thread of the needlepoint canvas to the right-hand cross of the 3rd row. Create five crosses from the R1 in the 3rd row. Create seven crosses from R1 in the 4th row. Create the tail out of R1 from the 1st to the 8th cross. Occasionally sew through the needlepoint canvas on the back. Create four crosses from R1 in the 5th row. In the 6th row, sew three crosses from R1. Continue with the 7th, 8th and 9th rows, always sew two crosses from R1. In the 10th row, sew through the needlepoint canvas to the back to the outer cross of the beak. Sew two crosses from R2. Sew on 1x R3. Sew one cross from R1. Complete the hen by sewing through the two R1 crosses in the 11th row.

Step 4

The chick

Start at the left-hand leg in the lower left-hand corner. Create an R4 cross. Pass the needle through the back of the needlepoint canvas in the direction towards the second leg. Create a cross of R4. Create a cross of R4 in the 2nd row. Sew three R4 crosses in the 3rd row. Sew five crosses from R4 in the 4th row. In the 5th row, sew through the initial 2x R4 at the outer right-hand cross. Create the tail from one R4 cross. Return to the outer cross in the 5th row and complete it. Sew a total of six crosses in the 5th row. Create the tail from R2 crosses in the 6th row. Sew on the eye from 1x R5. Sew a cross of R4. Complete the chick by sewing two crosses from R4 in the 7th row.

Step 5

After sewing a hen or a chick, create a loop at the back around and above the needlepoint canvas thread. Pass the needle through it twice and tighten. Pass the thread through to the back under the needlepoint canvas threads at the site of the body. You can do so vertically or horizontally. Tighten the initial and end parts of the embroidery thread.

5 / a

Downloads

This website is using cookies

To improve our services and provide information that suits your interest, we use the advanced website traffic analytics tools. However, we need your consent. More information about how we process and protect your data can be found in the privacy statement. We ask you for approval of the terms.

Functional cookies These cookies are necessary for the proper functioning of the website and therefore cannot be turned off.
Analytics cookies Analytical cookies help us track and analyze the way visitors interact with our site in Google Analytics 4. This information allows us to improve content and provide a better user experience.
Marketing cookies Reading and writing cookies for marketing purposes for advertising systems such as Google Ads or Sklik. These cookies allow us to track user behavior and measure website performance and the effectiveness of our advertising campaigns.
Personalized advertising Remarketing cookies allow us to present you with personalized advertising based on your previous interactions with our site in systems such as Google Ads, Sklik.
Use of personal data With this option, you consent to the sending and processing of your personal data to Google for the purposes of targeting and evaluating online advertising and targeted marketing.