Pumpkin with sprinkles

Difficulty: 2
Technique: sprinkling, gluing

Polystyrene pumpkin with microbeads

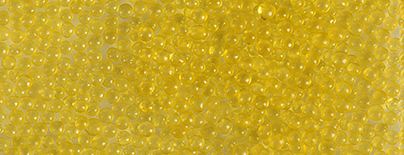
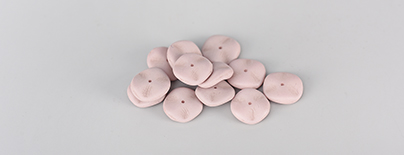
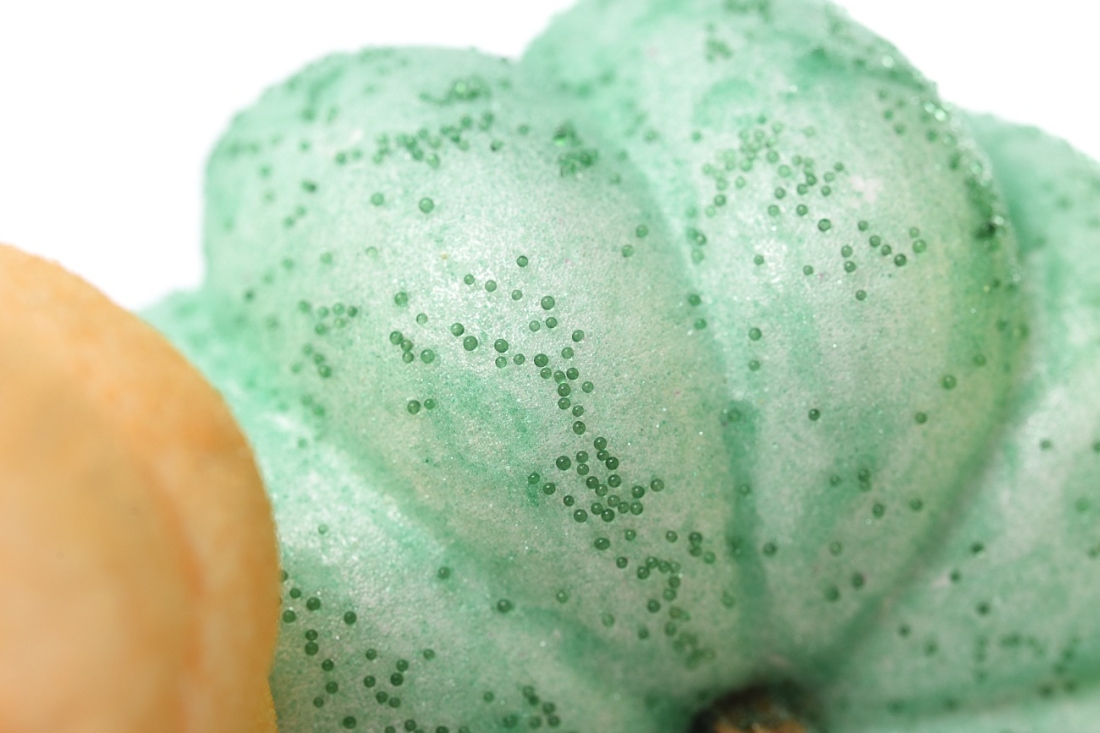
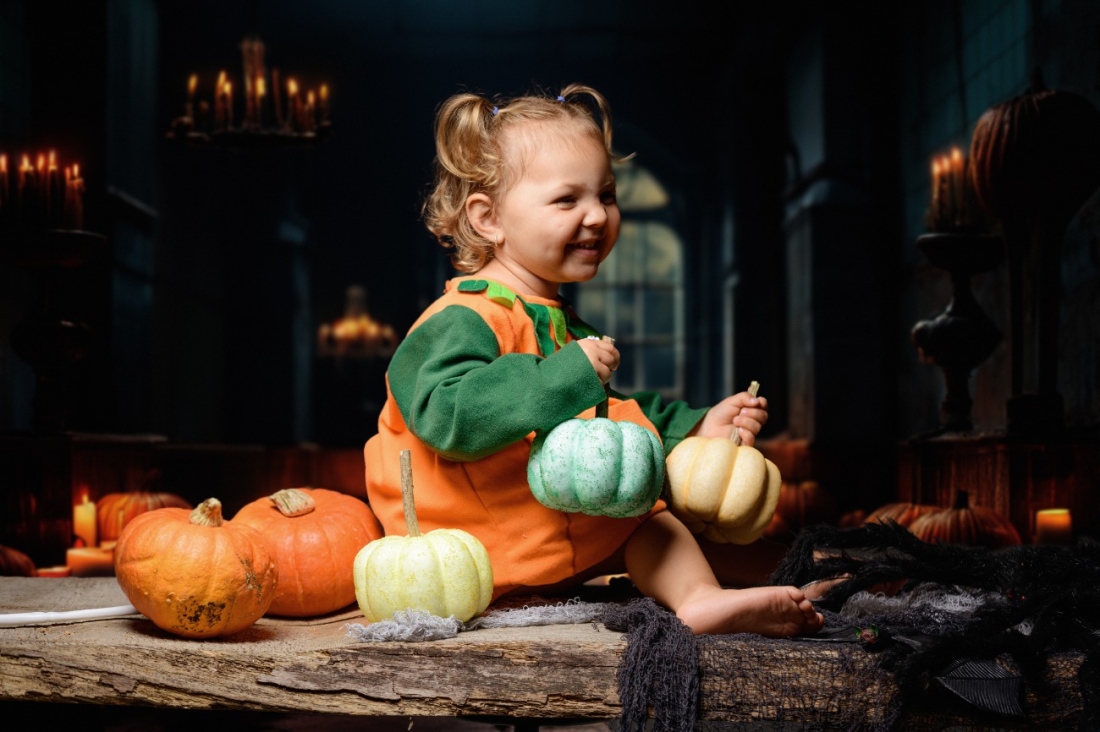
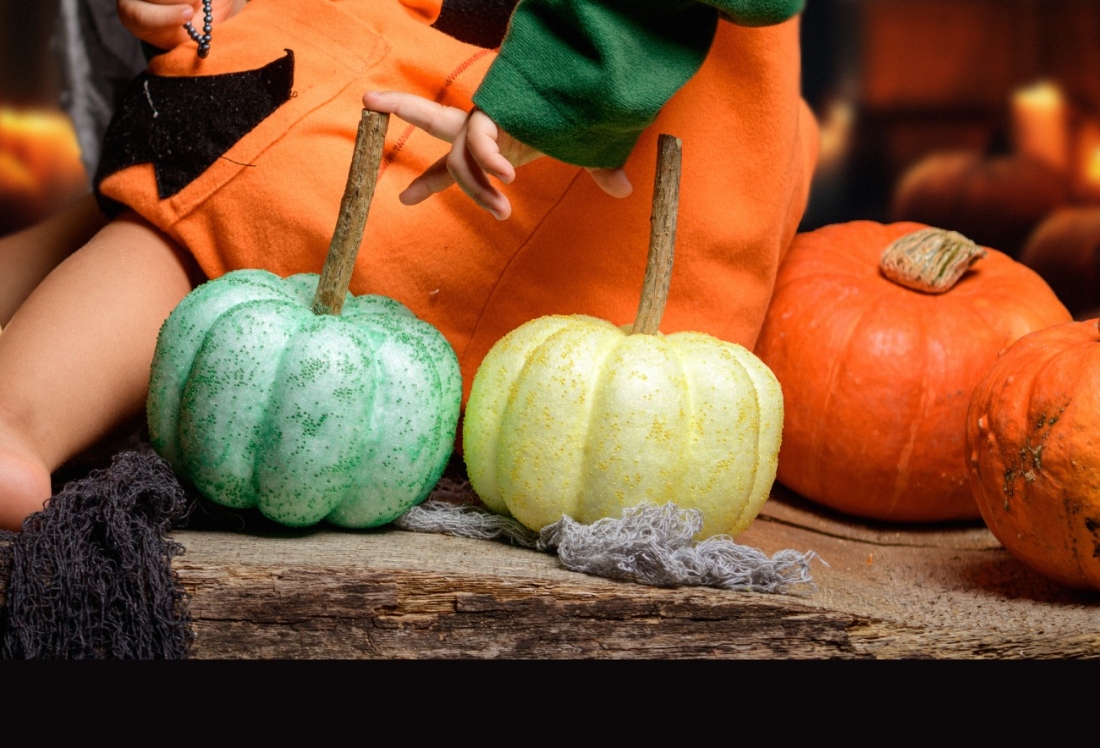
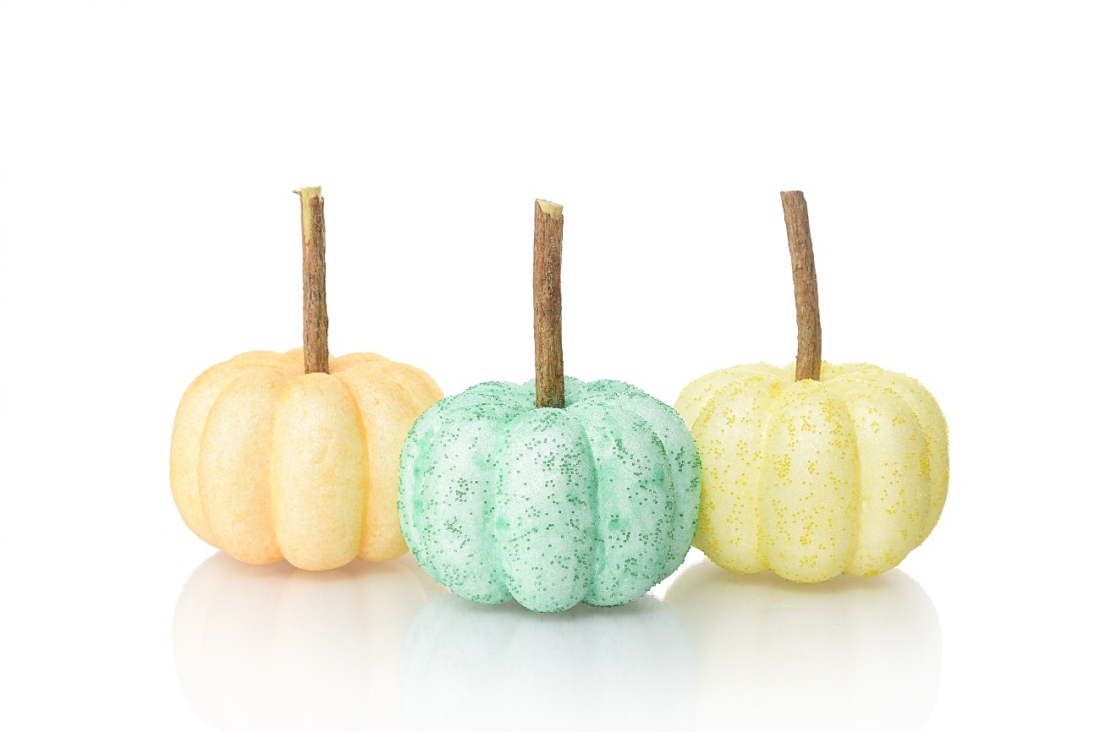
Pumpkins go hand in hand with Halloween, just like Christmas trees and Christmas or Easter eggs and Easter. This is an excellent tutorial on how to create a simple, pretty and quick Halloween decoration using a polystyrene pumpkin and microbeads from the PRECIOSA Traditional Czech Glass™ brand.

Ambassadors

Helena Chmelíková

She is able to switch from luxurious and extravagant fashion show pieces to the preparation of hobby projects,
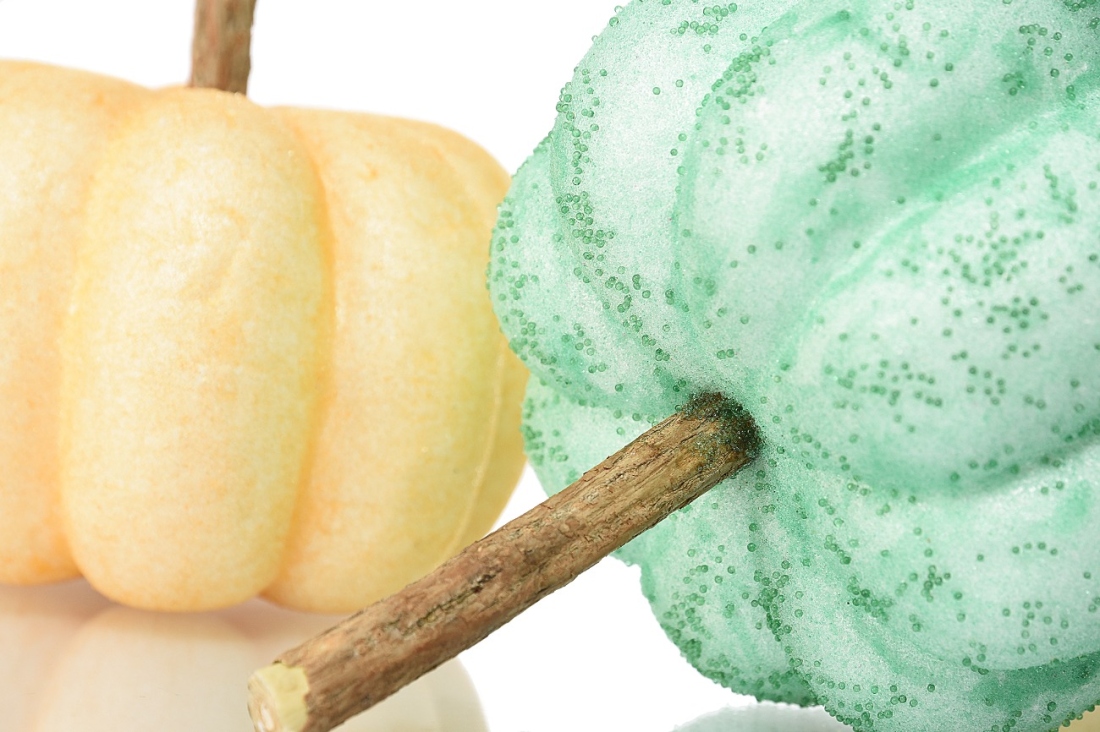
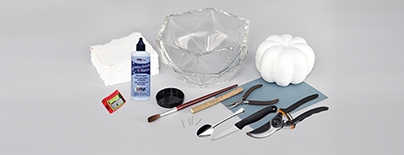
Learn More

Material and Tools

Tools

A polystyrene pumpkin; water-based glue for strass stones; a no. 12 brush; a small bowl; a teaspoon; a wooden stick (a twig) with a diameter of 0.9 – 1.3 cm and a length of 9 – 12 cm; a pencil sharpener for thick pencils; a small knife; garden secateurs; a pin; fine sanding paper (P2000 – P3000); a container; part of a polystyrene panel; pliers

Procedure

Step 1

Walk around your garden or the edge of the forest about two weeks before Halloween. Cut off a small twig with a diameter of around 1 cm using the secateurs. Adjust the length to approximately 10 cm.

A child can create the point on the twig if it fits into the pencil sharpener. Otherwise, an adult should cut it into a blunt point using the knife. Leave the twig to dry out in the warm for about a week.

1 / a

Step 2

Polystyrene shapes often have small surface defects (excess material from the mould connection and so on). Use the sand paper to clean it up.

2

Step 3

Pierce the centre of the pumpkin with the point of the twig. Apply some glue to the point and the created hole. Insert the point into the opening.

3 / a

Step 4

Attach 1x Rip to the centre of the opposite side of the pumpkin using the pin. Also apply glue to the pin and the back of the Rip. Now leave the glue to dry for several hours.

4 / a

Step 5

Prepare part of the polystyrene panel. Use the pliers to gouge out a hole in it for the twig.

5 / a

Step 6

Prepare the glue in the small bowl. Use the brush to apply the glue to the first section of the pumpkin. Preferably apply the glue to the surface twice. Sprinkle several pinches of M2 onto the surface over the container. Sprinkle the M1 onto the surface using the teaspoon or directly from the bag. Apply the glue to another segment. Use the brush as precisely as possible so that the glue is applied directly next to the M1 from the previous segment. Once again, it is preferable to apply the glue to the surface twice. Sprinkle the M2 and then the M1. Continue decorating the next segments. Also use the M1 and M2 from the container.

6 / a

Step 7

Remove any excess M1 from the finished pumpkin by tapping the twig over the container. Insert the twig into the opening in the polystyrene panel. Let the glue dry.

7

Downloads

This website is using cookies

To improve our services and provide information that suits your interest, we use the advanced website traffic analytics tools. However, we need your consent. More information about how we process and protect your data can be found in the privacy statement. We ask you for approval of the terms.

Functional cookies These cookies are necessary for the proper functioning of the website and therefore cannot be turned off.
Analytics cookies Analytical cookies help us track and analyze the way visitors interact with our site in Google Analytics 4. This information allows us to improve content and provide a better user experience.
Marketing cookies Reading and writing cookies for marketing purposes for advertising systems such as Google Ads or Sklik. These cookies allow us to track user behavior and measure website performance and the effectiveness of our advertising campaigns.
Personalized advertising Remarketing cookies allow us to present you with personalized advertising based on your previous interactions with our site in systems such as Google Ads, Sklik.
Use of personal data With this option, you consent to the sending and processing of your personal data to Google for the purposes of targeting and evaluating online advertising and targeted marketing.