Flower Meadow

Difficulty: 3
Technique: Circular brick stitch and wirework

Necklace with flowers from seed beads PRECIOSA Solgel

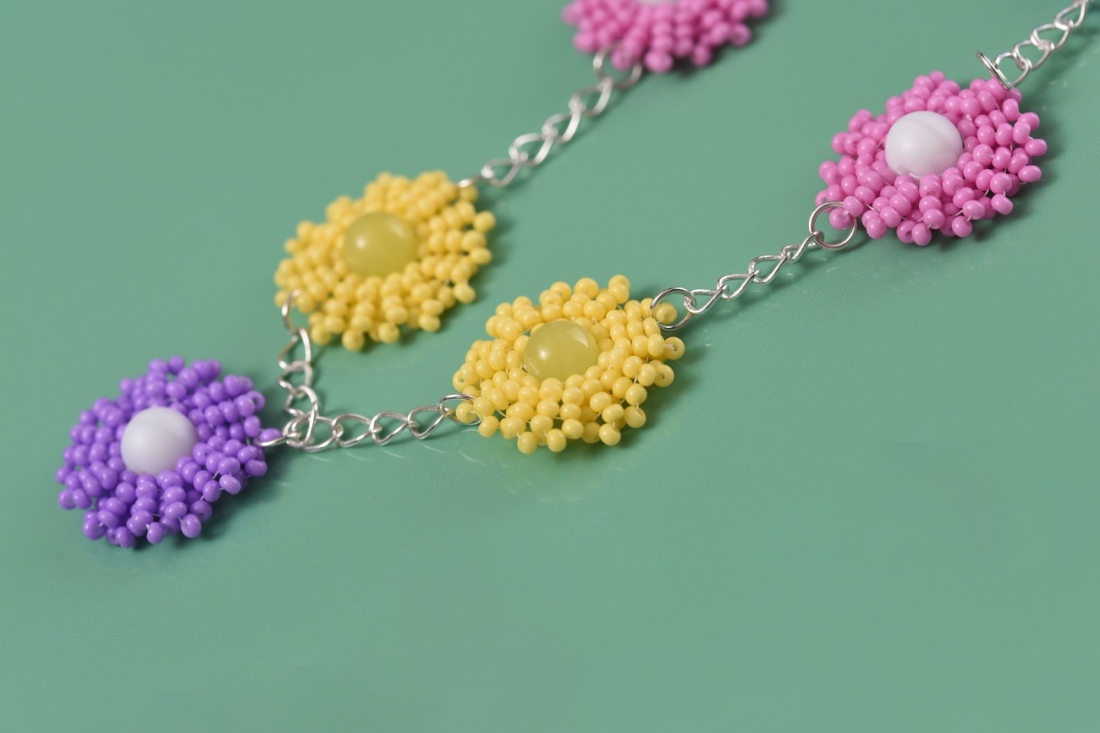
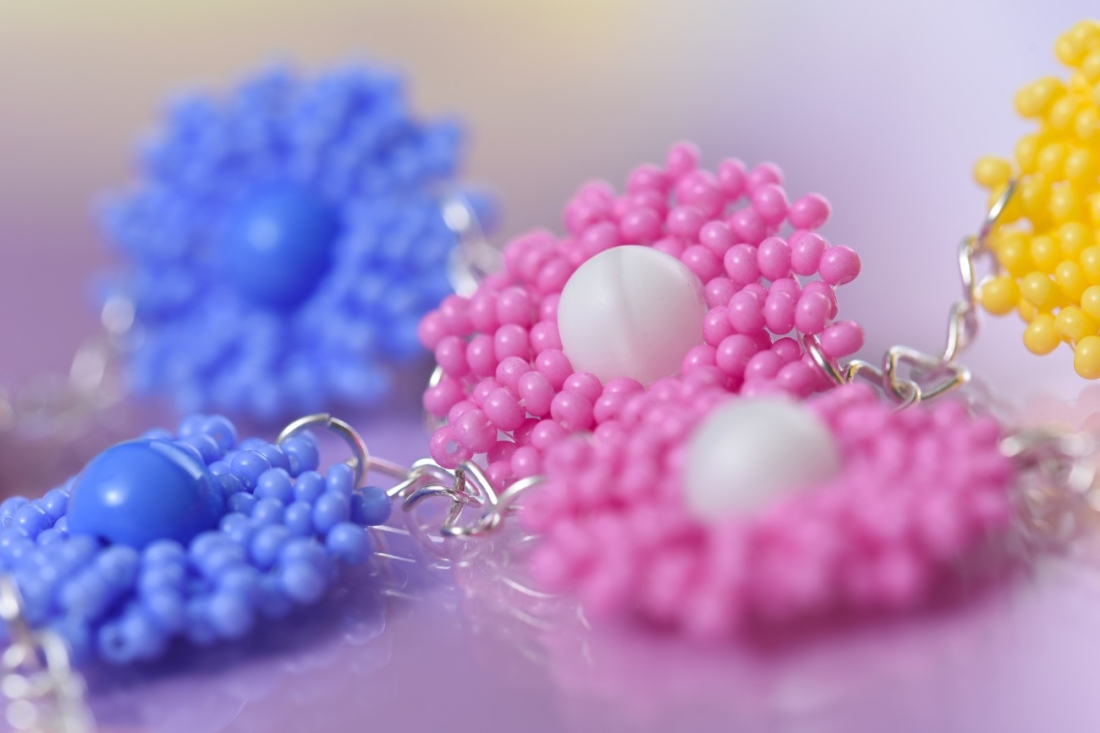
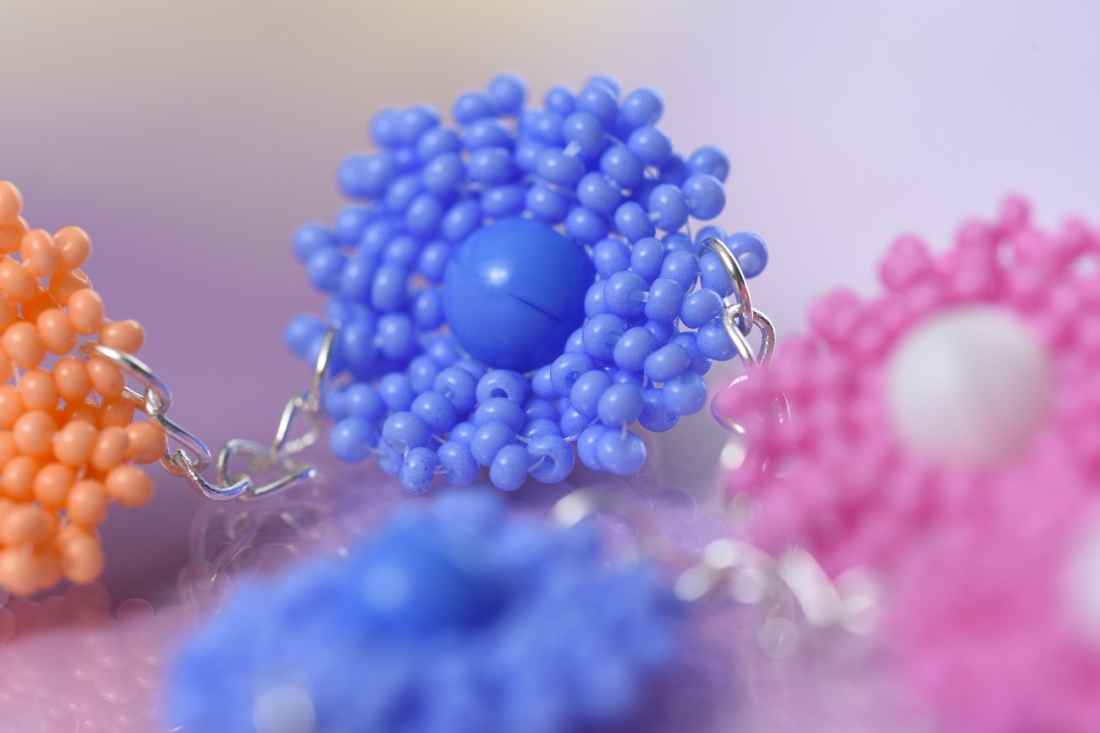
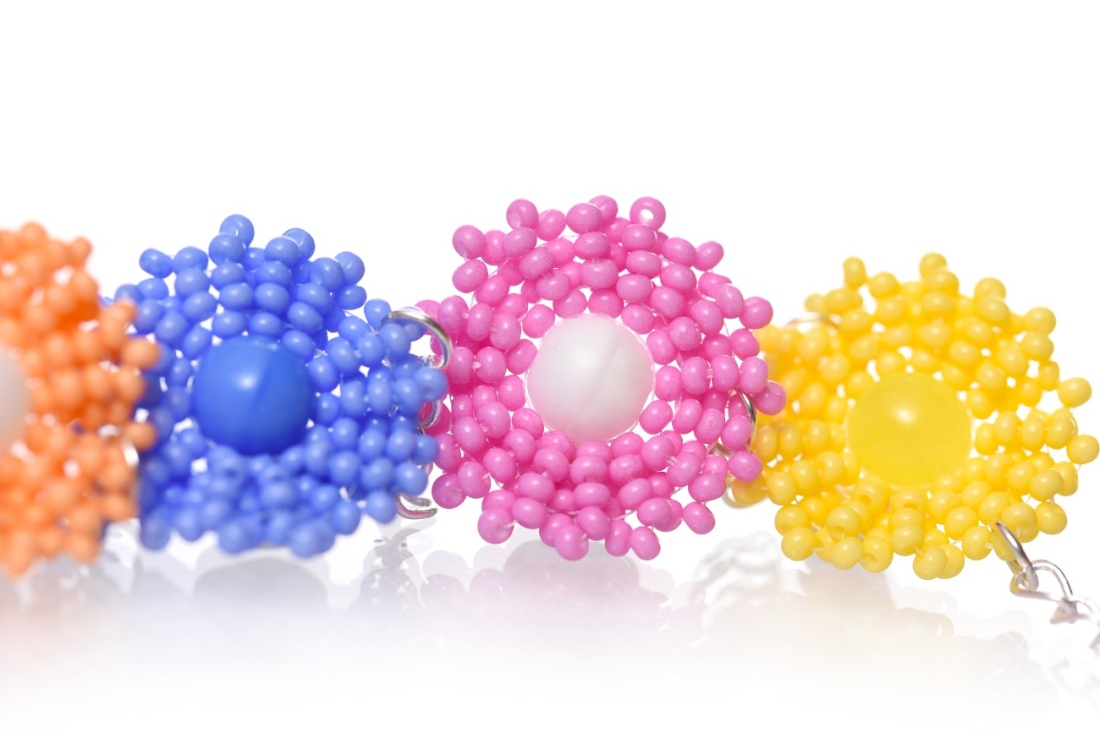
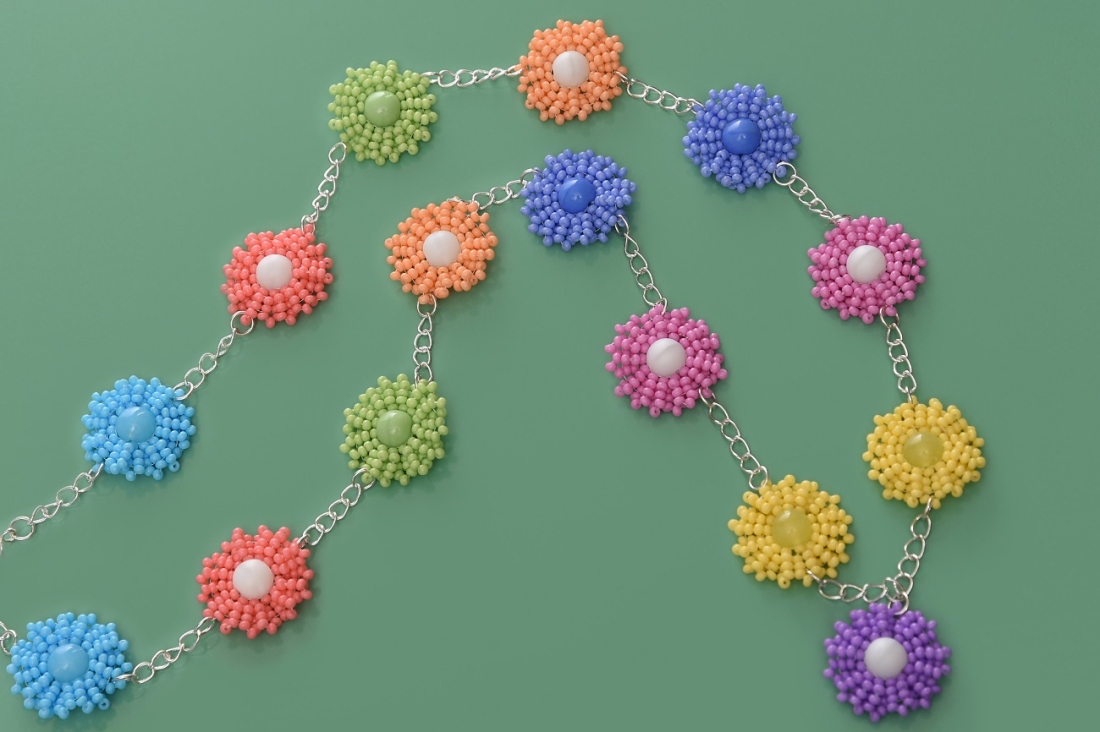
Create this garland style necklace and evoke an idyllic summer image of wildflower fields. Follow the tutorial to make realistic daisies in pretty pastel PRECIOSA Solgel colors and adorn yourself with sunshine.

Ambassadors

Kerrie Slade

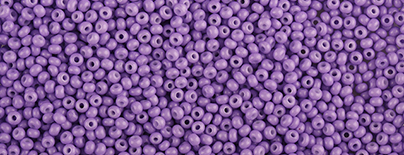
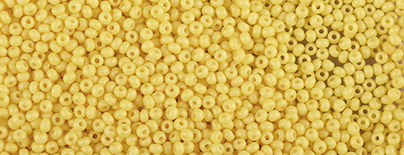
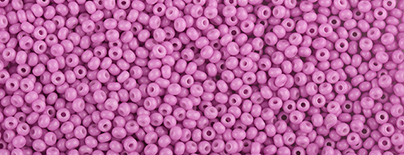
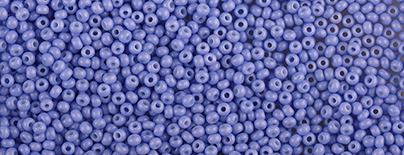
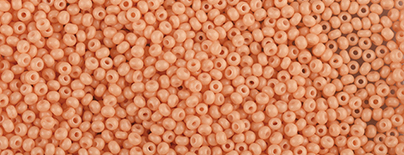
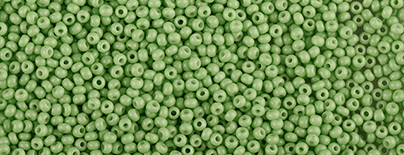
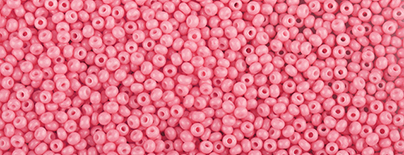
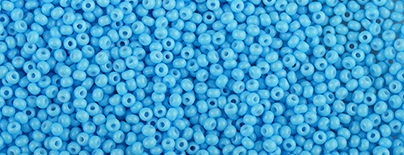
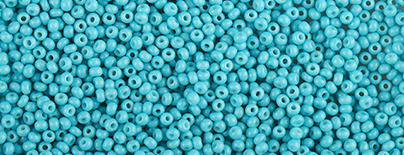
Kerrie Slade have used Czech PRECIOSA Traditional Czech seed beads in her creation.
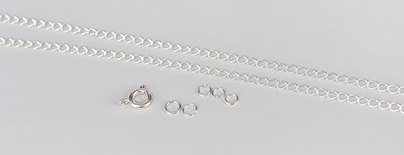
Learn More

Materials

Silver chain, 72 links; Jump rings, size 5 mm, silver, 32x; Jump ring, size 6 mm, silver, 1x Clasp, silver, 1x
 

Tools

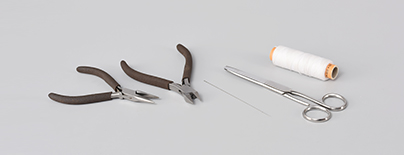
Beading thread to match your chosen beads, (Fireline 4lb crystal); Size 10 to 12 beading needles; Scissors; Flat nose pliers, 2x Wire cutters, 1x

Procedure

Step 1

Size: The finished necklace measures approximately 67 cm but can be made to measure.

Note: In the diagrams, beads with a black outline are the new beads being added, beads with no outline were added in previous steps.

To make your first flower

Thread your needle with 1 m of thread and pick up 1x PB. Leaving a 15 cm tail, pass your needle through the PB again so that a thread lays on the outside edge of the bead. Pass your needle through the PB 3 more times and arrange the threads so that 2 lay on either side of the bead on opposite sides. Figure 1.

1

Step 2

Begin working in circular brick stitch by picking up 2x R10 and passing your needle under the pair of threads on one side of the PB and back through the second R10. Figure 2a.

TIP: Ensure your needle passes under both threads on this side of the PB and is not split by the needle.
 

Continue working in circular brick stitch, adding 1x R10 at a time and passing your needle under both threads on the outside edge of the PB. Add 7x R10 to one side of the PB and 6x to the other side as shown in Figure 2b and 2c.


Complete the row by stitching the first and last R10 in this row together so that they are connected into a circle as shown in Figure 2d.


2 / a

Step 3

The next row uses 2-drop circular brick stitch and is also an increase row. Begin by picking up 4x R10 and passing your needle under the thread bridge created between the first and last R10 added in the previous row, and back through the third and fourth R10 just added. Figure 3a.
 

Pick up 2 x R10 and pass your needle under the next thread bridge along and back through the 2x R10 just added. Pick up 2 x R10 and pass your needle under the same thread bridge and back through the new R10. Repeat this 1 more time so that you have 3 stacks of 2x R10 anchored to the same thread bridge. Figure 3b.
 

Continue working in this manner adding 1 stack of 2 beads at a time but anchoring 2 stacks to 1 thread bridge and 3 stacks to the next thread bridge. You will need an even number of stacks in this row so at the end of the row you should have a total of 32 stacks. Figure 3c and 3d. As this row progresses you will see a ruffled effect as shown in Figure 3e, take care not to miss any thread bridges as you work.


Complete the row by stitching the first and last stacks together to join them into a ring as shown in Figure 3f.
 

3 / a

Step 4

The final row is known as a picot edging. With your needle exiting a stack and pointing away from the PB, pick up 3x R10 and pass your needle down the 2x R10 in the adjacent stack and up the 2x R10 in the next stack. Figure 4a.
 

Continue in this way, all around your daisy, until you have added a 3-bead picot to the tip of every pair of stacks in the second row. There should be a total of 16 picots. Figure 4b and 4c.
 

Tie off and trim both the working thread and tail thread.

4 / a

Step 5

Following steps 1- 4, make another 15 flowers. Make 2x using R10B and PBB, 2x R10C and PBA, 2x R10D and PBC, 2x R10E and PBA, 2x R10F and PBD, 2x R10G and PBA, 2x R10H and PBE and 1x R10I and PBF.

Step 6

To make the necklace

Using the wire cutters, carefully cut the chain into 16 sections of 4 links and 1 section of 8 links. Figure 6.

6

Step 7

Using the 2 pairs of flat nose pliers, open a 5 mm jump ring and pass it through a picot on the R10A flower and through a link at the end of 2 small sections of chain before closing it again. Figure 7.

7

Step 8

Using the close-up photo and the photo of the finished piece for guidance, connect the components together as follows: open a 5 mm jump ring and pass it through a link at the other end of one of the pieces of chain attached to the R10A flower and through a picot on one of the R10B flowers before closing it again. Open another jump ring and pass it through the picot on the opposite side of the R10B flower and through a link at the end of another small section of chain before closing it again. Add another 5 mm jump ring to the other end of the piece of chain just added and through a picot on an R10C flower before closing it again. Figure 8.

8

Step 9

Repeat until you have added 7 flowers in the order of your choice.

Step 10

Working from the R10A flower added in step 7, repeat steps 8 and 9 to add 7 flowers in the same order to the other side of the necklace.

Step 11

Add one of the final small sections of chain to a picot of one of the end flowers and attach the other end to the clasp using a 5 mm jump ring. Attach the final small section of chain to the end flower on the opposite side of the necklace and attach the 6 mm jump ring to the other end. To add the extension chain/ decorative dangle, add a 5 mm jump ring to one end of the larger section of chain and pass it through a picot on the R10I flower before closing it. Add the final 5 mm jump ring to the other end of the long section of chain and pass it through the 6 mm jump ring at the end of the necklace before closing it.

11 / a

Downloads