Bows

Difficulty: 3
Technique: peyote stitch, stringing, brick stitch

Broach made from the offer of PRECIOSA Traditional Czech Beads™

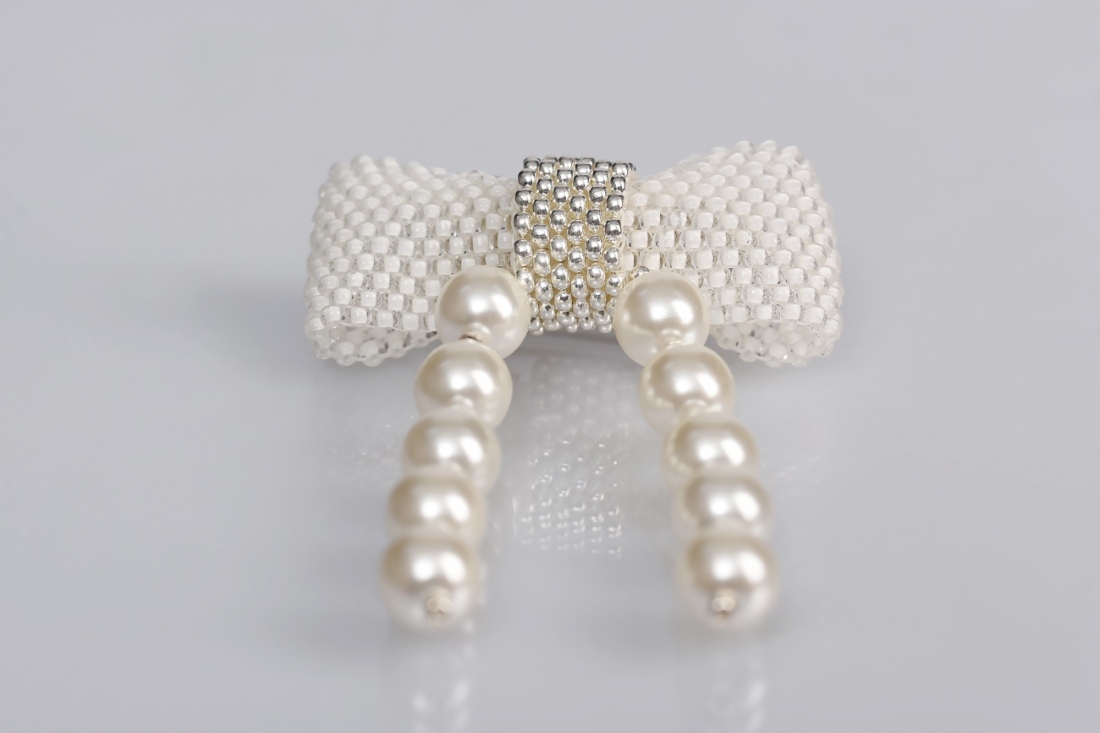
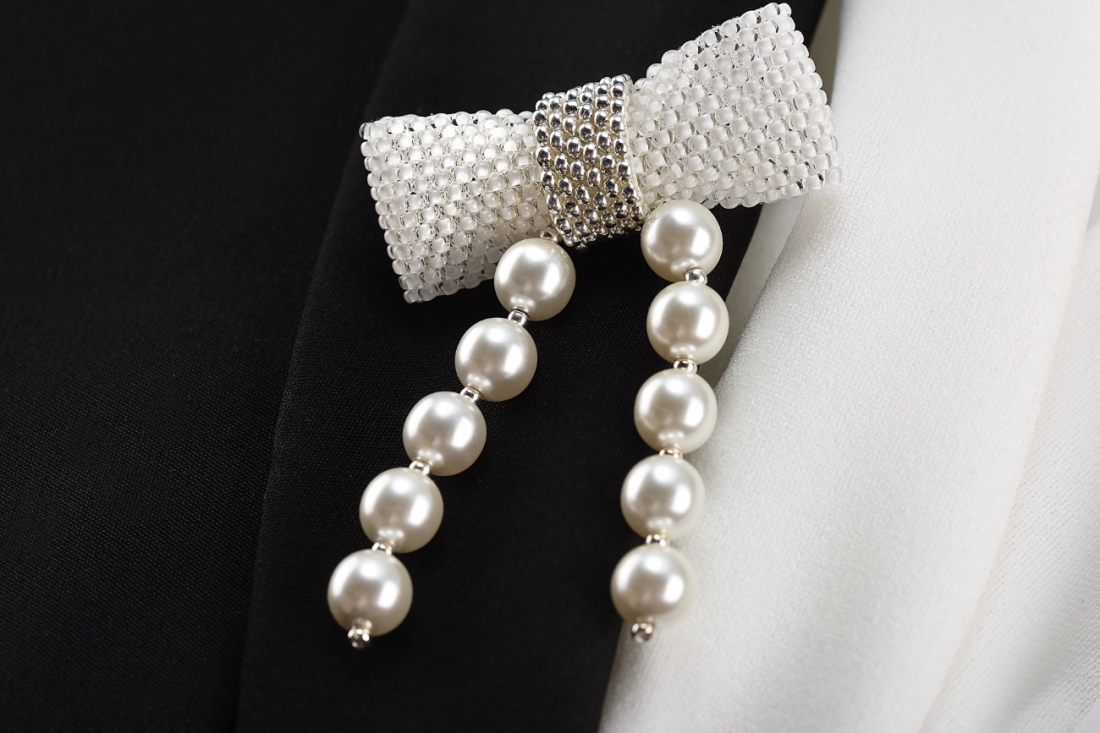
Bows are dominating the current fashion trends and you can have an original one of your very own!
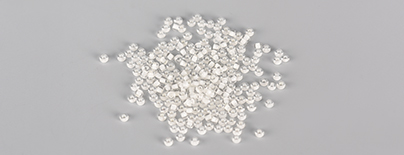
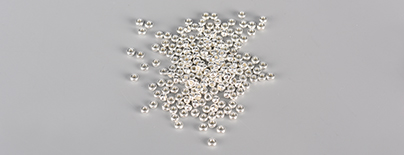
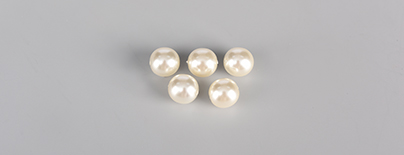
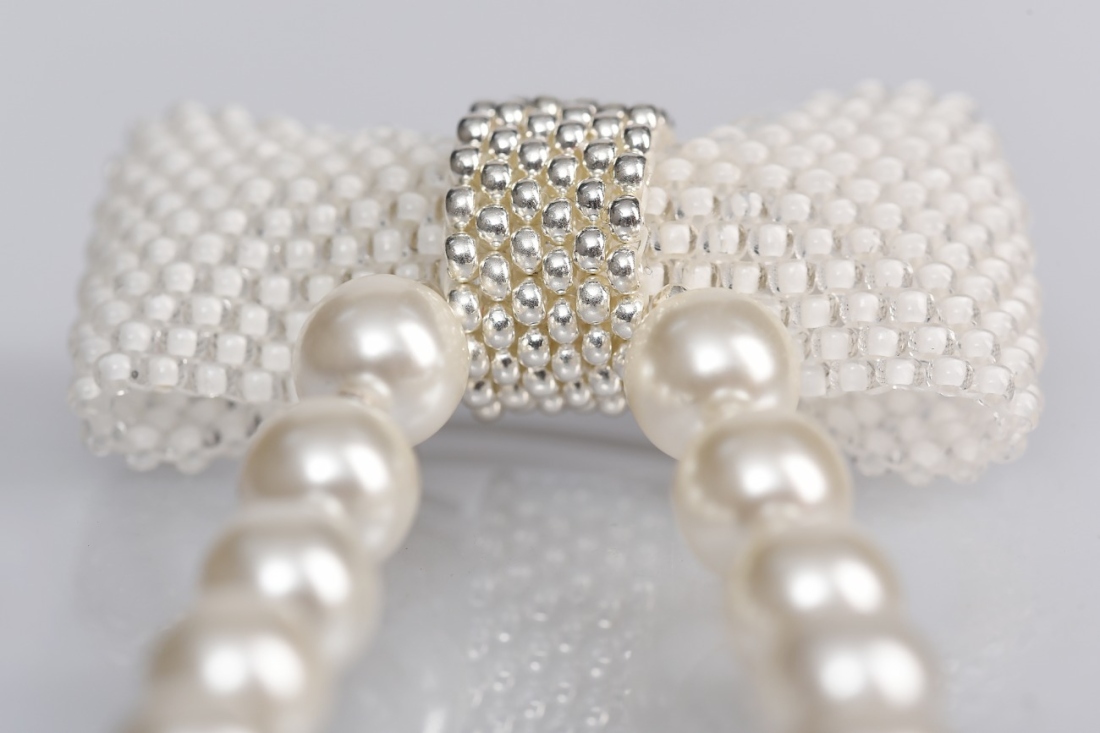
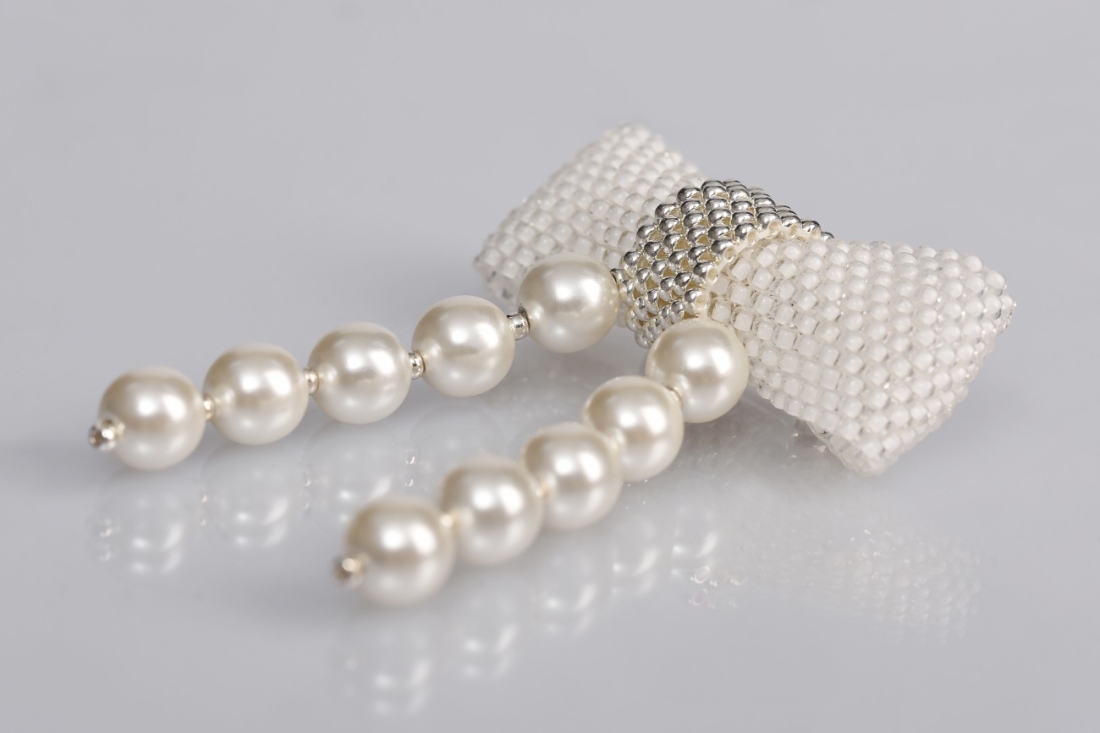
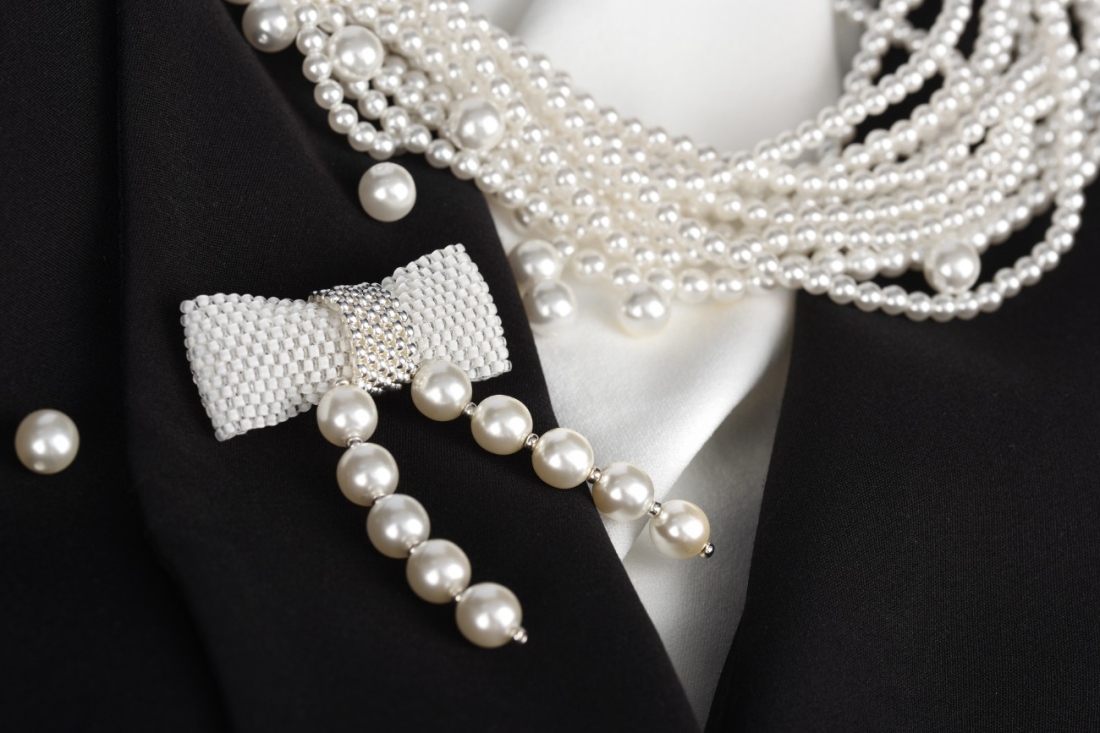
This tutorial will enable you to create an elegant seed bead broach with imitation pearls that can adorn your coat, t-shirt, dress or handbag. You can make the same bow as in the picture by using seed beads from the PRECIOSA White Lining collection, silver seed beads with the PRECIOSA Luxury Coating and white imitation pearls. Get creating and wear a trend that you will fall in love with!

Ambassadors

Helena Chmelíková

She is able to switch from luxurious and extravagant fashion show pieces to the preparation of hobby projects,
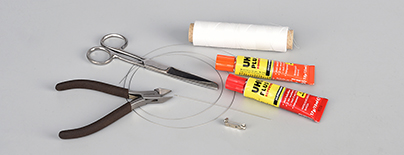
Learn More

Materials and Tools

Tools

A 20 x 4 mm broach base; nylon S-lon or Nymo thread; regular 0,30 mm wire; a thin needle; scissors; snipping pliers; glue for non-absorbent material (for example dual-component epoxide)

Procedure

Step 1

Prepare 1.5 m of thread. Thread the end through the eye of the needle. Secure the thread with a simple knot. This will prevent it from coming out of the eye too often. Despite this, you will still have to occasionally tighten the knot.

1 / a

Step 2

Sew the base of the bow. The width of the "rocaille ribbon" will consist of 12x R1 (12 rows). Use the peyote stitch. "Teeth" and gaps will arise during the sewing. Add R1 to every other 1x R1. This will give rise to a "discontinuous" column. String 13x R1 onto the needle. The 13th will constitute the start of a new column. Pass the needle through the 11th bead from above. String a new 1x R1. Pass the needle through the 9th bead. Continue creating the teeth all the way to the 1st bead. Start sewing new teeth in a new column. Add 1x R1 to each gap. Try to ensure that the R1 arrangement is coordinated. The column of R1 will twist from the beginning., but the ribbon will straighten out after several columns have been created. Continue sewing until you create half the straight section of the ribbon. There will be 14x R1 in the rows along the length of the half ribbon.

2 / a

Step 3

Start tapering the ribbon. Omit the addition of one tooth in the new column. Pass the thread through the gap. Sew 1x R1 into the larger gap created in the new column. Then add the teeth to the new columns. Omit one tooth in the new column. Pass the thread through the gap. Sew 1x R1 into created larger gap. Then add the teeth to two columns. Repeat this procedure 2 more times. At the end, the ribbon will have a width of 4x R1.

3 / a

Step 4

Start sewing the second half of the ribbon. String a new thread - also 1.5 m. Add teeth to the new column added to the already created half of the ribbon. Tie off the end of the thread with three knots. After completing the ribbon, pull the ends into an R1. Continue adding teeth to the individual columns. The length of the straight section will be finished once there are alternating rows of 27 R1 and 28 R1.

4

Step 5

Start tapering the second half of the ribbon. Repeat Step 3.

Step 6

Add a stringing of IP to the ribbon. Count off 4 rows from the lower edge of the ribbon. Find the central R1 in this row. Count off another 2x R1 on both sides. In other words, there will be 5x R1 from the ribbon between the R2 from the stringing. (How can you find the middle R1 in the 4th row? Count the R1 in the row that finishes the first tapering on both halves of the ribbon – 27x. The 14th bead will be the middle one. Under that, you'll find the middle one from the 4th row one row down.) String 6x R2 onto 50 cm of wire. Thread the wire through the gap between the R1 in the 4th row from the inside. Place the R2 in the middle of the wire. Alternately string 6x R2 and 5x IP, always one at a time, onto the ends of the wire. Do not pass the wire through the outer R2, but pass it through the other R2 and the IP back to the ribbon. Pass it through the gap between the R1 on the ribbon. Pass the ends of the wire from the right and the left through 3x R2 one more time. Tie off the ends of the wire with three knots and shorten them.

6 / a

Step 7

Sew the central part of the ribbon of R2. Prepare 1.5m of thread. Start the basic row in the middle of the ribbon. Use the ladder chain stitch. String 18x R2. Pass the thread through every R2 one more time. After sewing this row, continue using the brick stitch. String 2x R2 at the start of the row. Pass the needle under the thread in the first gap between the R2 from the previous row. Pass the thread through 1x R2 one more time. Place the new R2 above the gap between the R2 from the previous row. Pass the needle under the thread in the gap. Pass the thread through the new R2 one more time. When sewing the rows, alternate between the right and left sides from the initial row. Twist the sewn ribbon around the centre of the bow. Sew the end R2 together. Tie off the ends of the thread with three knots. Pull them into the surrounding R2 and cut them off.

7 / a

Step 8

Prepare about 50 cm of thread. Stitch the thread edging of the ribbon in the middle of the straight section and in the narrowest section and pull them together. First connect one edge. Then pull the thread through the hollow part of the ribbon. Connect the second edge. Return to the first edge. Tie off the thread. Pull it into an R1 and cut it off.

8 / a

Step 9

Adhere the broach base onto the back of the flat section. Apply the glue to both contact surfaces. If you are using fast-drying glue, it is sufficient to hold the base in place. If you have to wait for the glue to dry, it is preferable to secure the base by winding a thread around the middle of the bow and across the pin of the closed base. Place the base so that the short section of the wire leaning on the surface is not later hidden under the sewn ribbon of R2.

9

Step 10

Sew the central part of the ribbon of R2. Prepare 1.5m of thread. Start the basic row in the middle of the ribbon. Use the ladder chain stitch. String 18x R2. Pass the thread through every R2 one more time. After sewing this row, continue using the brick stitch. String 2x R2 at the start of the row. Pass the needle under the thread in the first gap between the R2 from the previous row. Pass the thread through 1x R2 one more time. Place the new R2 above the gap between the R2 from the previous row. Pass the needle under the thread in the gap. Pass the thread through the new R2 one more time. When sewing the rows, alternate between the right and left sides from the initial row. Twist the sewn ribbon around the centre of the bow. Sew the end R2 together. Tie off the ends of the thread with three knots. Pull them into the surrounding R2 and cut them off.

10 / a

Downloads

This website is using cookies

To improve our services and provide information that suits your interest, we use the advanced website traffic analytics tools. However, we need your consent. More information about how we process and protect your data can be found in the privacy statement. We ask you for approval of the terms.

Functional cookies These cookies are necessary for the proper functioning of the website and therefore cannot be turned off.
Analytics cookies Analytical cookies help us track and analyze the way visitors interact with our site in Google Analytics 4. This information allows us to improve content and provide a better user experience.
Marketing cookies Reading and writing cookies for marketing purposes for advertising systems such as Google Ads or Sklik. These cookies allow us to track user behavior and measure website performance and the effectiveness of our advertising campaigns.
Personalized advertising Remarketing cookies allow us to present you with personalized advertising based on your previous interactions with our site in systems such as Google Ads, Sklik.
Use of personal data With this option, you consent to the sending and processing of your personal data to Google for the purposes of targeting and evaluating online advertising and targeted marketing.