Beaded Bookmark

Difficulty: 3
Technique: square stitch, ladder stitch and brick stitch

Bookmark from PRECIOSA PermaLux seed beads

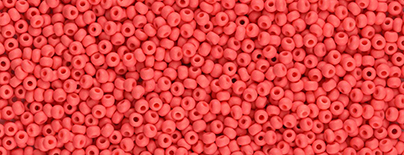
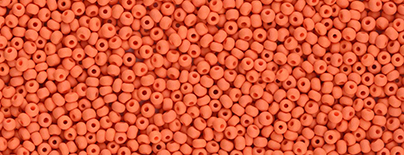
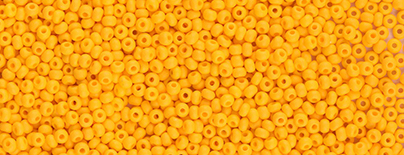
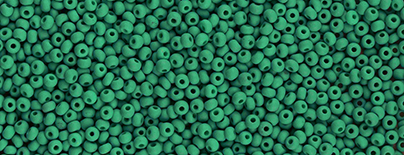
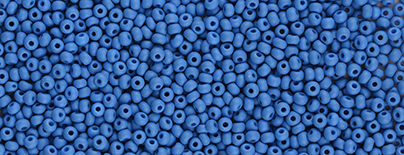
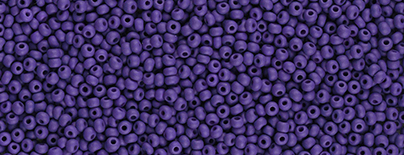
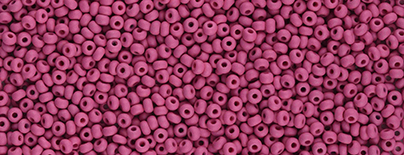
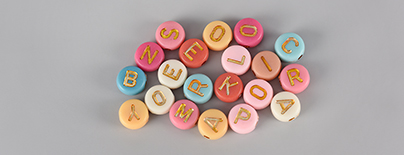
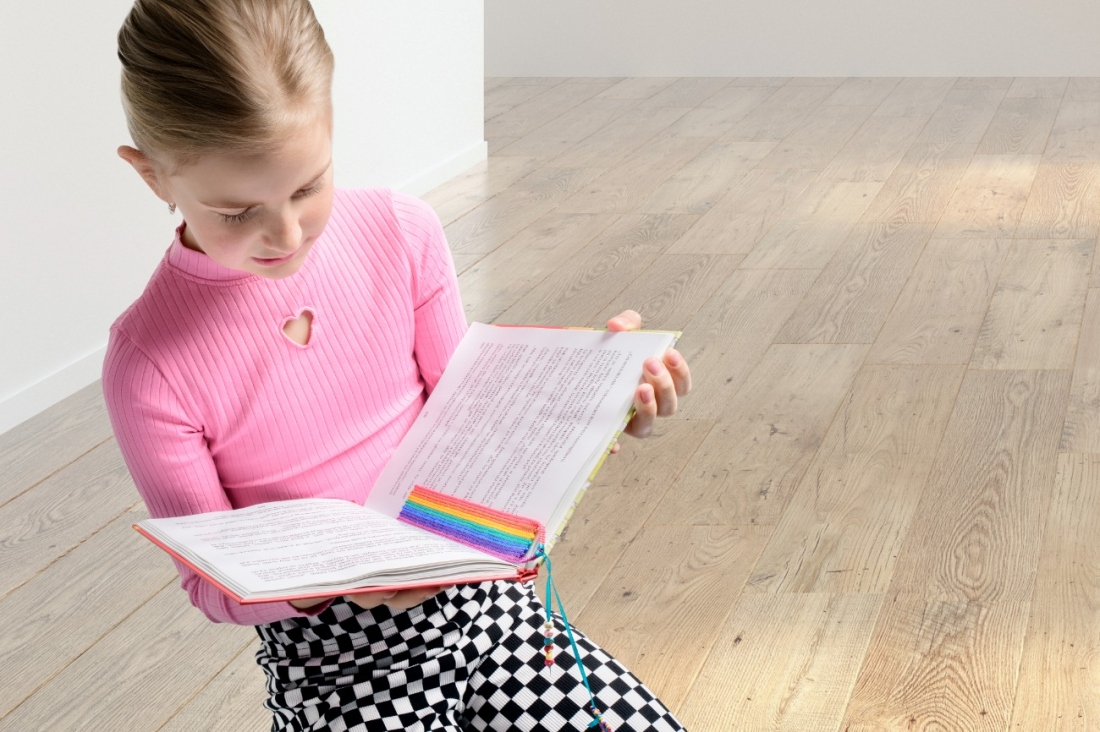
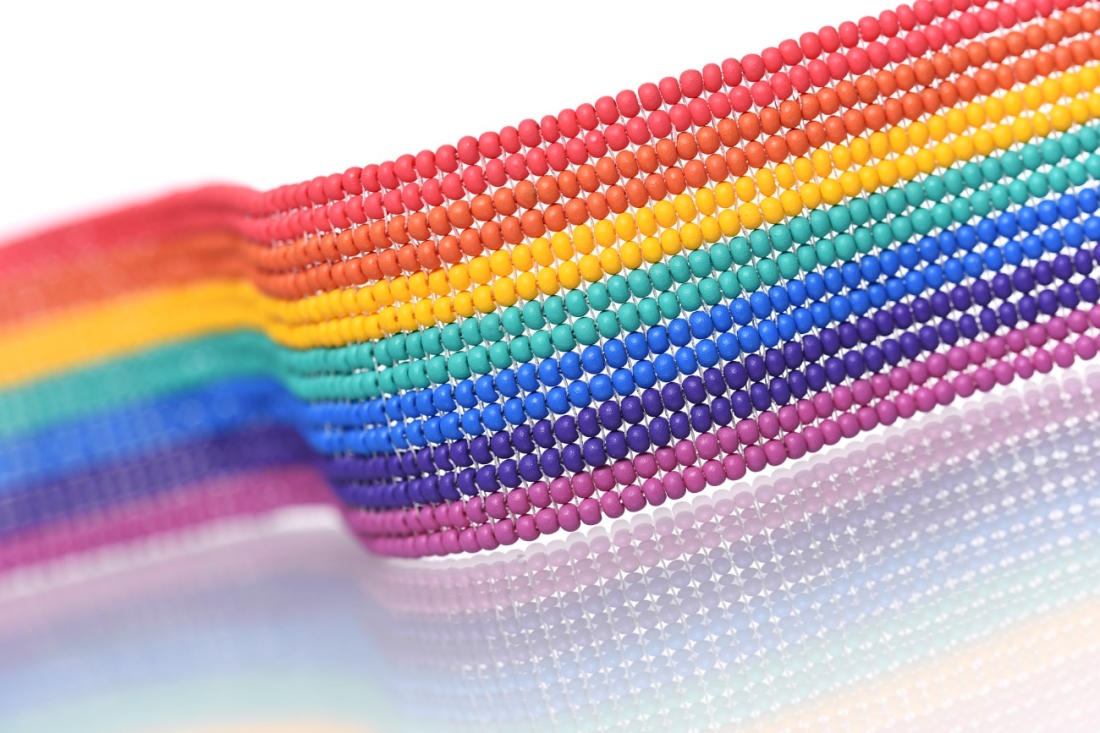
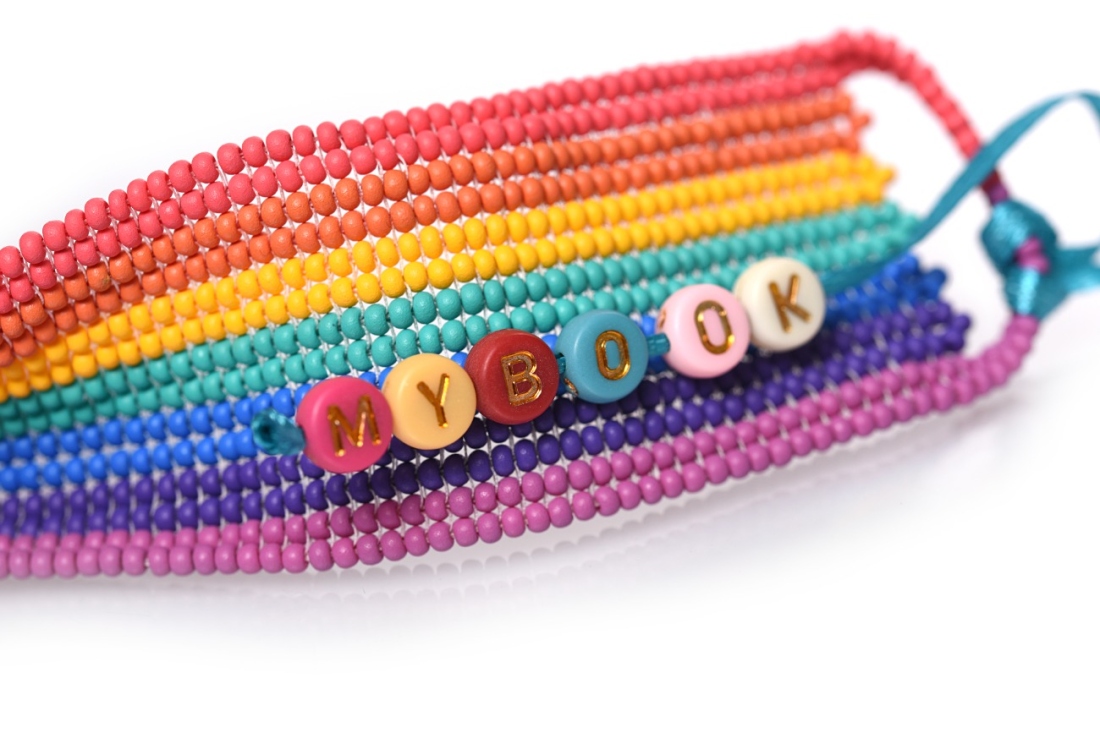
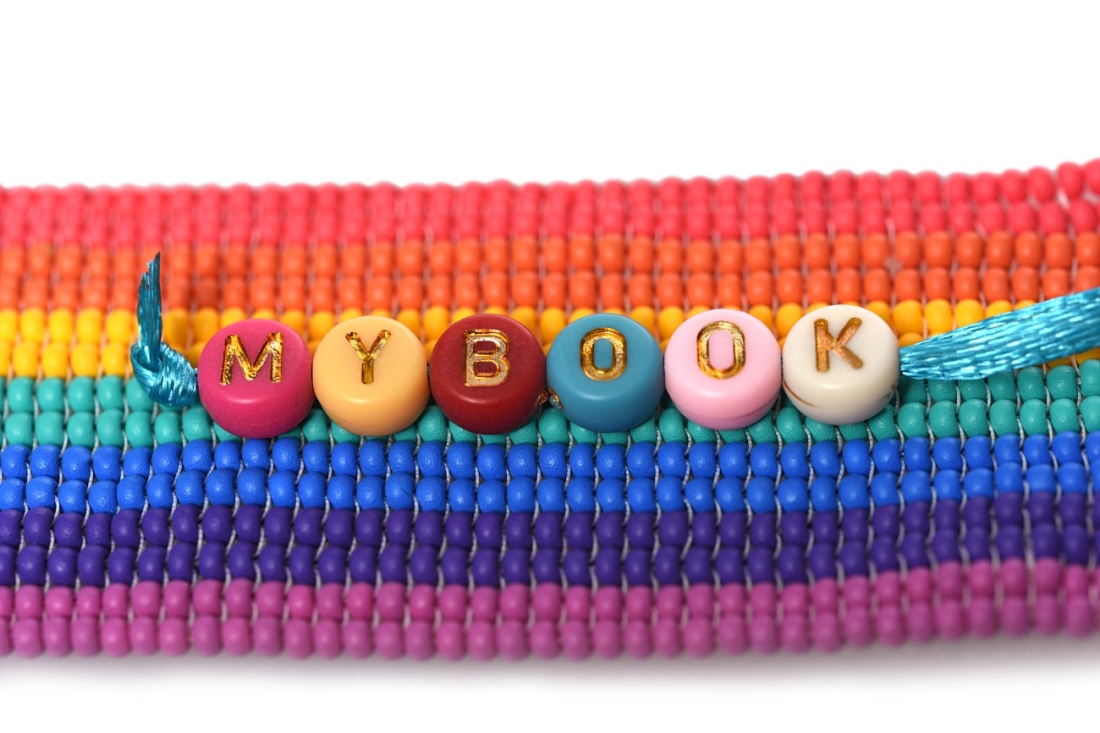
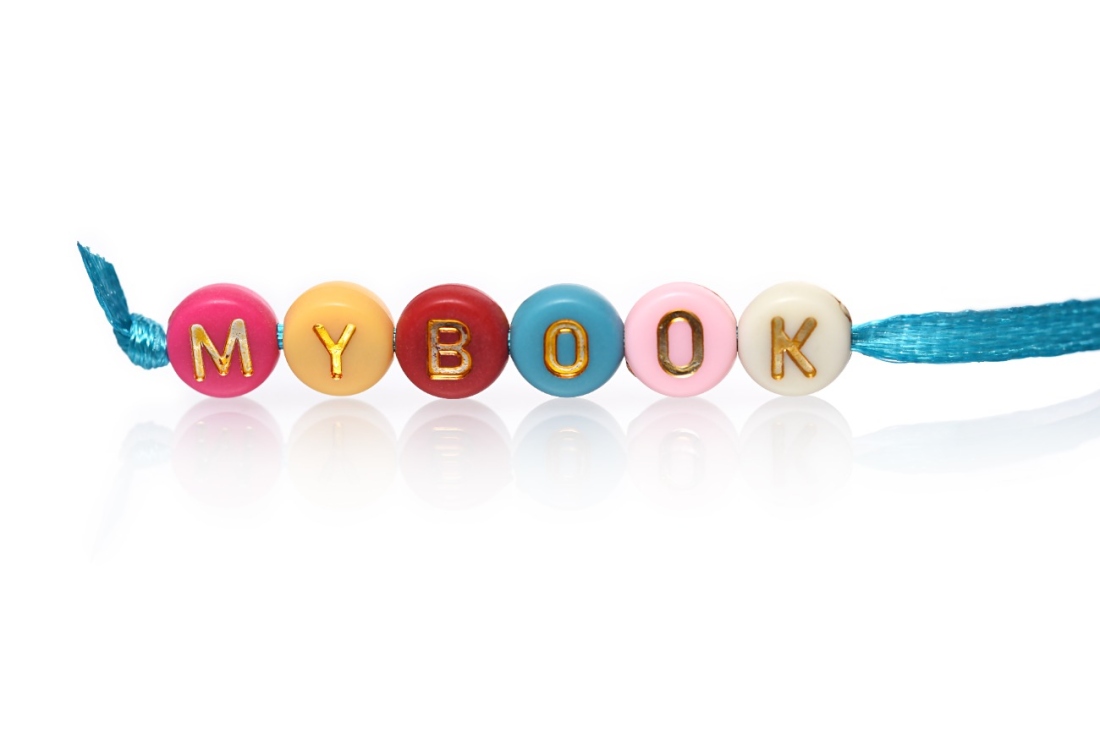
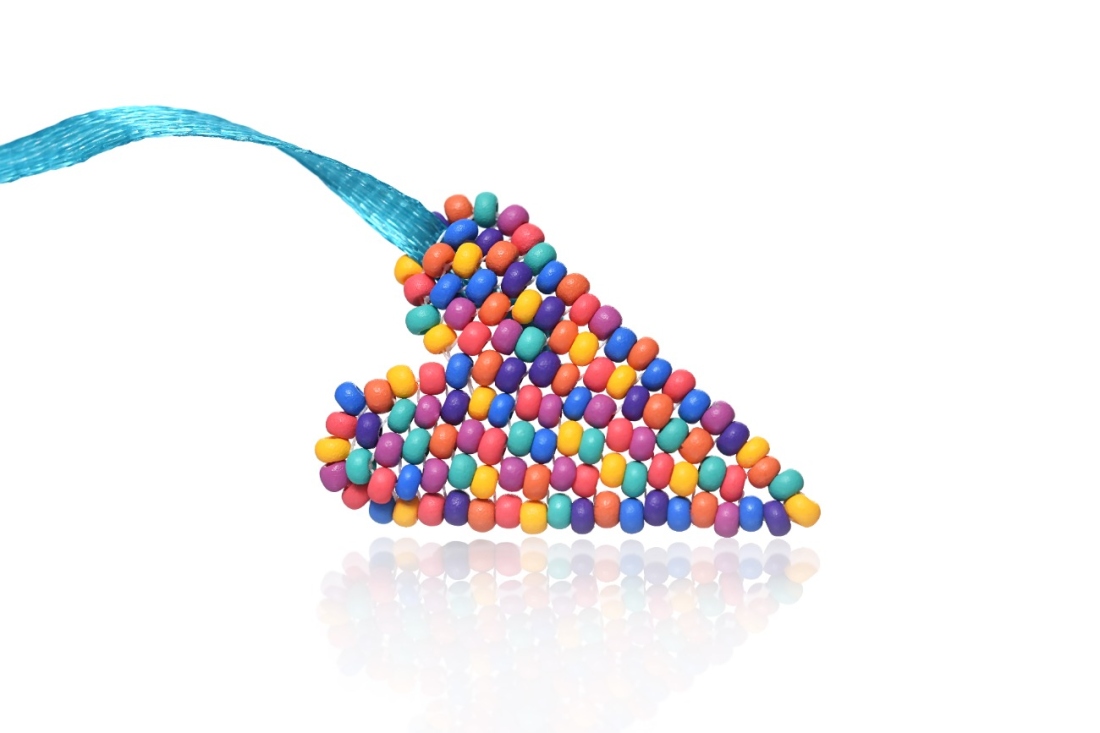
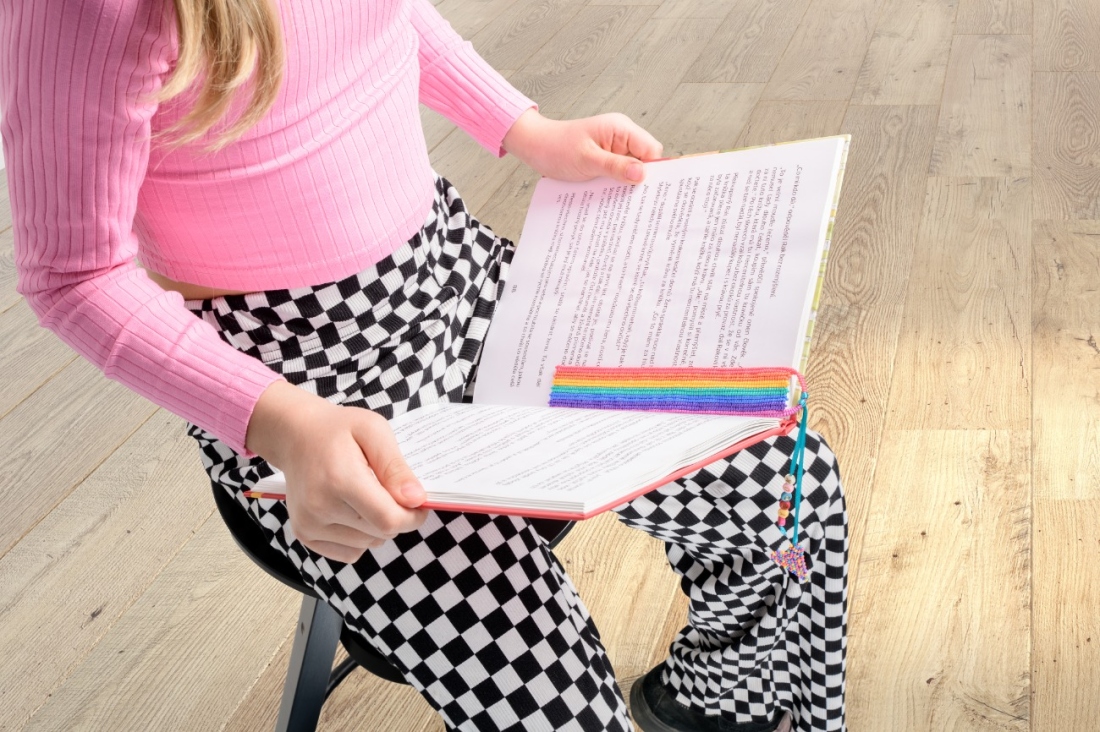
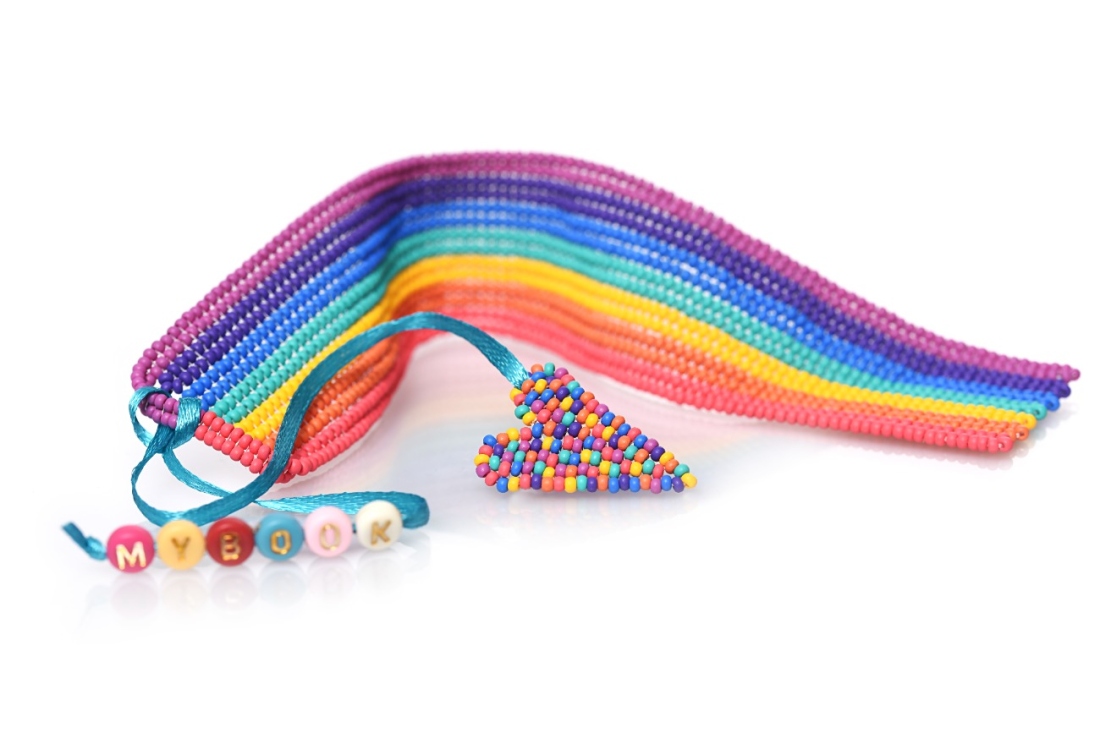
Encourage a lifelong love of reading by creating and gifting a special beaded bookmark made in a rainbow of PRECIOSA Permalux colors. The combination of square stitch with the matt rocailles results in a beautifully tactile ribbon-like finish. Keep it plain or make a beaded loop from which to attach motifs and words or names to personalise your bookmark – the choice is yours!

Ambassadors

Kerrie Slade

Kerrie Slade have used Czech PRECIOSA Traditional Czech seed beads in her creation.
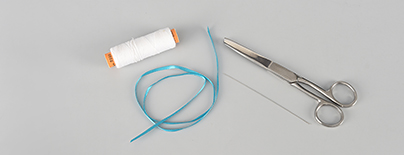
Learn More

Procedure

Step 1

Size: The finished bookmark measures approximately 19 cm x 3.5 cm but can be made to measure.

Note: In the diagrams, beads with a black outline are the new beads being added, beads with no outline were added in previous steps.

To make the bookmark

Thread your needle with 2.5 m of thread (square stitch uses a lot of thread and you will need to tie in new lengths as you work) and pick up 1x R10A. Leaving a 20 cm tail, pass through the R10A again. This is known as a ‘stop bead’, be careful not to split your thread as this bead will need to be removed later. Figure 1a. Complete the first row by picking up 100x R10A. Figure 1b.

1 / a

Step 2

To create the next row, make sure all the existing R10A are resting at the bottom of the thread against the stop bead, then pick up 2x R10A and pass your needle through the final 2x R10A added in the previous row and through the 2 new R10A again so that you have 2 pairs sitting side by side. Figure 2a.
Note: From here on, only the end 10x R10 of each row are shown in the diagrams.


Pick up 1x R10A and pass through the 98th and 99th R10A added in the previous row, through the 2nd R10A in this row and the new 1x R10A again. Figure 2b.


Pick up 1x R10A, pass through the 97th and 98th R10A added in the previous row, through the 3rd R10A in this row and the new 1x R10A again. Figure 2c.


Continue in this manner, adding 1x R10A at a time until you have stitched 1x R10A to each R10A in the previous row. Remember that for each new rocaille picked up, pass up 2 and down 2 (including the new 1x rocaille just added) to work the basic square stitch movement. Figure 2d. Loosen the stop bead periodically to prevent your work from puckering and remove it after the final R10A of the row has been added.


2 / a

Step 3

Using the same method shown in step 2, work the next row using R10B (this is easier if you turn your work over so that the bottom becomes the top). Figures 3a3c show the first few moves. Figure 3d shows how your work should look at the end of row 3.

3 / a

Step 4

Looking at the photo of the finished piece and using the same method shown in step 2, work the remaining 11 rows – 1 more using R10B then 2x R10C, 2x R10D, 2x R10E, 2x R10F and 2x R10G.

Step 5

With your needle exiting the R10G shown in Figure 5a, begin to create the loop by working a strip of ladder stitch. Pick up 2x R10G and following the thread path shown, pass your needle down and up the final 2 pairs of R10G and up the first R10G just added.

Pick up 2x R10G and follow the thread path shown in Figure 5b to add the next 2x R10G.

Using the same method, add another 10 pairs of R10G and then 12 pairs of R10A. Figure 5c.

Attach the final pair of R10A just added to the pair of R10A on the other side of the bookmark by following the thread path shown in Figure 5d. Pass through the connection a second time to reinforce the join.


5 / a

Step 6

Travel to exit the R10B shown in Figure 6a, pick up 3x R10B and follow the thread path to add the first section of fringe to the top of your bookmark.

Repeat to add 3x R10C to F along the top of your bookmark. Figure 6b.

6 / a

Step 7

Travel to the bottom of your bookmark and add the fringe in the corresponding colors using the same method as step 6. Figure 7. Tie off and trim all remaining threads.

7

Step 8

To make the heart motif

Follow the tutorial for the Charming Hearts project Charming Hearts Collection - projects1 - Preciosa Ornela (preciosa-ornela.com) using a random mix of R10AG. Figure 8.

8

To assemble the bookmark

Pass one end of the ribbon through the gap at the top of one side of the heart and tie a double knot to keep it in place. Thread the letter beads onto the other end of the ribbon and tie another knot. Pass the centre of the ribbon through the loop at the top of your bookmark and then pass the letter beads and the heart through the resulting loop to form a lark’s head knot. Figure 9.

9 / a

Downloads

This website is using cookies

To improve our services and provide information that suits your interest, we use the advanced website traffic analytics tools. However, we need your consent. More information about how we process and protect your data can be found in the privacy statement. We ask you for approval of the terms.

Functional cookies These cookies are necessary for the proper functioning of the website and therefore cannot be turned off.
Analytics cookies Analytical cookies help us track and analyze the way visitors interact with our site in Google Analytics 4. This information allows us to improve content and provide a better user experience.
Marketing cookies Reading and writing cookies for marketing purposes for advertising systems such as Google Ads or Sklik. These cookies allow us to track user behavior and measure website performance and the effectiveness of our advertising campaigns.
Personalized advertising Remarketing cookies allow us to present you with personalized advertising based on your previous interactions with our site in systems such as Google Ads, Sklik.
Use of personal data With this option, you consent to the sending and processing of your personal data to Google for the purposes of targeting and evaluating online advertising and targeted marketing.