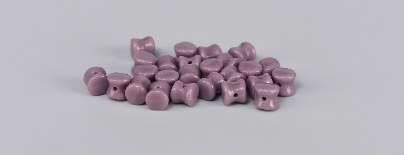
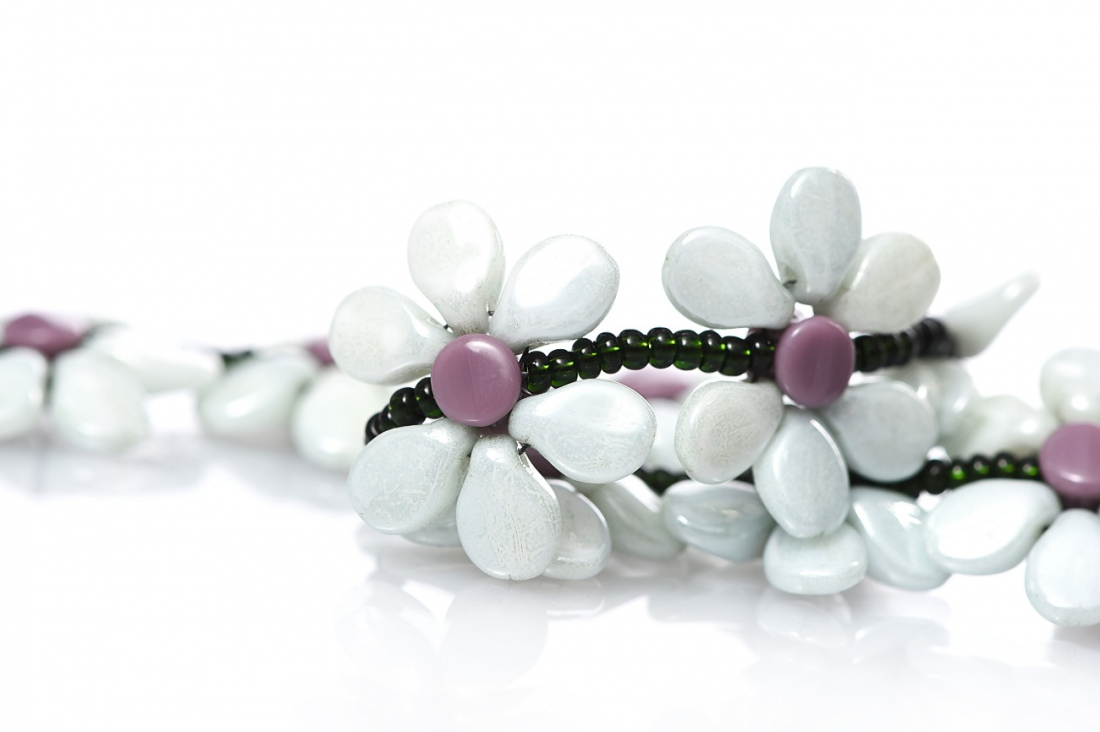
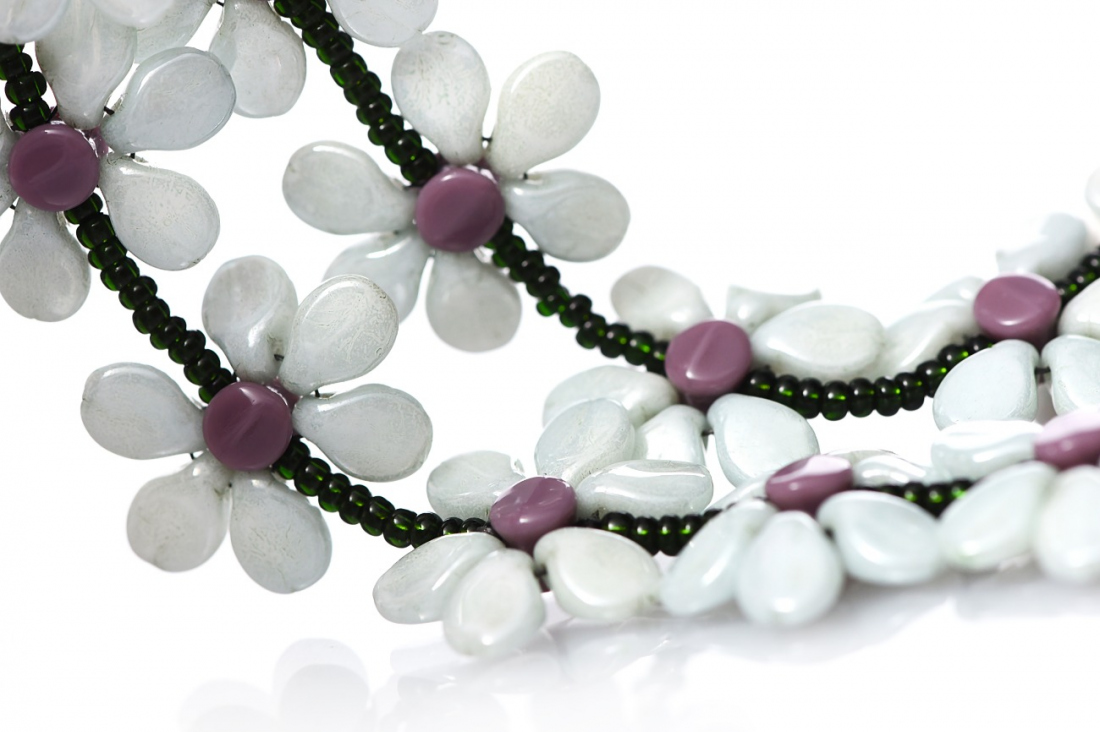
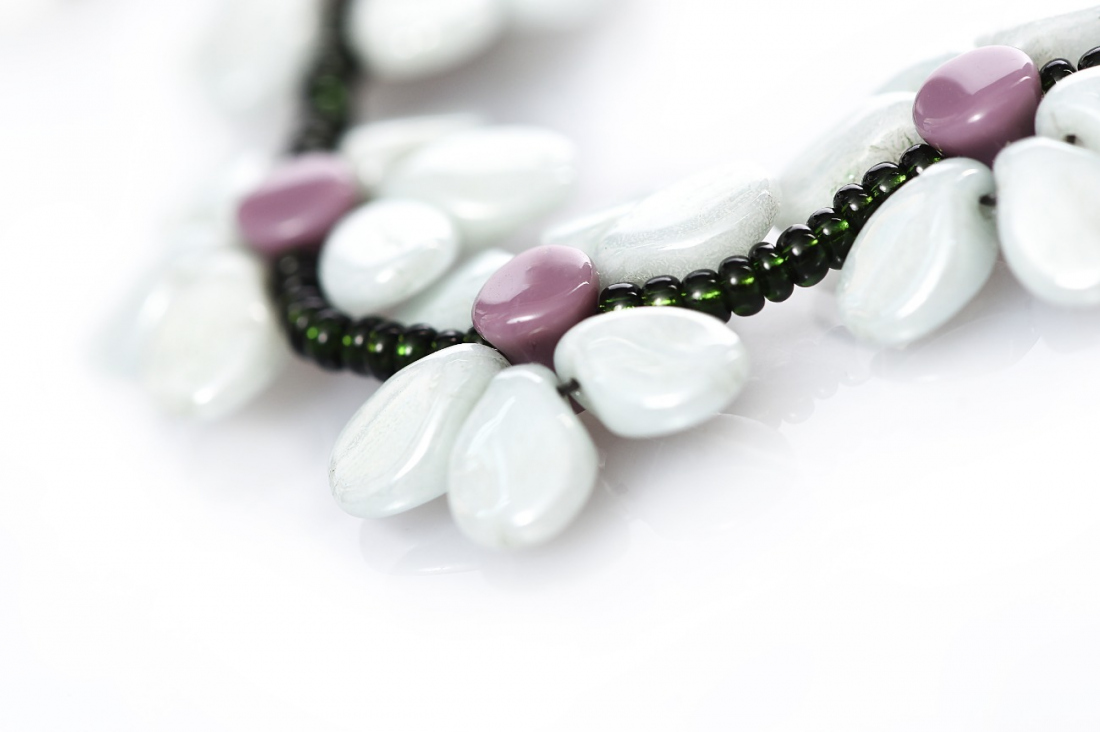
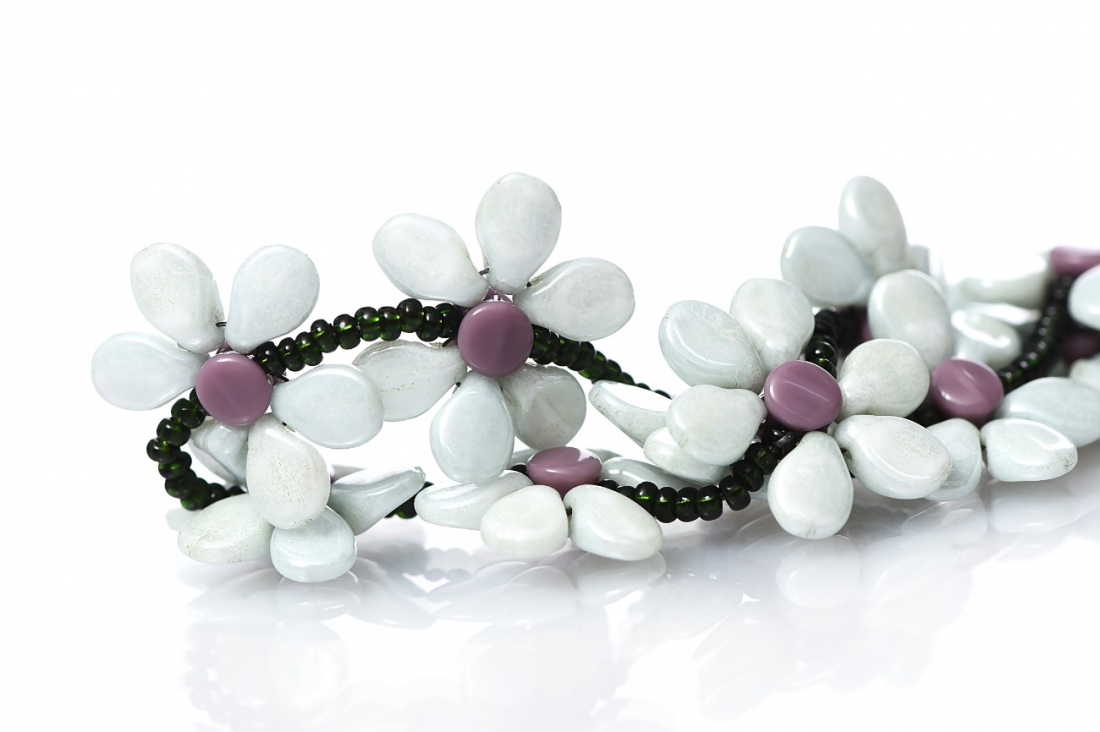
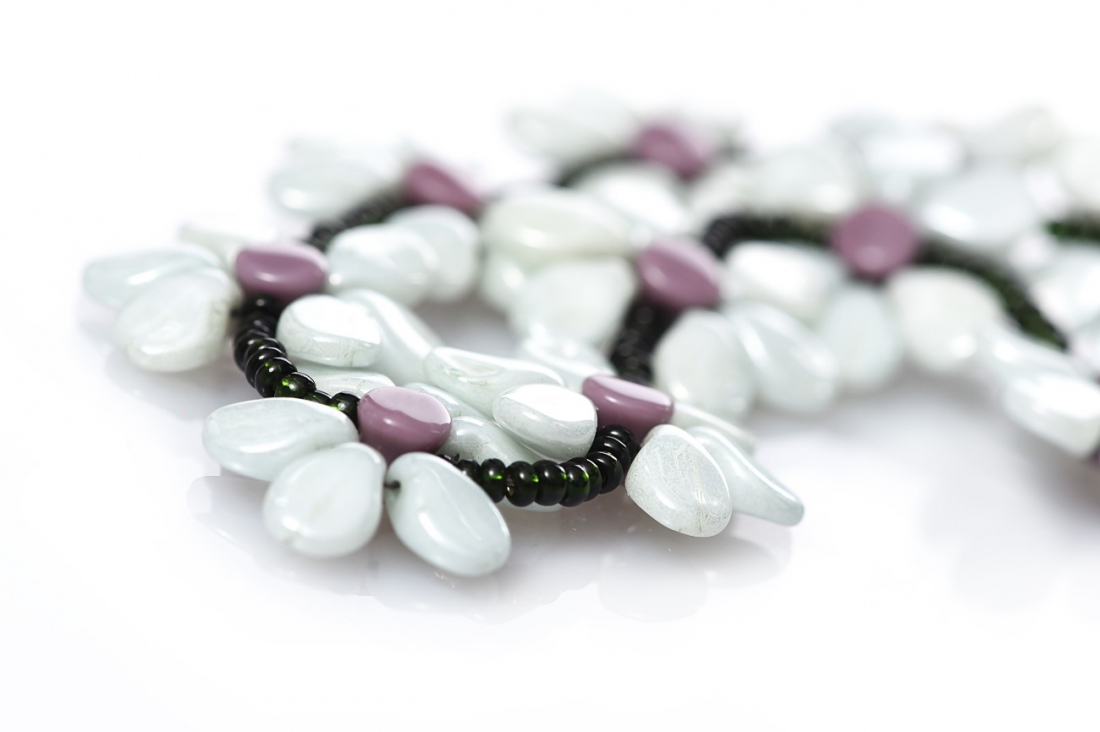
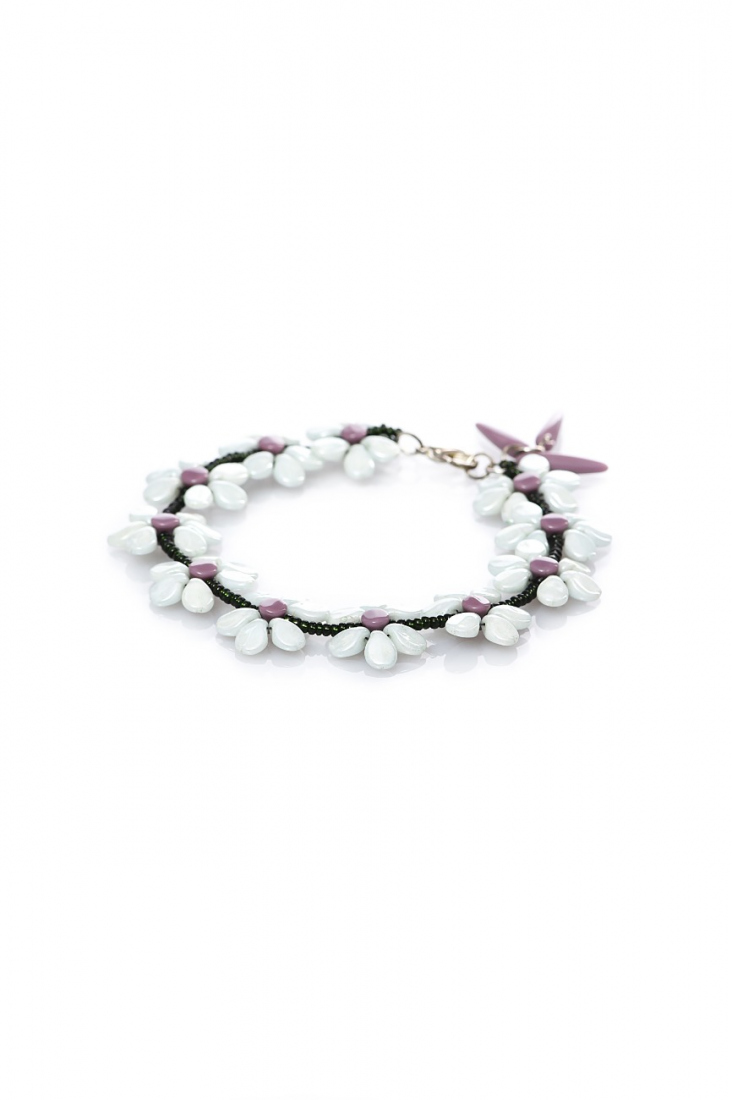
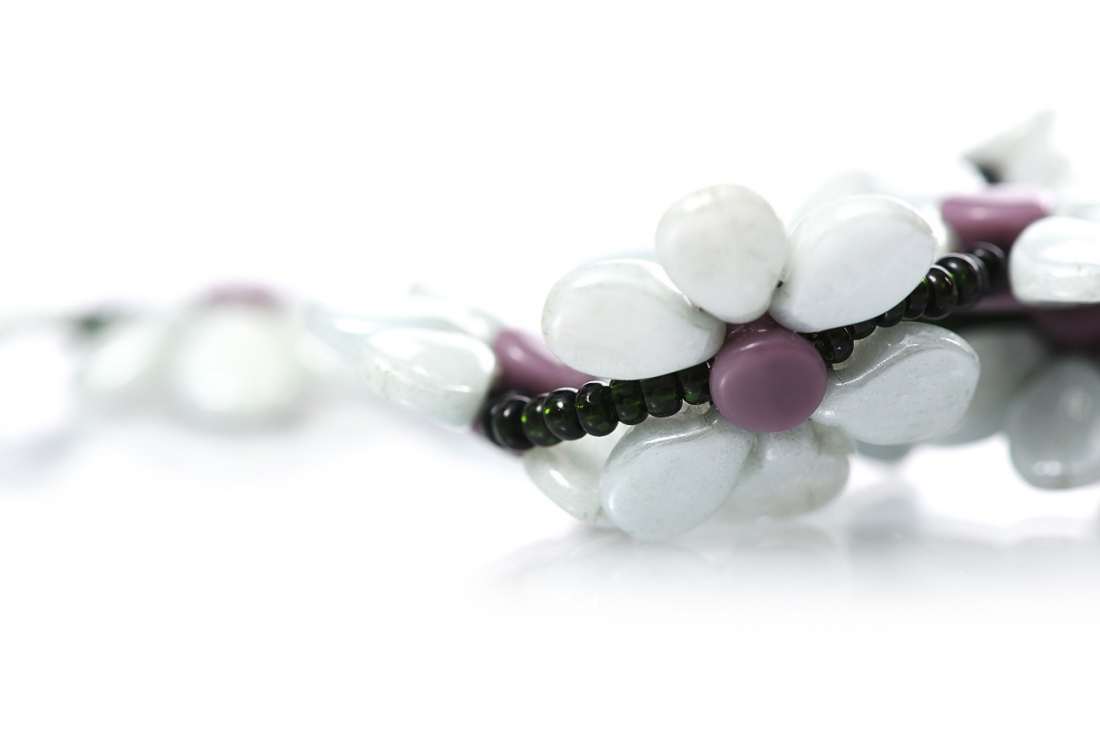
Floral motifs are still current. Preciosa Ornela presents a tutorial on how to assemble a floral bracelet from the popular PRECIOSA Pip™ and PRECIOSA Pellet™ beads. Be inspired and create your own floral accessory. Choose suitable colors from the wide range of beads and seed beads sold under the PRECIOSA Traditional Czech Beads™ brand.

"I work with beads, therefore I am." The Czech designer Hana Černá, nicknamed Hanule, works with beads and seed beads because she loves being creative. She also teaches others who share her enthusiasm and she does it all with her own type of blacker than black humour. She established the Beads on Facebook (Korálek na Facebooku) group which provides inspiration, encouragement and advice in the area of beadworking.
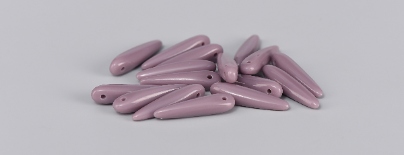
Learn MoreYou can also use PRECIOSA Thorn™ beads in the same color as the PRECIOSA Pellet™ for additional decorations.
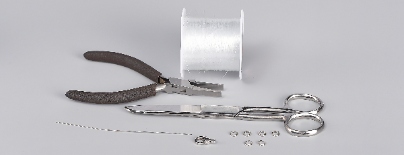
Rings for finishing; a carabiner; Nymo thread or a line; a needle; scissors; pliers
Share this project with your friends