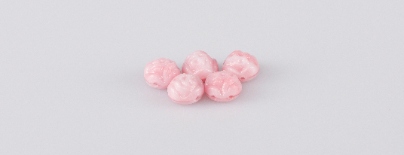
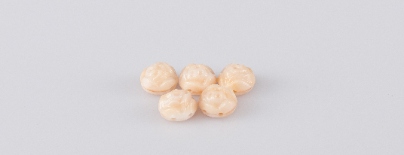
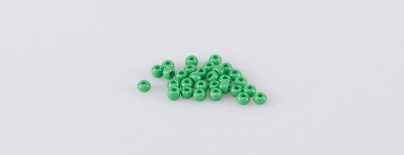
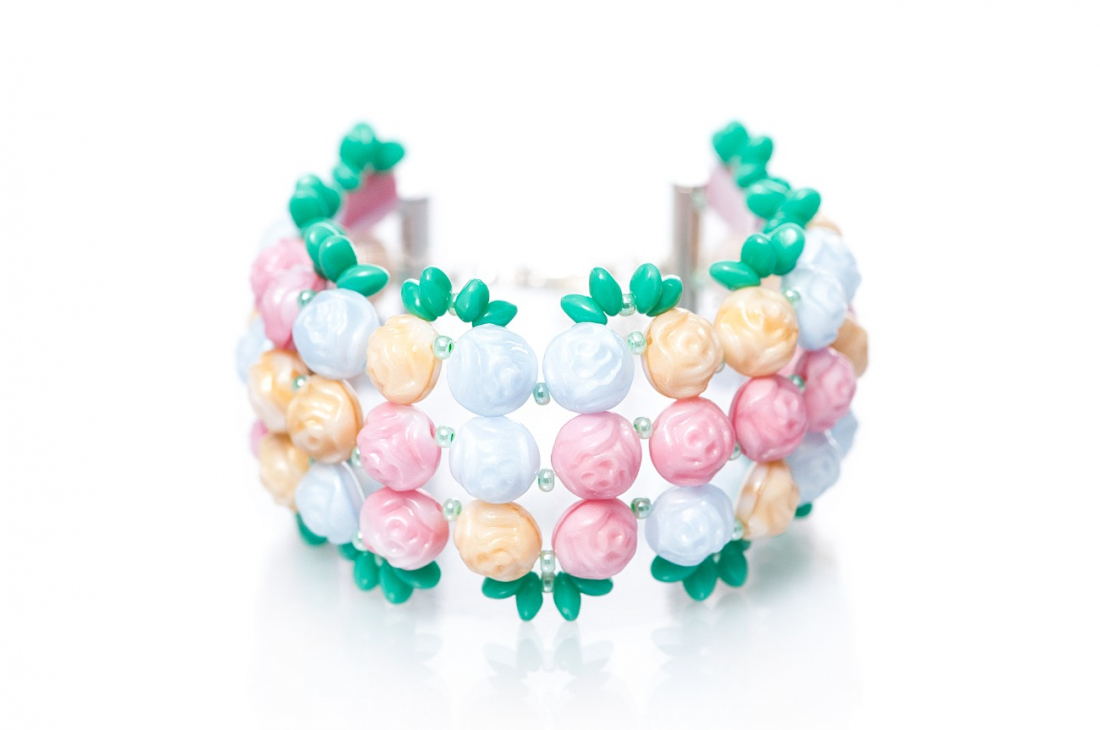
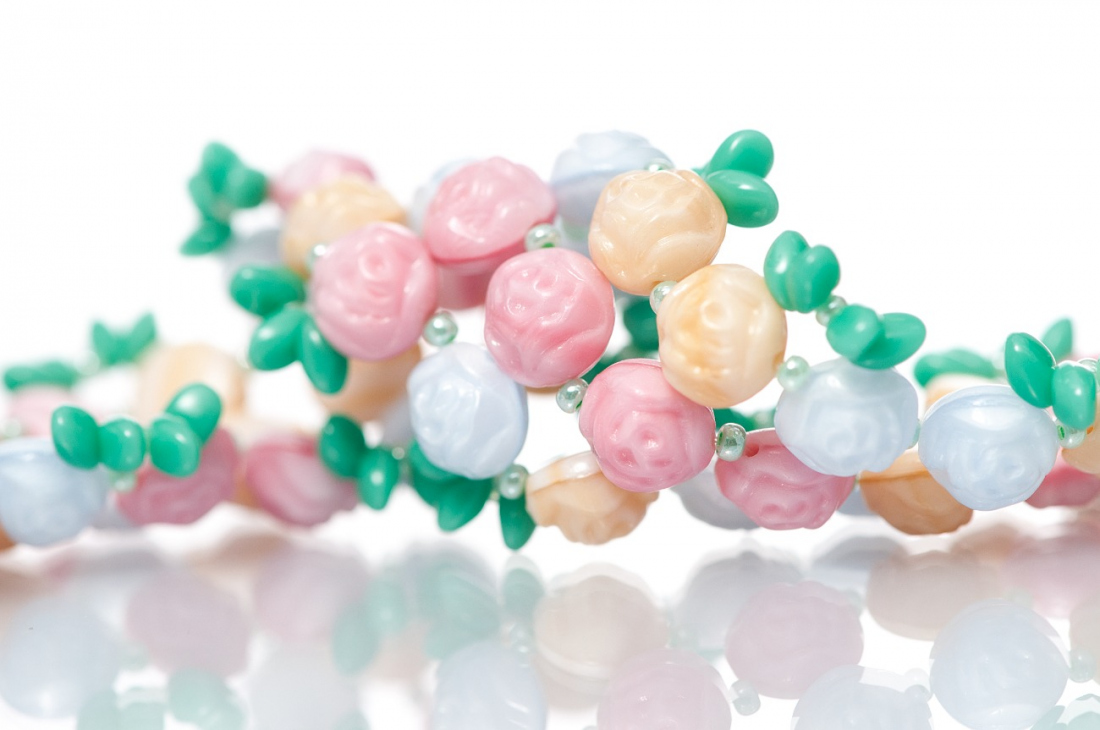
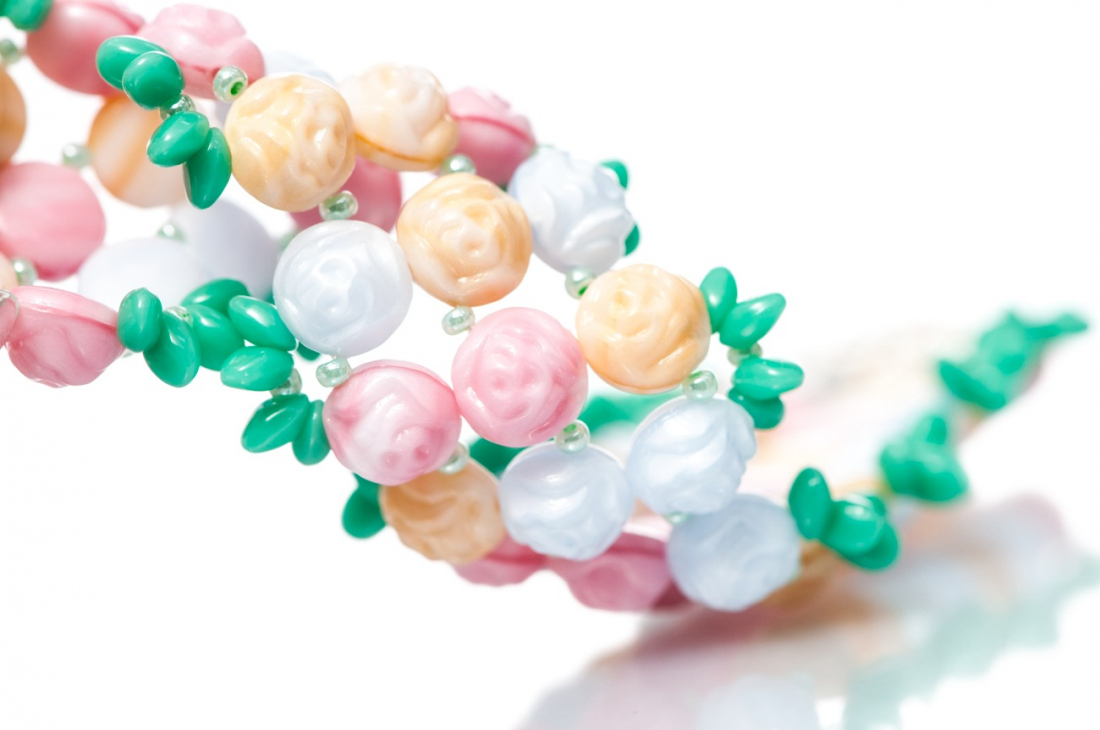
We have prepared an attractive bracelet for you in pastel shades and made with the new PRECIOSA Candy Rose bead in combination with PRECIOSA Solo™. We have modified the smooth shape of PRECIOSA Candy™ and created an embossed surface with a stylised rose, as the name suggests.

She is able to switch from luxurious and extravagant fashion show pieces to the preparation of hobby projects,
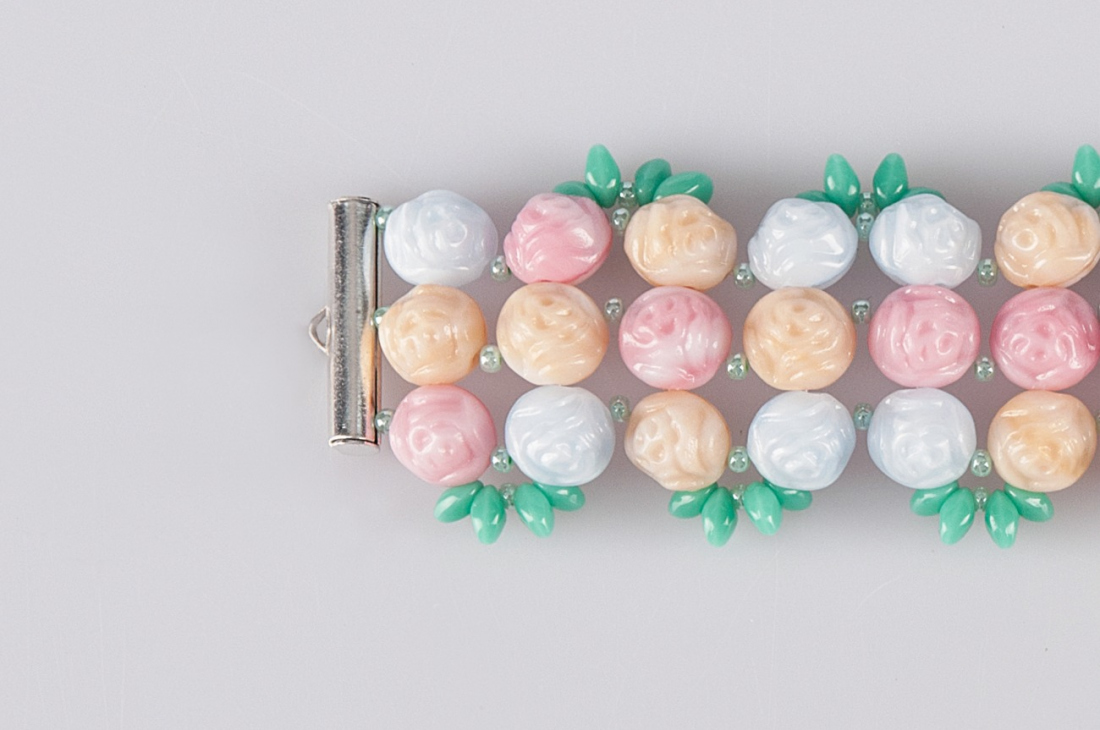
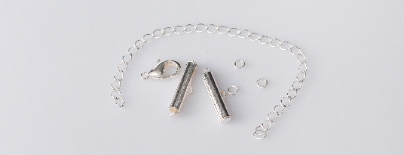
Learn MoreCylindrical hangers; 5 mm rings; a carabiner; an adjusting chain
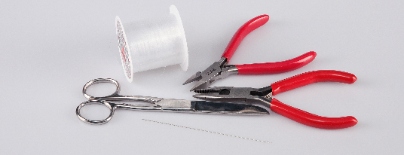
A 0.20 mm nylon line; a thin needle; scissors; snipping pliers; flat nose pliers
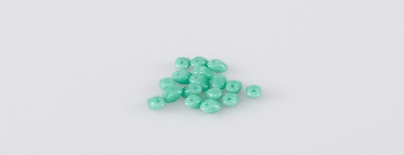
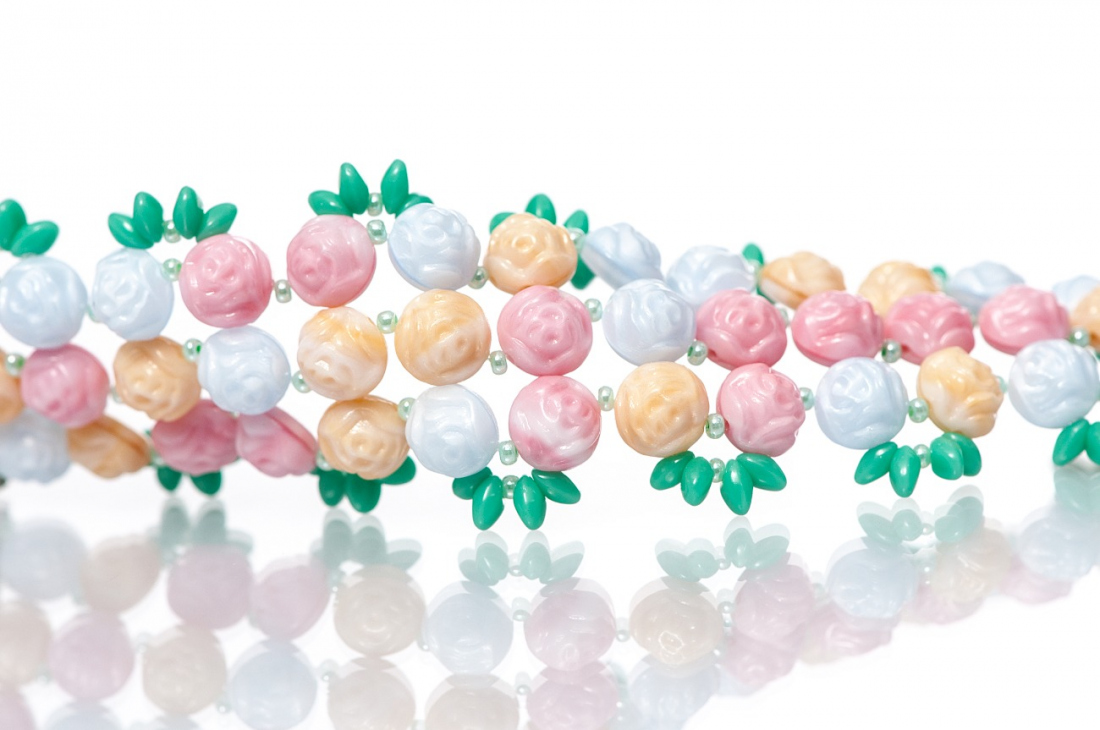
The bracelet consists of three rows of CR. Simultaneously string the first and second rows on a long stringing. Then thread the third row to the second row. Reinforce the edges with a stringing of S.
Share this project with your friends