Fire Polished Flower

Difficulty: 3
Technique: circular and flat brick stitch, ladder stitch

Decorative flower made from PRECIOSA Fire Polished Beads

Ambassadors

Kerrie Slade

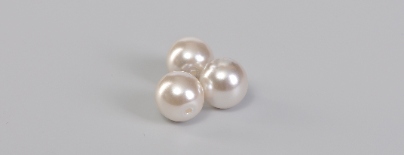
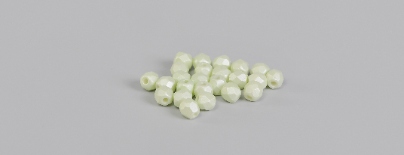
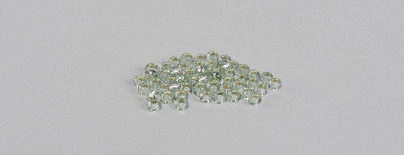
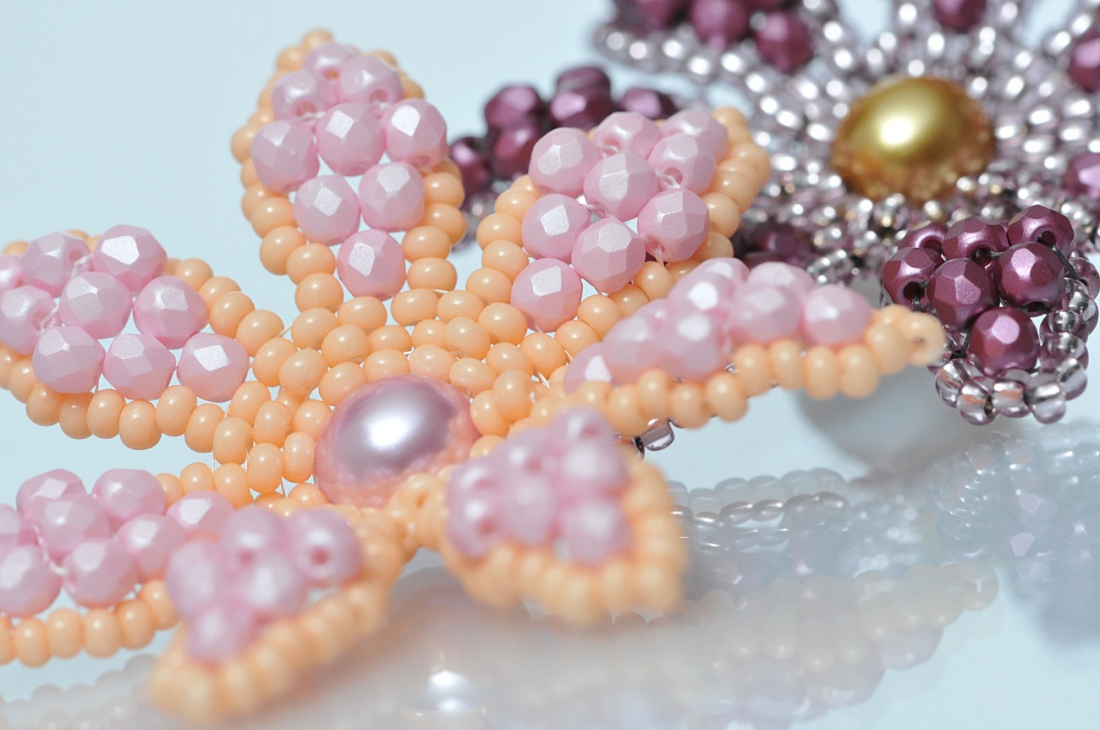
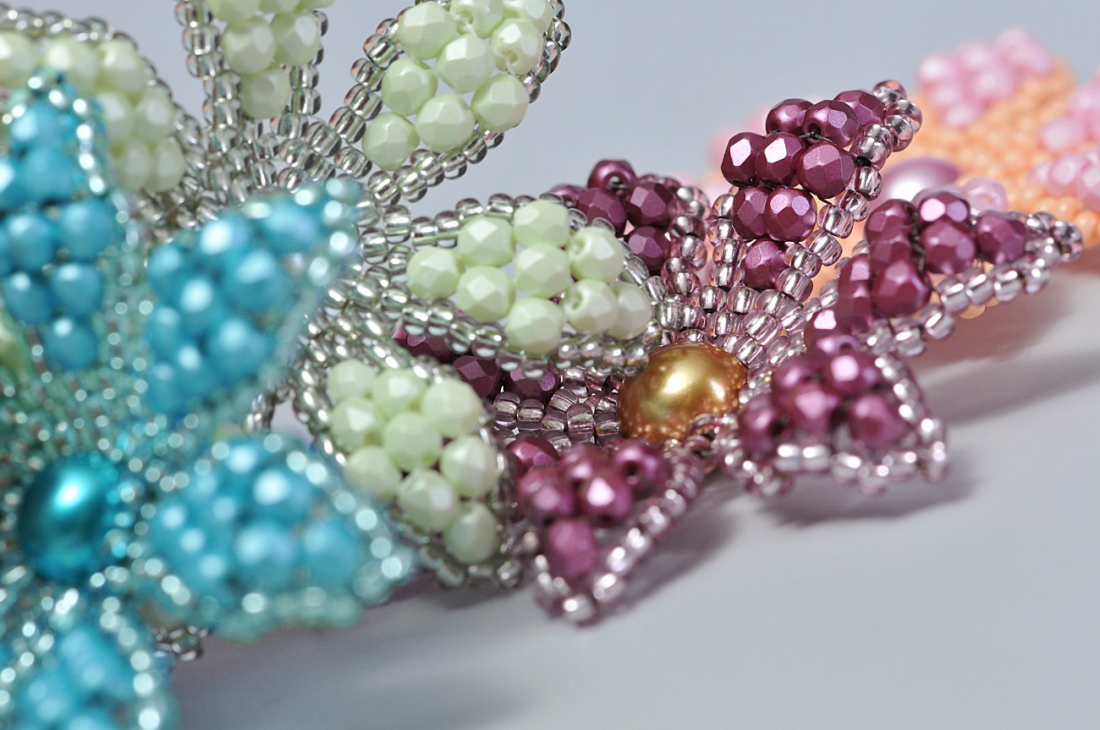
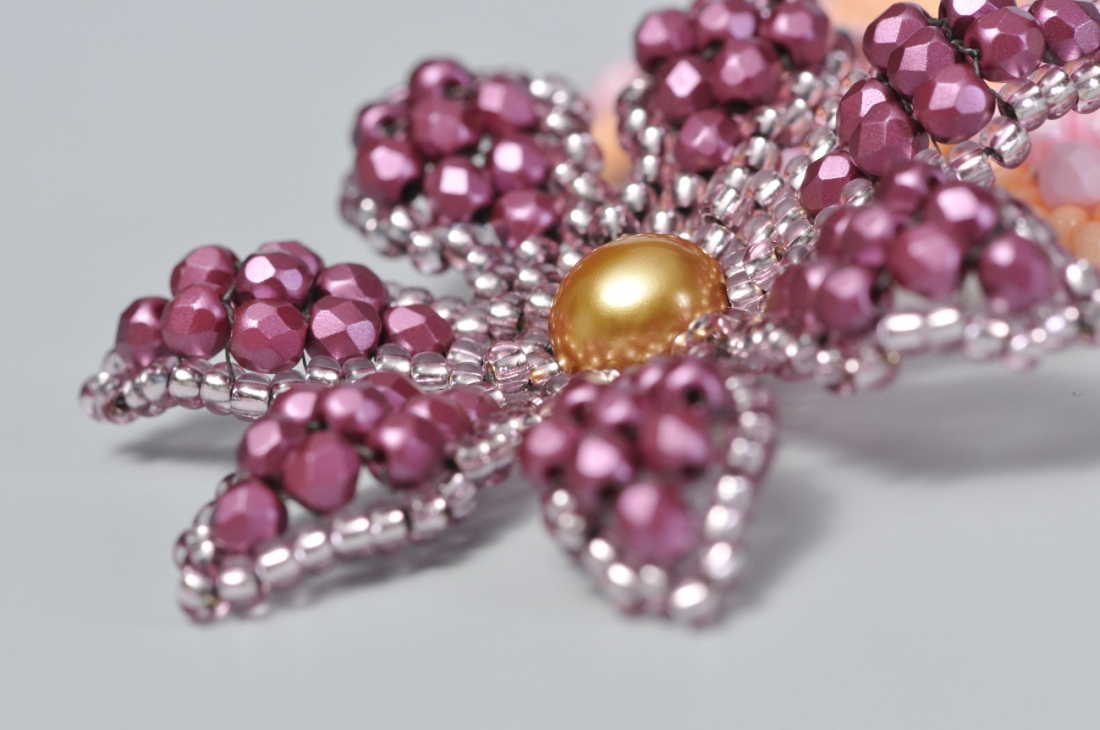
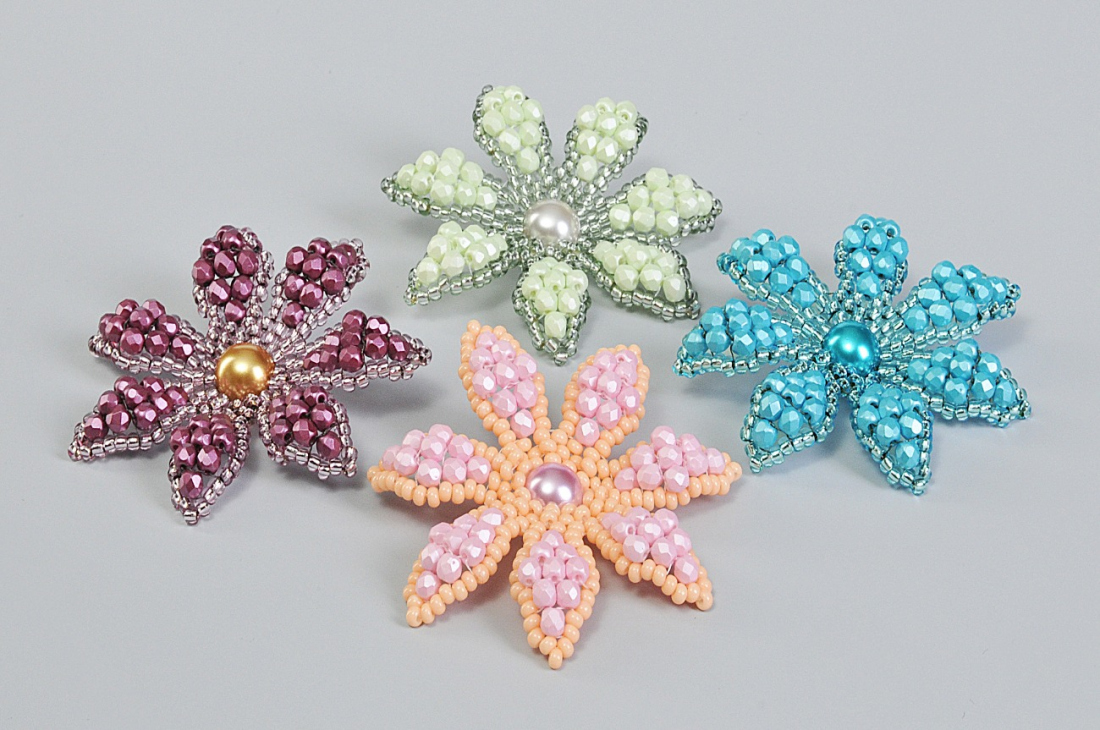
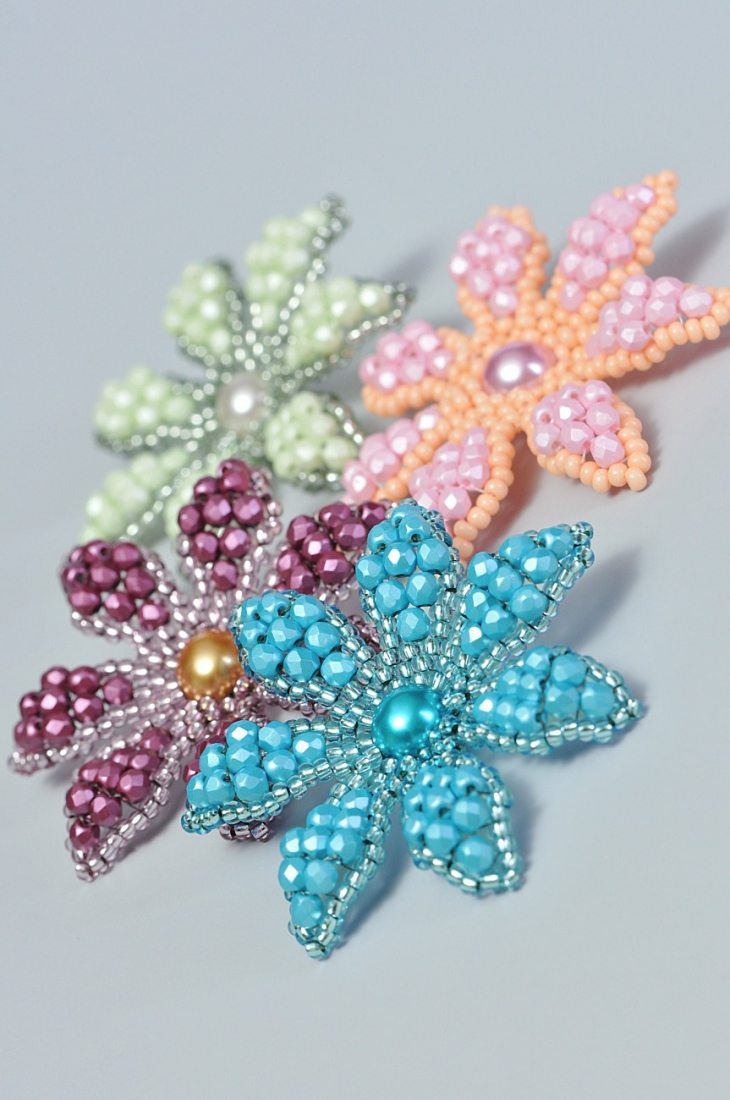
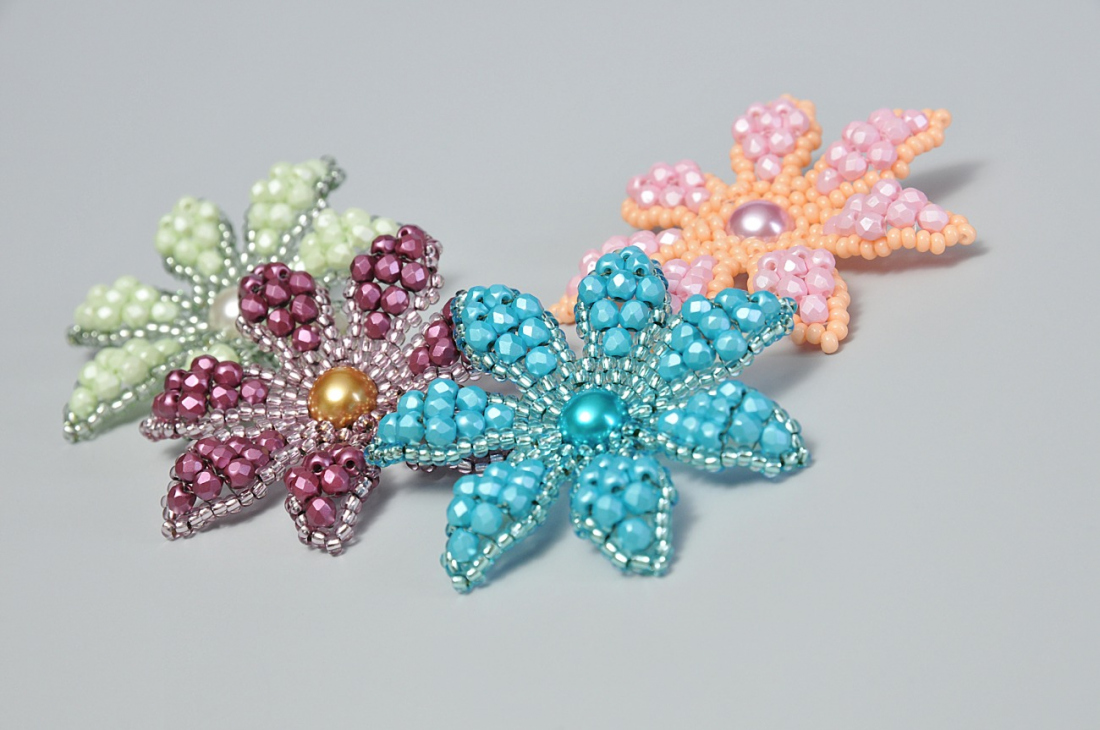
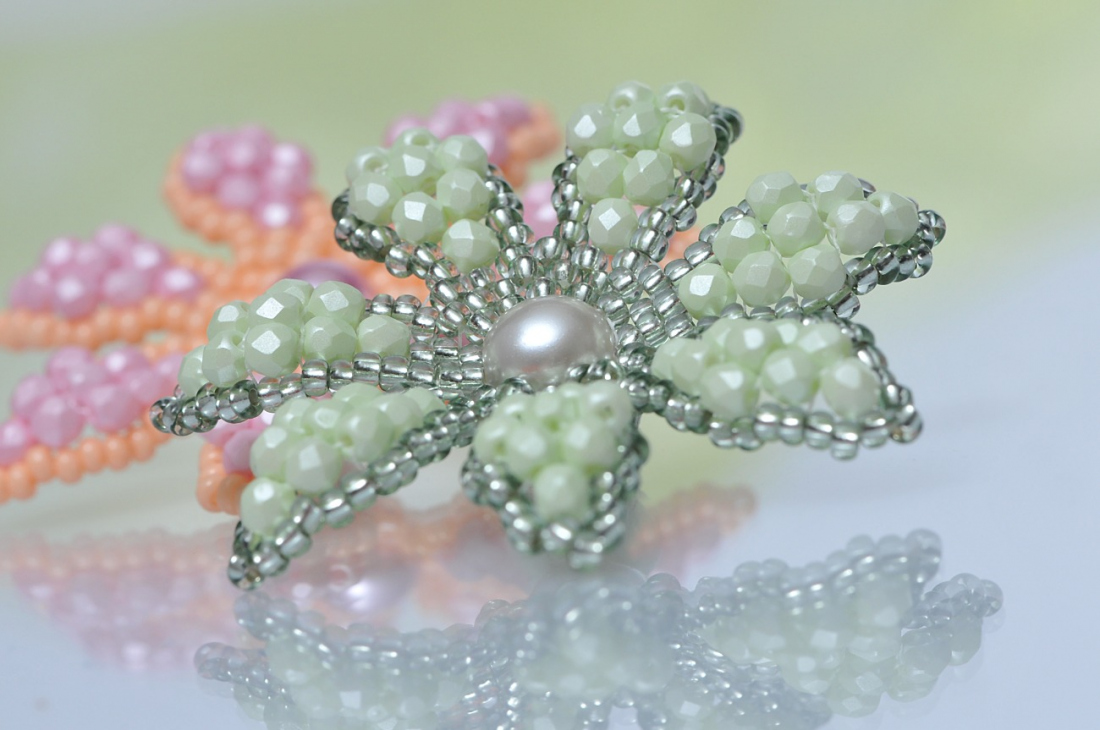
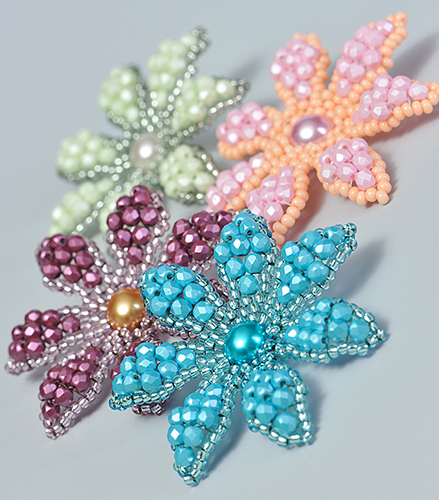
Kerrie Slade have used Czech PRECIOSA Traditional Czech seed beads in her creation.

Learn More

Procedure

The finished flower measures approximately 5 cm in diameter.

Step 1

To make the flower

Thread your needle with 2.3 m of thread and pick up the IP. Leaving a 15 cm tail, pass your needle through the IP again so that a thread lays on the outside edge of the bead. Pass your needle through the IP 3 more times and arrange the threads so that 2 lay on either side of the bead on opposite sides (fig. 1).

1

Step 2

Begin working in circular brick stitch by picking up 2x R10 and passing your needle under the pair of threads on one side of the IP and back through the second R10 (fig. 2a).

Continue working in circular brick stitch, adding 1x R10 at a time and passing your needle under both threads on the outside edge of the IP. Add 7x R10 to one side of the IP and 7 to the other side as shown in figure 2b. Complete the row by ladder stitching the first and last R10 in this row together so that they are connected into a circle as shown in figure 2c.

2 / a

Step 3

For the next row, work an alternate increase. Begin by picking up 2x R10 and passing your needle under the thread bridge created between the first and last R10 added in the previous row, and back through the second R10 just added (fig. 3a).

Pick up 1x R10 and pass your needle under the next thread bridge along and back through the R10 just added. Pick up 1x R10 and pass your needle under the next thread bridge and back through the new R10, and then work an increase by picking up 1x R10 and passing your needle under the same thread bridge as the previous bead and back through the new R10 (fig. 3b).

Continue working in this manner adding 1x R10 to one thread bridge and 2x R10 to the next thread bridge (adding 1x R10 at a time). There should be a total of 21x R10 in this row (fig. 3c). Complete the row by ladder stitching the first and last R10 together to join them into a ring as shown in figure 3d.

3 / a

Step 4

Work another row of circular brick stitch by adding 2x R10 to the first thread bridge and 1x R10 to the next 19 thread bridges. There should be a total of 21x R10 in this row (fig. 4a). Complete the row by ladder stitching the first and last R10 together to join them into a ring as shown in figure 4b.

4 / a

Step 5

To begin creating your first petal, pick up 2x R10 and 1x FP and pass your needle under the thread bridge created between the first and last R10 added in the previous row and back through the FP. Pick up 2x R10 and pass your needle under the next thread bridge and back through the 2x R10 (fig. 5).

5

Step 6

The next row is an increase row. Pick up 2x R10 and 1x FP and pass your needle under the thread bridge created between the FP and last pair of R10 added in the previous row and back through the FP. Pick up 1x FP and pass your needle under the next thread bridge and back through the FP. Pick up 2x R10 and pass your needle under the same thread bridge and back through the 2x R10 (fig. 6).

6

Step 7

Work another increase row as follows - pick up 2x R10 and 1x FP and anchor them to the first thread bridge, 1x FP to the second thread bridge, 1x FP to the third thread bridge and 2x R10 to the third thread bridge (fig. 7).

7

Step 8

The next row is a decrease row. Pick up 2x R10 and 1x FP and anchor them to the second thread bridge. Anchor 1x FP to the third thread bridge and 2x R10 to the fourth thread bridge (fig. 8).

8

Step 9

Work another decrease row as shown in figure 9.

9

Step 10

Pick up 2x R10 and pass your needle under the second thread bridge and back through the second R10 (fig. 10).

10

Step 11

To add the tip to your petal, pick up 1x R10 and pass your needle down through all the R10 on the outside edge of the petal. To get into position to create the next petal, pass your needle down the R10 at the base of the petal (added in step 4) and up the R10 next to it (fig. 11).

11

Step 12

Repeat steps 5 to 11 to add a further 6 petals to your flower (fig. 12).

12

Step 13

Travel through all the R10 around the outside edge of your flower (including the R10 added in step 4 at the base of each petal) pulling your thread firmly so that little or no thread shows and the petals of your flower furl slightly. Tie off and trim both the working thread and tail thread.

13 / a

Downloads

This website is using cookies

To improve our services and provide information that suits your interest, we use the advanced website traffic analytics tools. However, we need your consent. More information about how we process and protect your data can be found in the privacy statement. We ask you for approval of the terms.

Functional cookies These cookies are necessary for the proper functioning of the website and therefore cannot be turned off.
Analytics cookies Analytical cookies help us track and analyze the way visitors interact with our site in Google Analytics 4. This information allows us to improve content and provide a better user experience.
Marketing cookies Reading and writing cookies for marketing purposes for advertising systems such as Google Ads or Sklik. These cookies allow us to track user behavior and measure website performance and the effectiveness of our advertising campaigns.
Personalized advertising Remarketing cookies allow us to present you with personalized advertising based on your previous interactions with our site in systems such as Google Ads, Sklik.
Use of personal data With this option, you consent to the sending and processing of your personal data to Google for the purposes of targeting and evaluating online advertising and targeted marketing.