Valentine's ring

Difficulty: 3
Technique: the brick stitch

Sewn ring made from PRECIOSA PermaLux

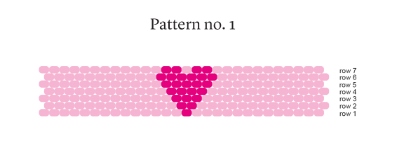
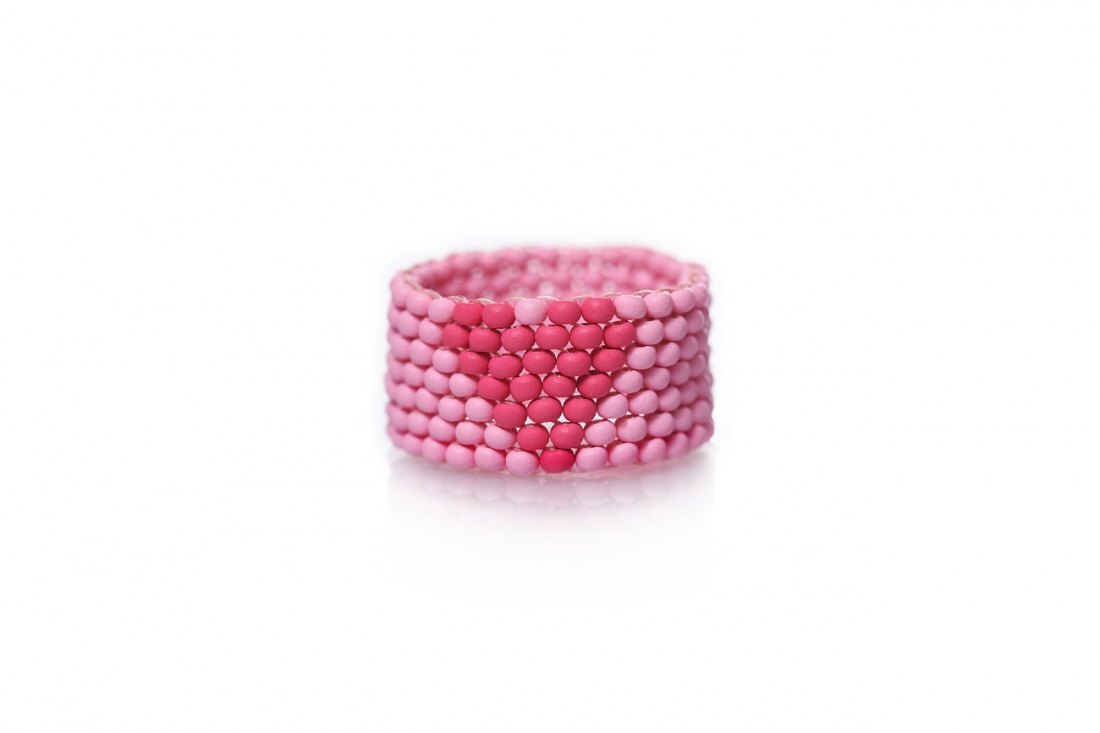
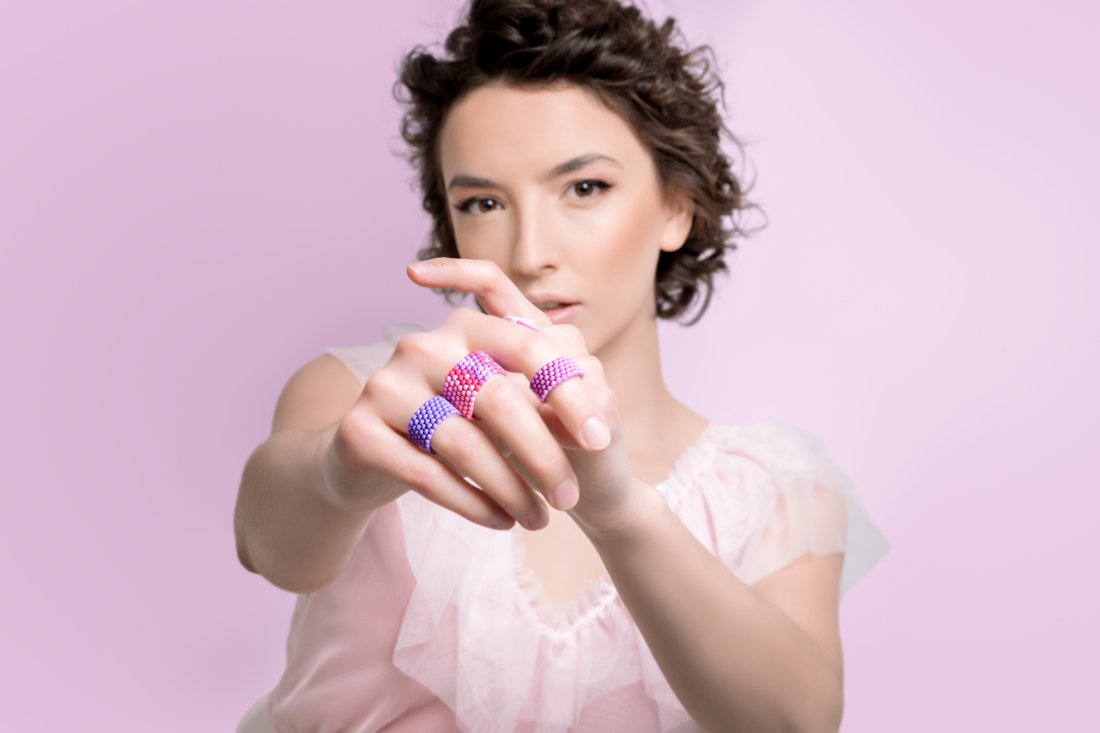
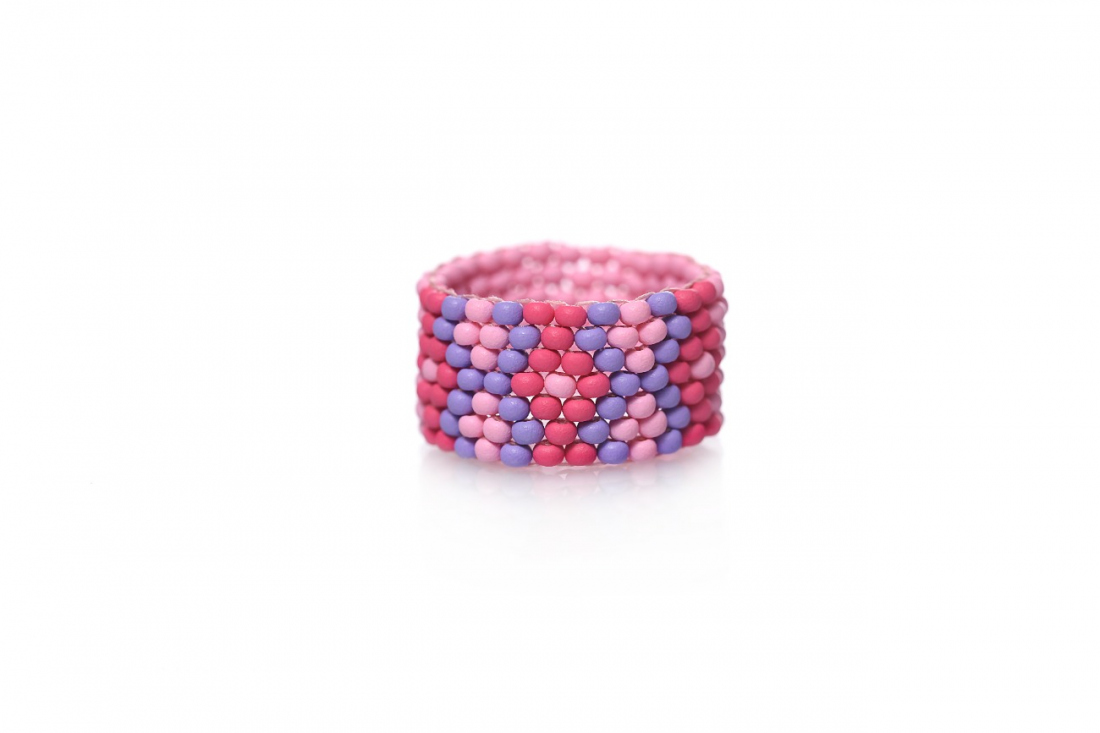
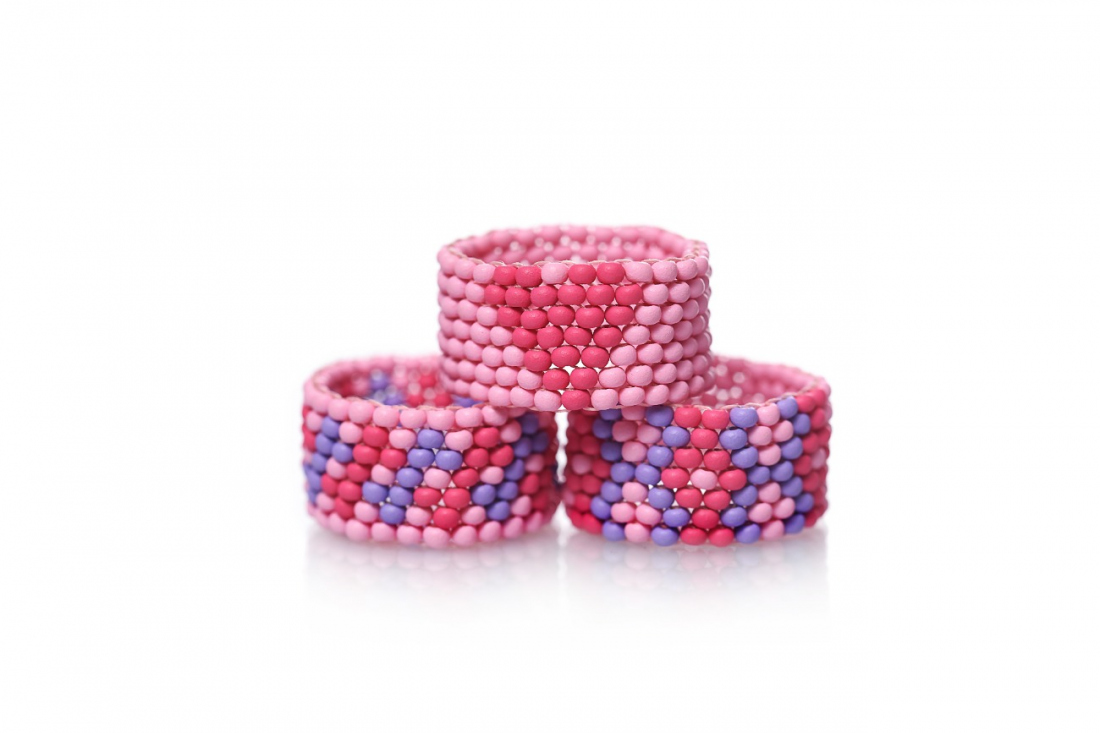
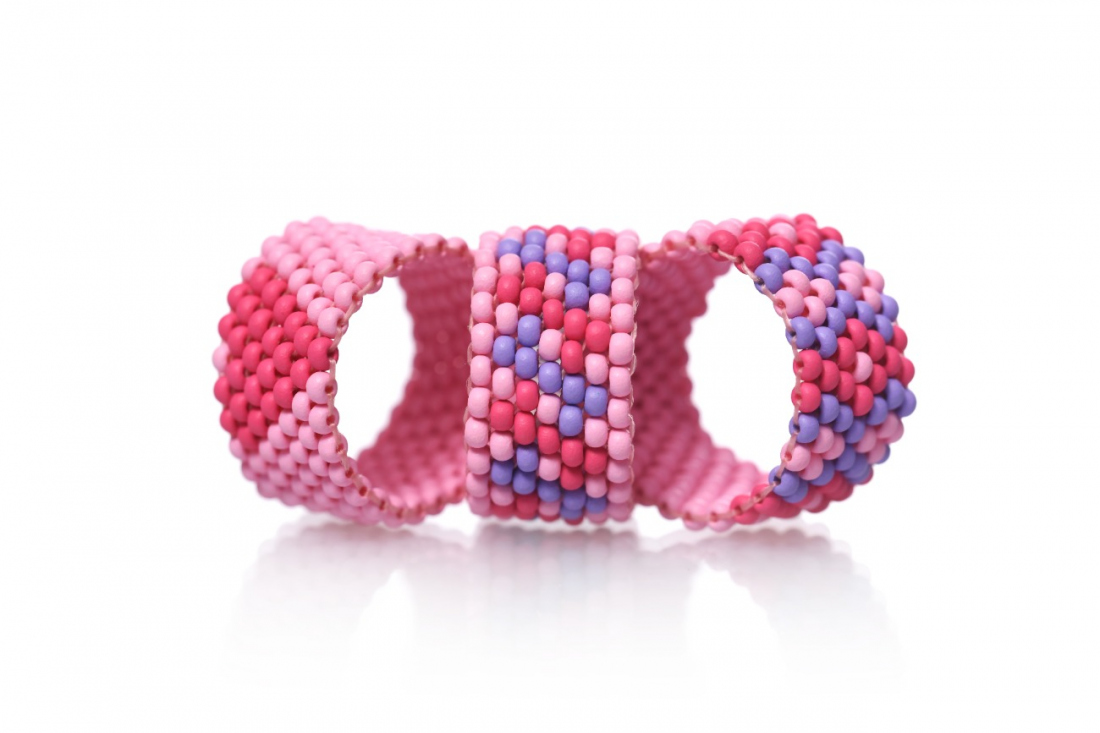
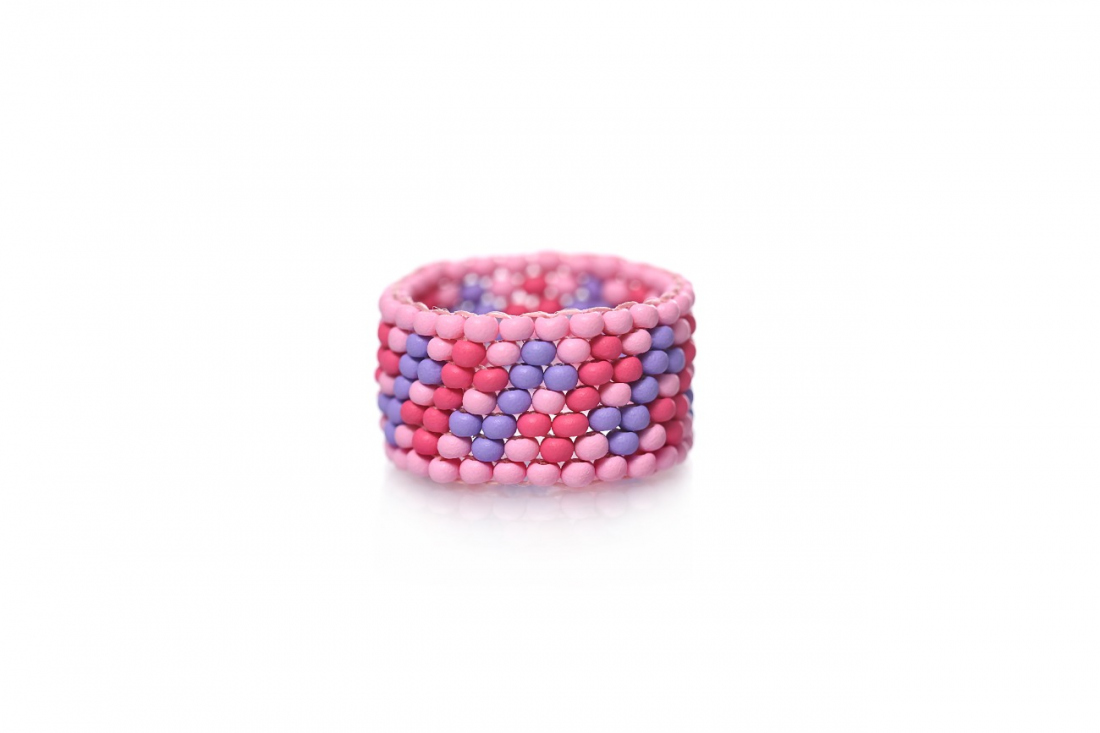
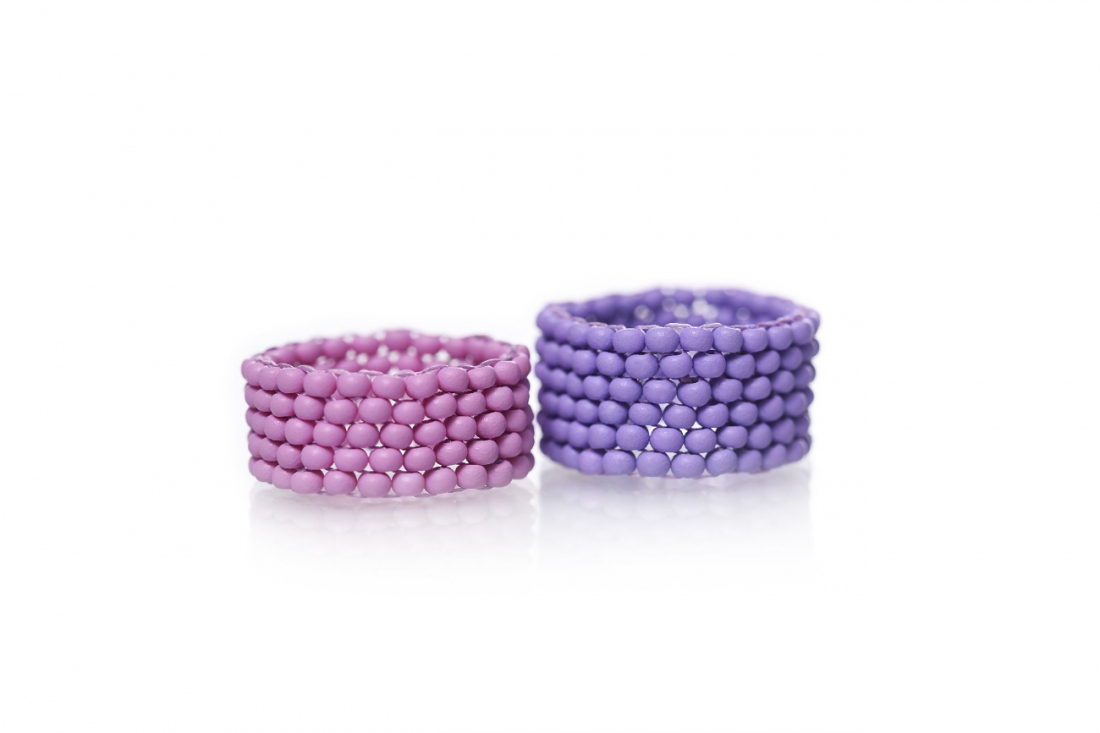
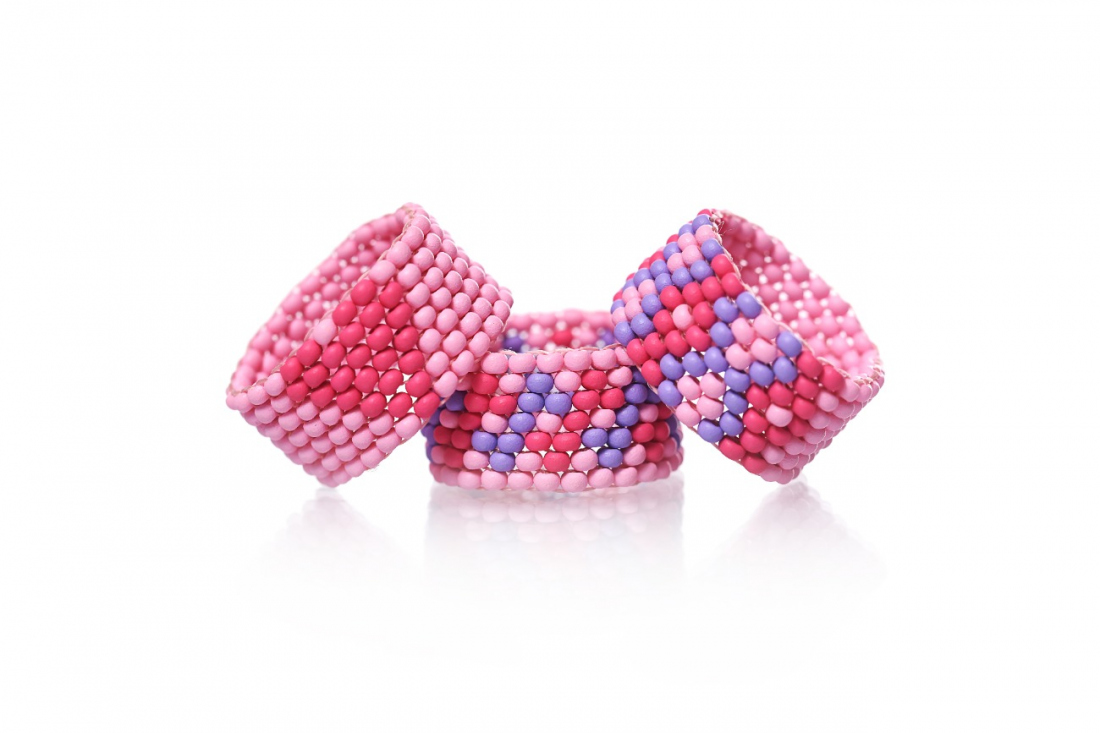
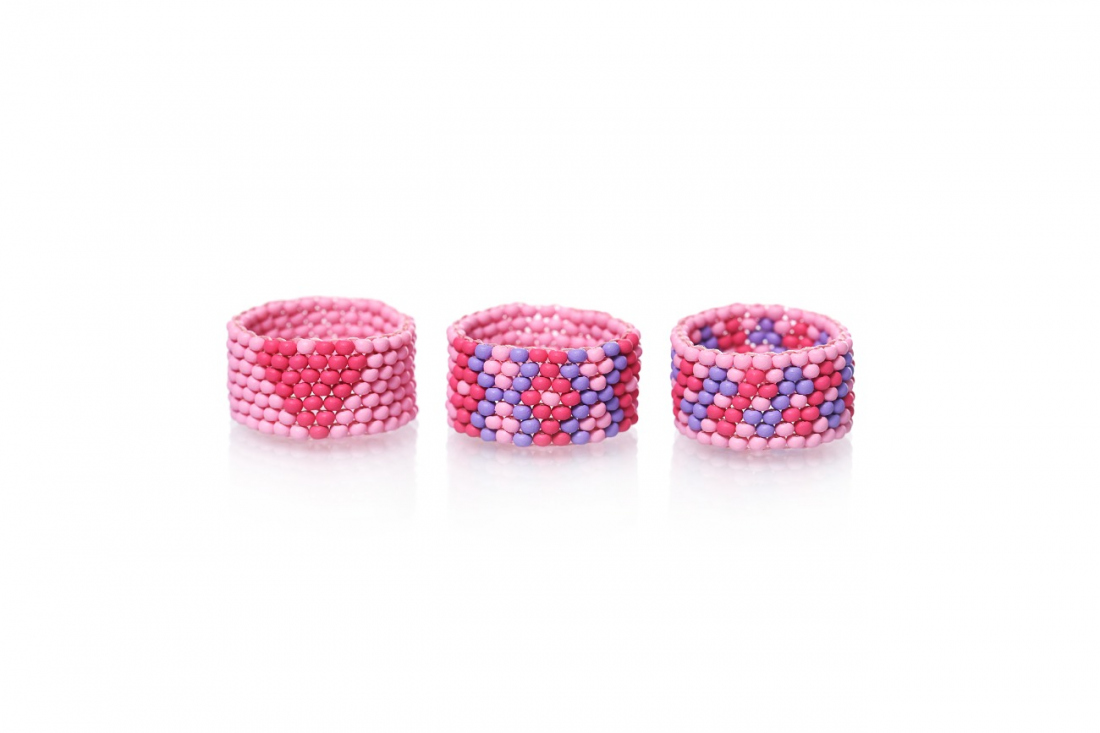
Take inspiration from our Valentine's tutorial for sewn rings and celebrate the day of love in style! You can give handmade rings to everybody you like. The PRECIOSA PermaLux seed beads in pastel colors give the rings a delicate air. So what are you waiting for?

Ambassadors

Helena Chmelíková

She is able to switch from luxurious and extravagant fashion show pieces to the preparation of hobby projects,

Learn More

Pattern no. 3

Pattern no. 3

Your pattern

Tools

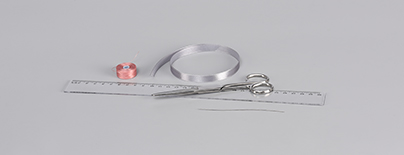
A thin needle; S-lon thread (a nylon thread) in the appropriate shade of the seed beads; scissors; a ribbon corresponding to the approximate height of the ring; a ruler

Procedure

Step 1

First use the ribbon to measure the length of the ring's circumference – the girth of your finger.

1

Step 2

Choose one of the patterns or create your own. 24x R - 63 mm.

Our choice - pattern no. 2

2

Step 3

Row 4 - cut off about 1.50 m of thread (an arm's span). String the number of R according to your finger's circumference and according to the placement in the middle row in the illustration. Move the R about 15 cm from the end of the thread. Start passing the thread through each R in the opposite direction. Visible thread will remain between the R at the sides. Once you have strung the last R connect the line into a circle by passing the thread through the first R. Tie off the thread. Pass the thread through the nearest R next to the knot. The knot will be relatively well hidden in the hole.

3 / a

Step 4

Row 5 - now start using the visible thread along the sides of the R. String 2x R at the start of each row and thread the needle under the previous thread at the second gap. String the second R in the upward direction again. Then string the R 1 at a time. Always thread the needle under the thread between the R from the previous row. Thread the needle upwards through the strung R one more time. Sew around the entire circumference in this way. Follow the pattern.

4 / a

Step 5

Row 5 – the first R in the row is twisted incorrectly. Thread the needle through it along with the R from the previous row (row 4). You will need to resolve the end of each row in the same way. Alternate the left and right sides from the middle row. Always follow the pattern.

5 / a

Step 6

Create row 3.

6 / a

Step 7

Create row 6.

7 / a

Step 8

Create row 2.

8 / a

Step 9

Create row 7.

9 / a

Step 10

Create row 1. Sew the end of the thread in among the R. Also pull the second end of the thread into the R.

10 / a

Downloads

This website is using cookies

To improve our services and provide information that suits your interest, we use the advanced website traffic analytics tools. However, we need your consent. More information about how we process and protect your data can be found in the privacy statement. We ask you for approval of the terms.

Functional cookies These cookies are necessary for the proper functioning of the website and therefore cannot be turned off.
Analytics cookies Analytical cookies help us track and analyze the way visitors interact with our site in Google Analytics 4. This information allows us to improve content and provide a better user experience.
Marketing cookies Reading and writing cookies for marketing purposes for advertising systems such as Google Ads or Sklik. These cookies allow us to track user behavior and measure website performance and the effectiveness of our advertising campaigns.
Personalized advertising Remarketing cookies allow us to present you with personalized advertising based on your previous interactions with our site in systems such as Google Ads, Sklik.
Use of personal data With this option, you consent to the sending and processing of your personal data to Google for the purposes of targeting and evaluating online advertising and targeted marketing.