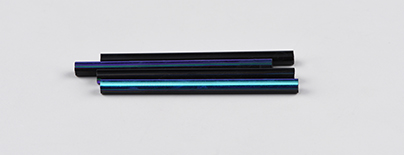
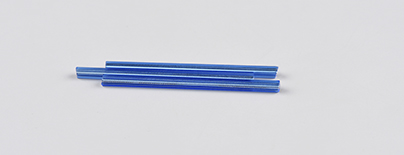
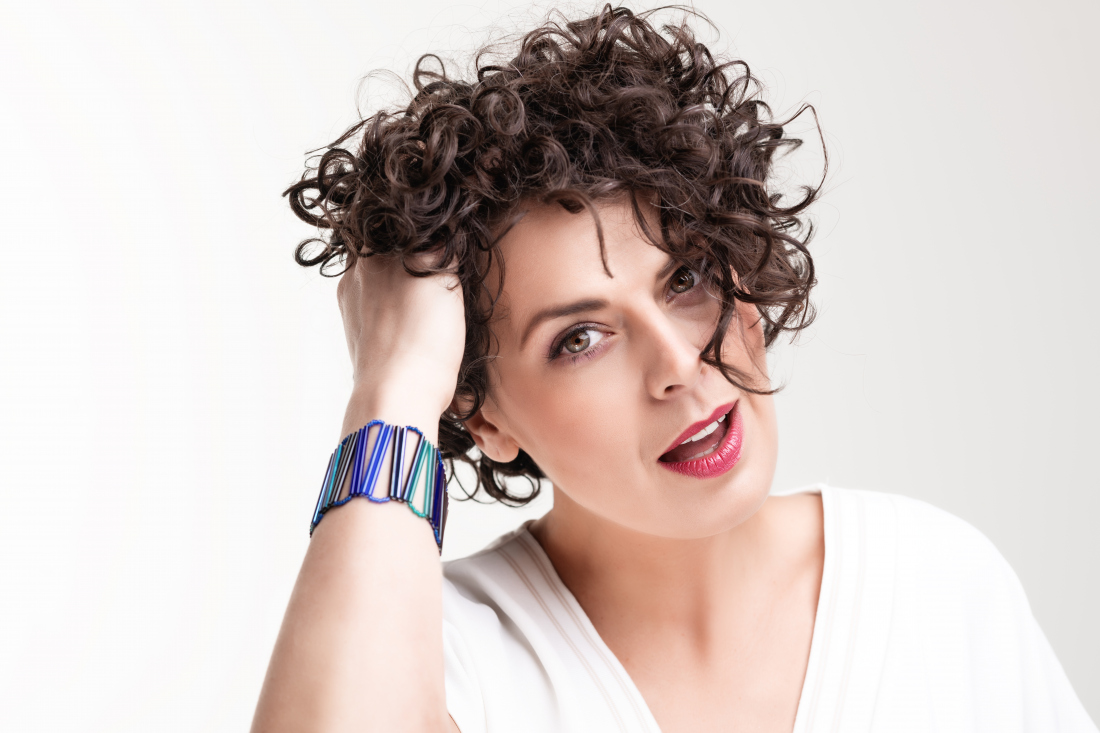
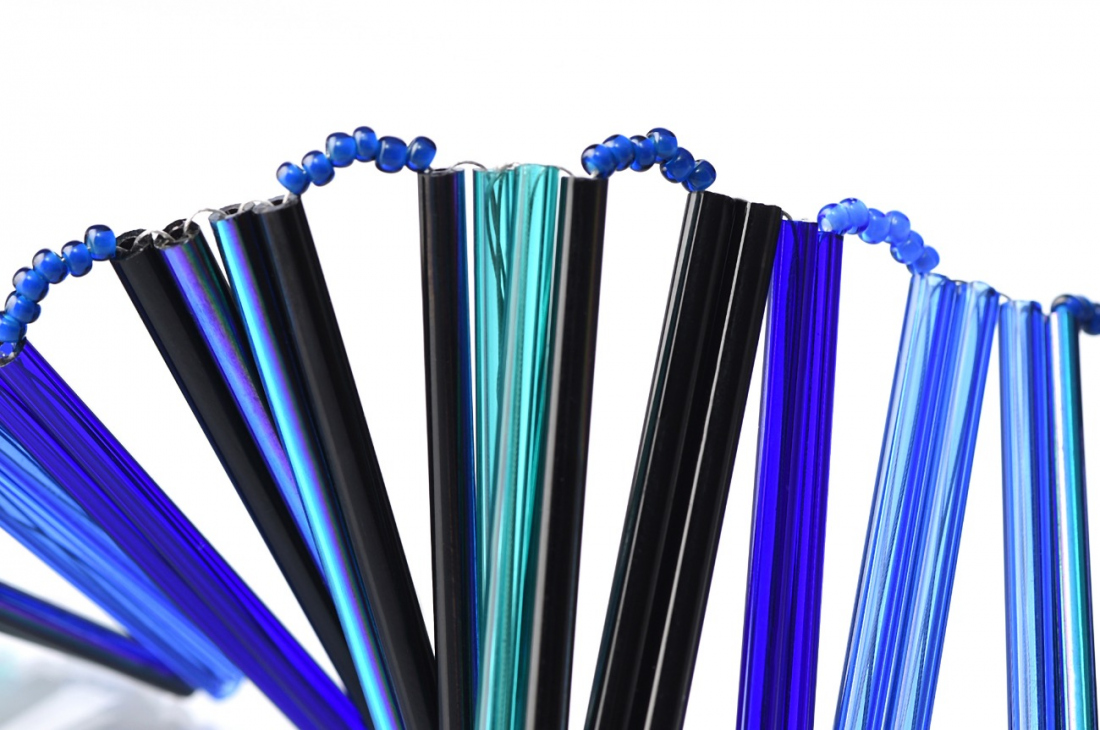
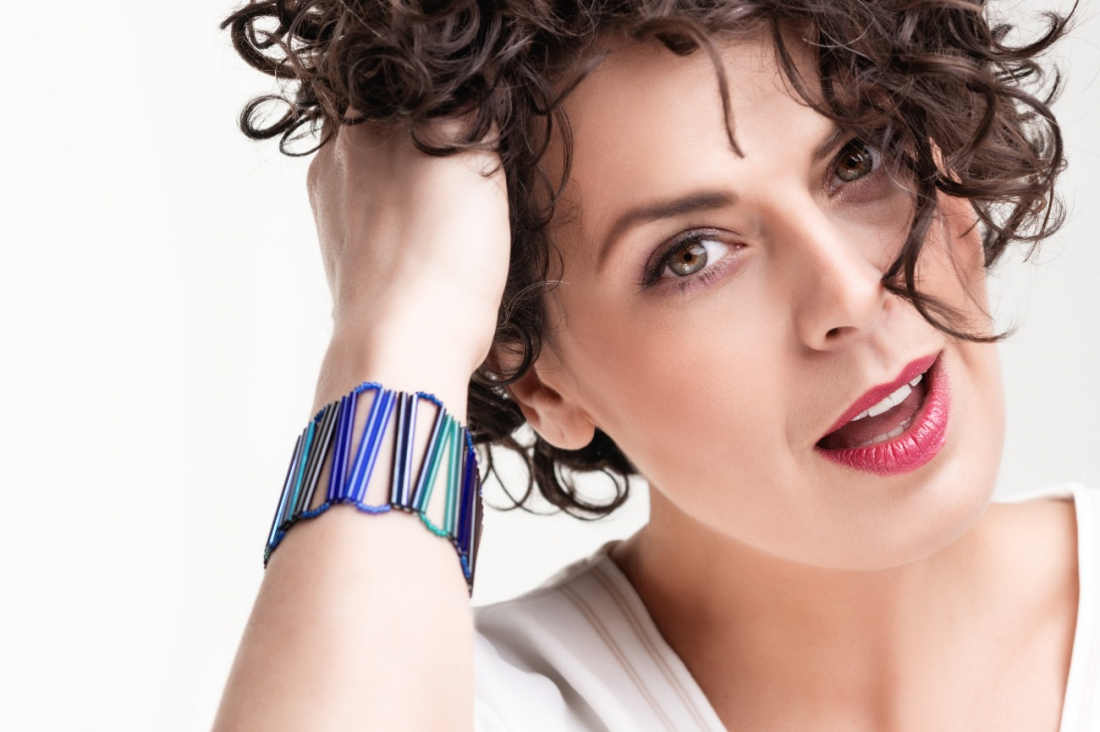
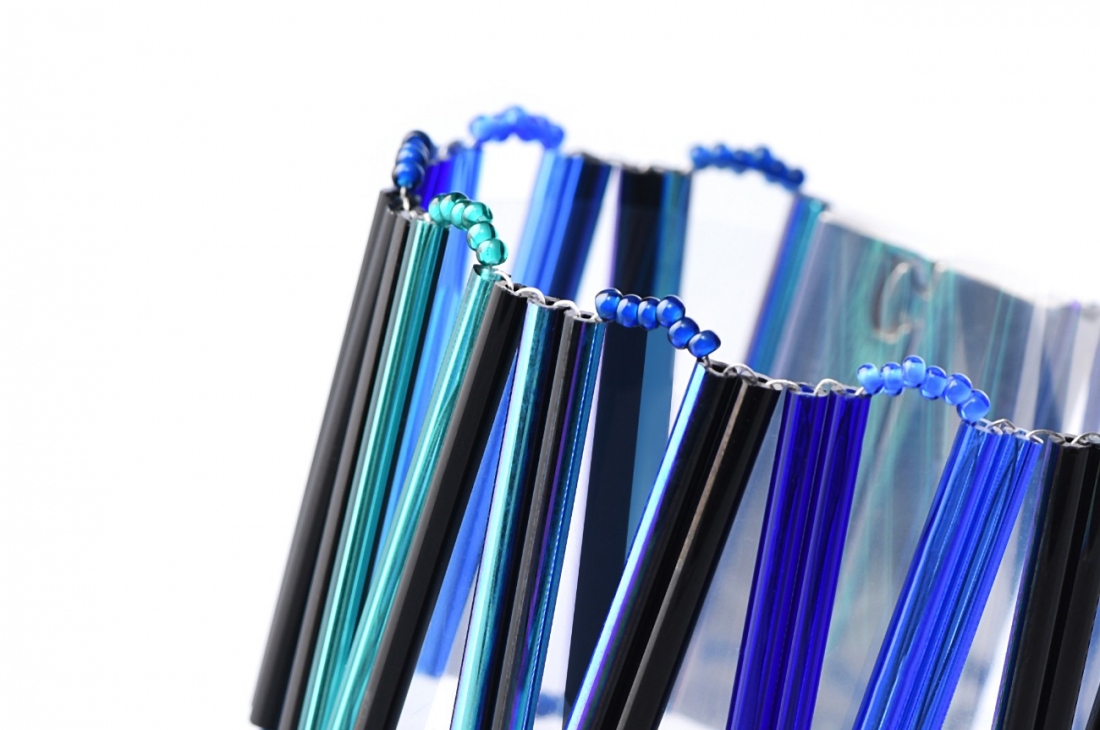
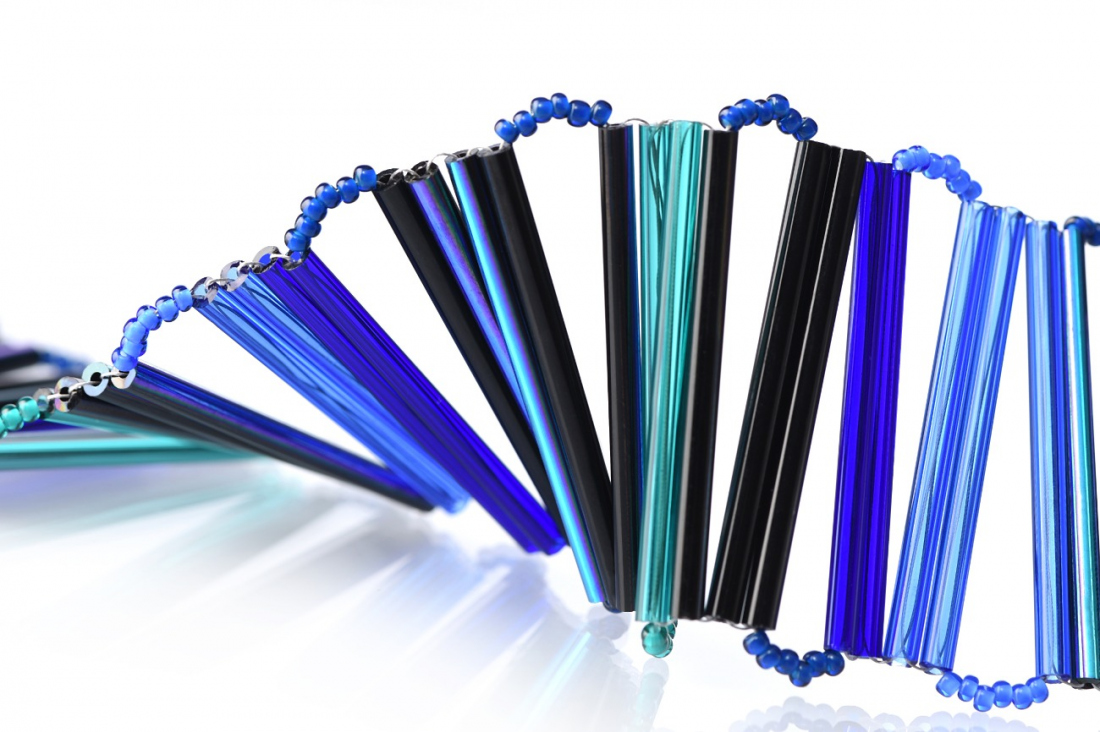
Be inspired by the color pallet of the warm months of the year. Make a bracelet according to the accessories that are trending in 2021. Play around with PRECIOSA Tubes in the tones of dark shadows, reflections from the water's surface and the rustling of leaves. You are sure to be pleased with the result.

She is able to switch from luxurious and extravagant fashion show pieces to the preparation of hobby projects,
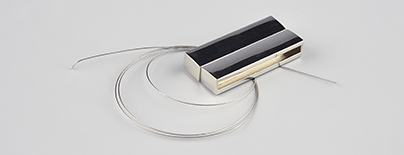
Learn MoreA regular 0.24 or 0.30 mm nylon wire; a magnetic clasp - about 40 mm (an internal cavity of 35 cm); glue for non-absorbent material
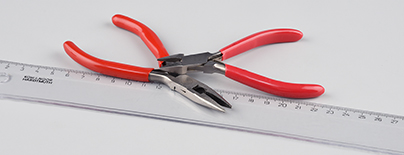
Snipping pliers; a ruler; flat nose pliers (use them to help tighten the knot)
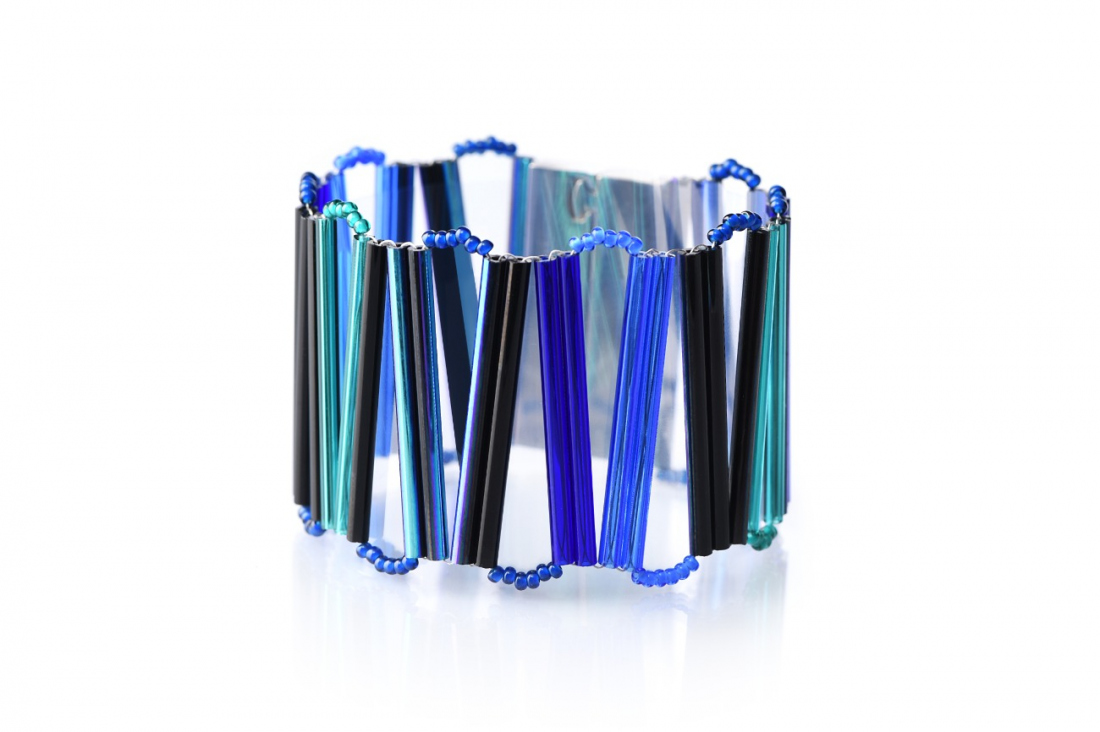
The length of the assembled bracelet is about 17.5 cm. You can adjust the length as required; finish the stringing earlier or otherwise extend it. Always finish the shorter sides with a T2. You can create your own color mix from the T1. It is possible to change the number of shades. The bracelet consists of four interconnected parts, each strung on about 1.10 m of wire. The edges are glued into the clasp.
Share this project with your friends
This website is using cookies
To improve our services and provide information that suits your interest, we use the advanced website traffic analytics tools. However, we need your consent. More information about how we process and protect your data can be found in the privacy statement. We ask you for approval of the terms.