Happy Holidays

Difficulty: 2
TECHNIQUE: Wirework

Rocaille Christmas Tree

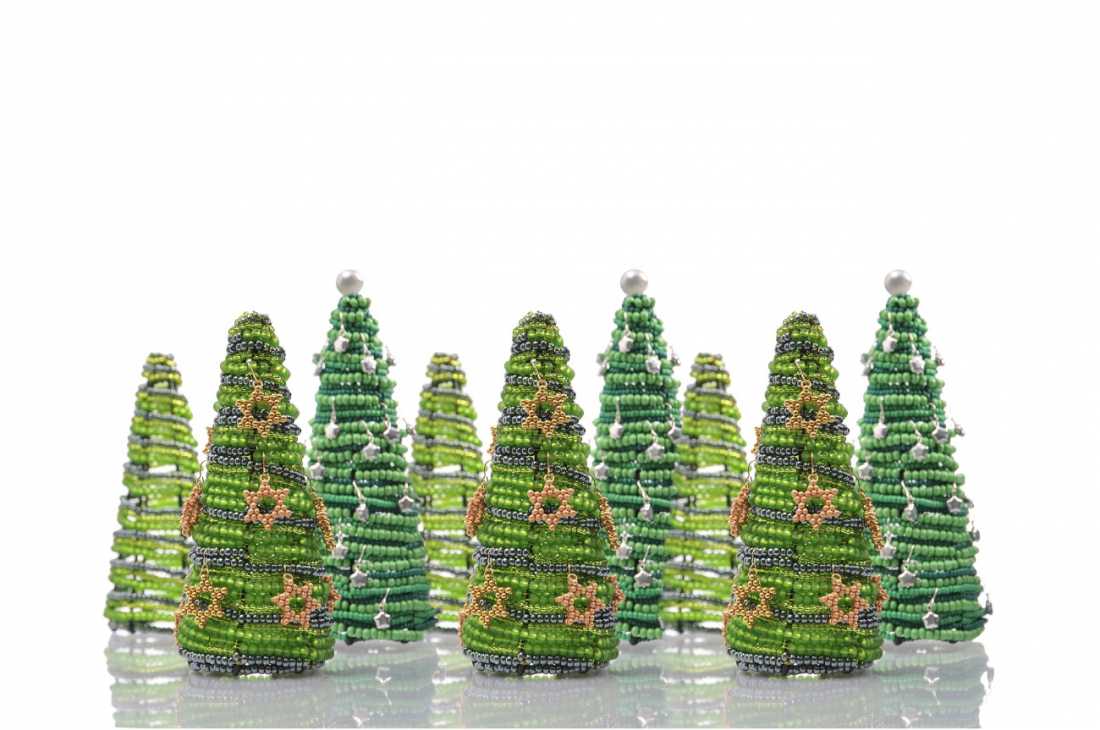
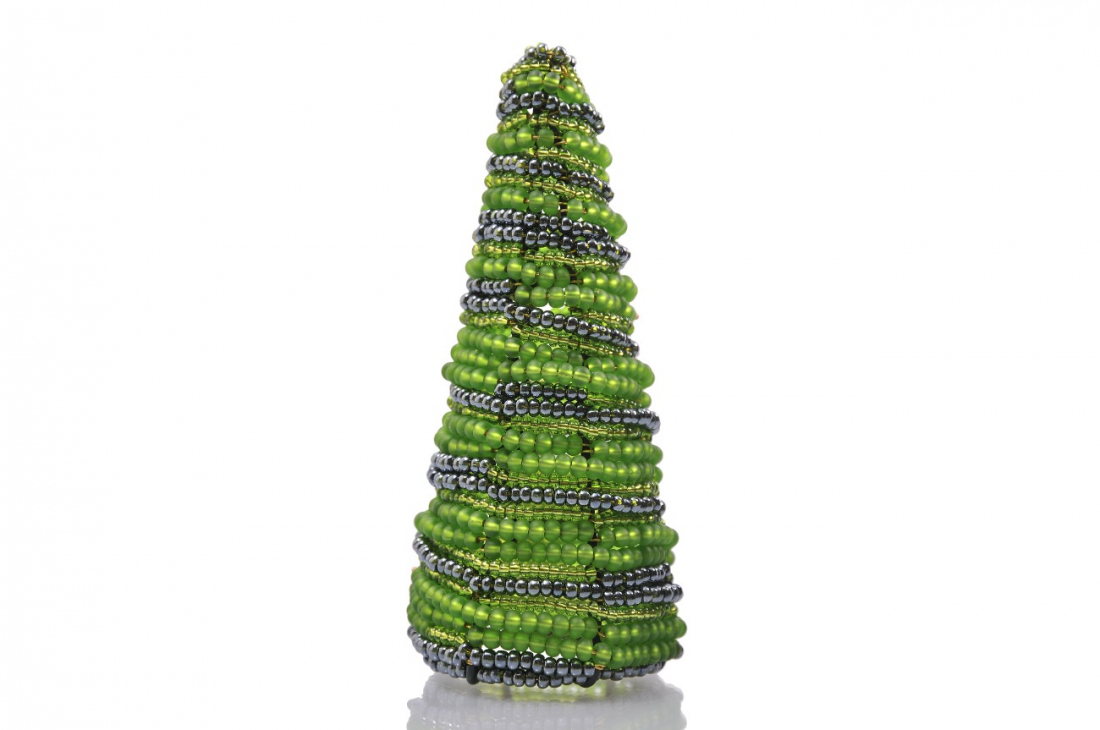
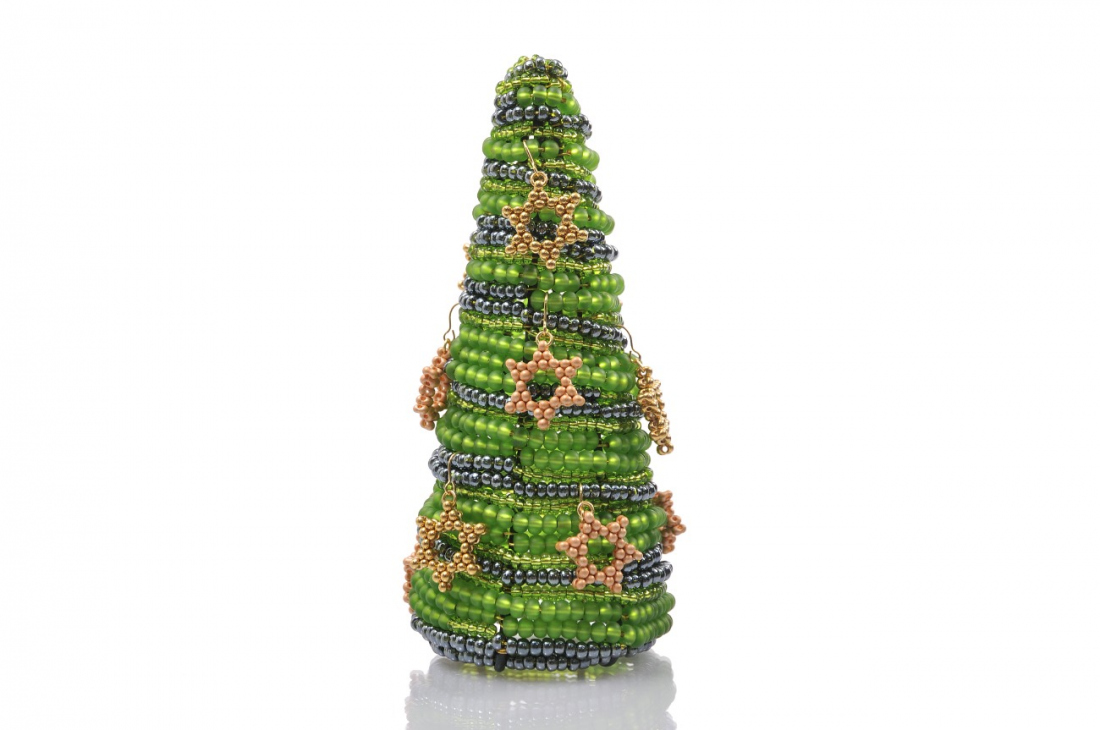
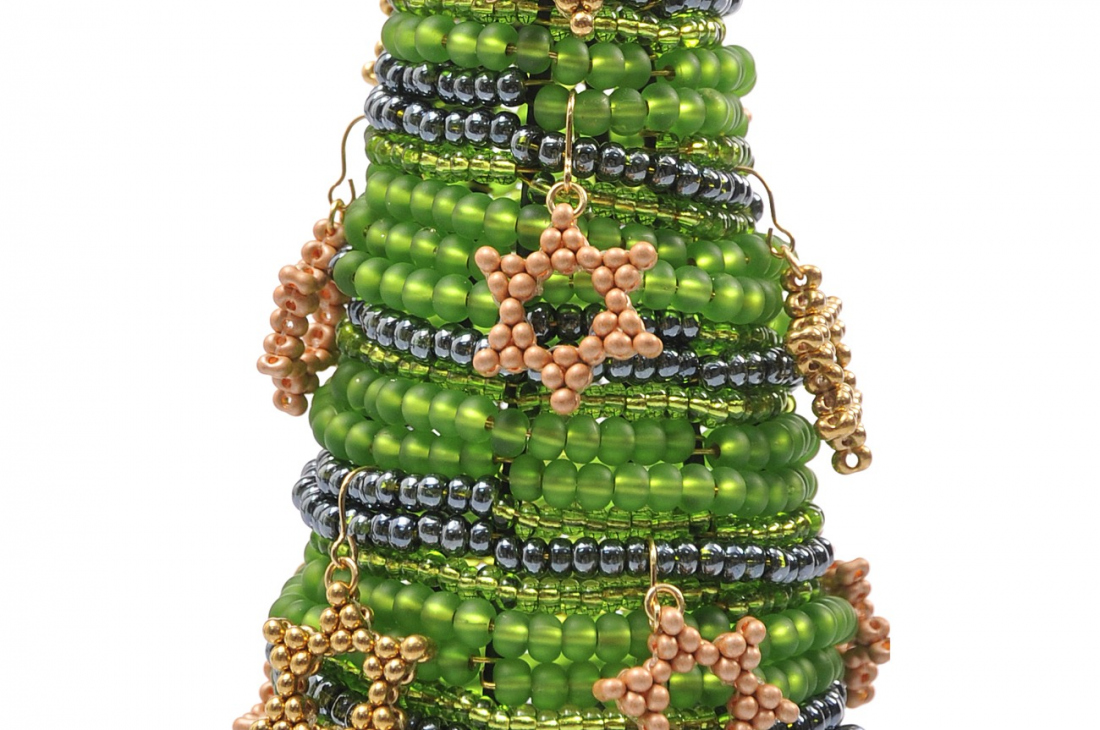
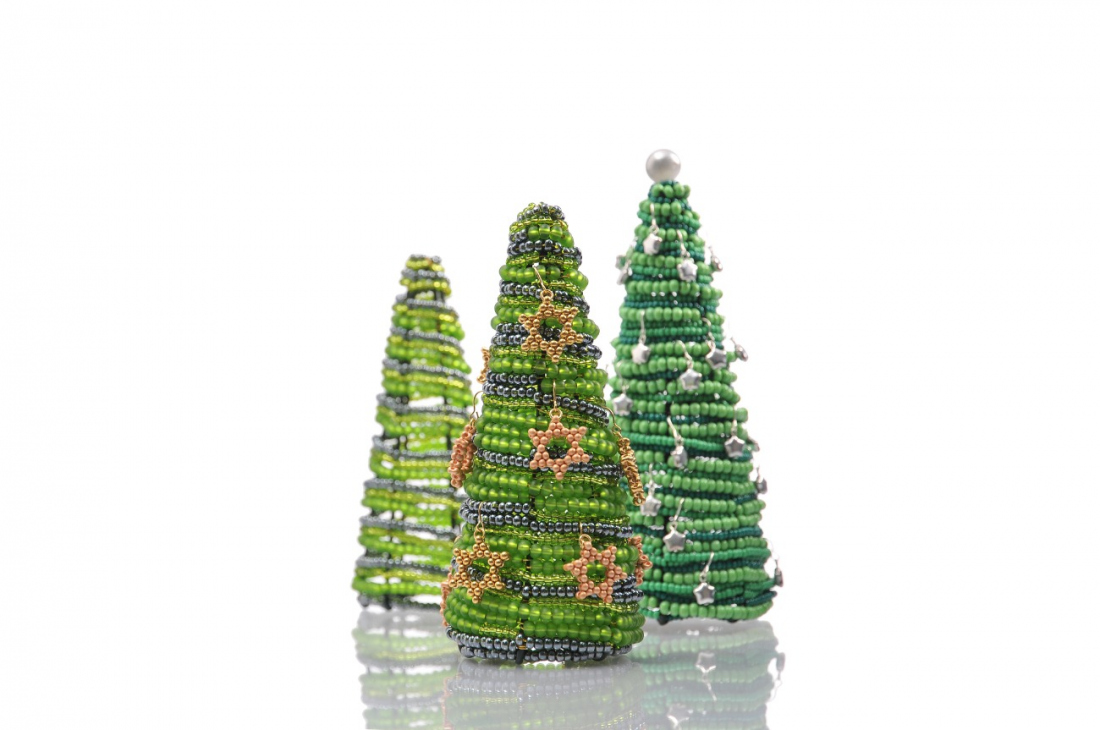
This rocaille structure in the shape of a Christmas tree can be used as an interior decoration. The stylised Christmas tree can also be used as a practical stand for costume jewelry. The size of the tree - you can easily adjust the size of the stand to your needs and your creative intent. If you want a practical accessory in different colors for your interior, you can choose from the wide range of PRECIOSA Traditional Czech Beads™.
 

Ambassadors

Helena Chmelíková

She is able to switch from luxurious and extravagant fashion show pieces to the preparation of hobby projects,
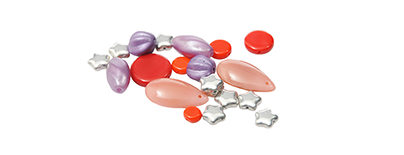
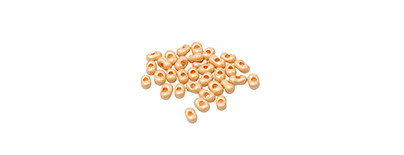
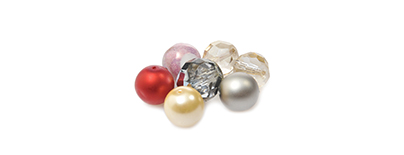
Learn More

The larger tree

Round bead 12 -14 mm

Materials

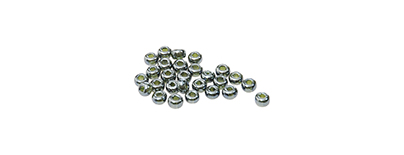
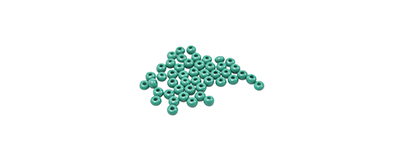
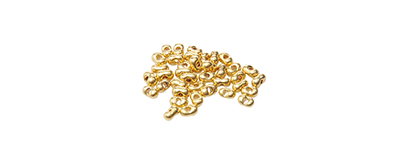
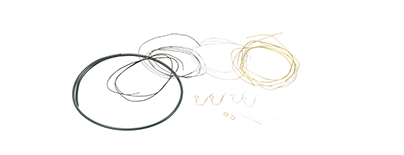
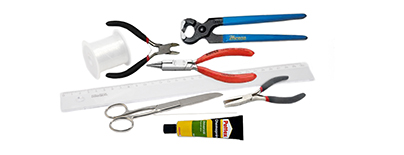
Firm, but mouldable wire (for example, 2 mm garden wire); 0.6 mm and 0.4 mm binding wire; eye pins (depending on the size of the chosen decoration); small thin rings; simple earring hooks
 

Tools

Long snipping pliers for the thick wire and small ones for the binding wire; flat nose pliers 
(for tightening the binding wire); 

pliers with a round point; a ruler; glue for non-adhesive material (for example, 5-minute dual-component epoxide); 0.20 mm nylon line; a thin needle; scissors

Procedure

Step 1

Snip off 6 pieces of thick wire. 30 cm pieces for the small tree, 35 cm pieces for the bigger tree.

1

Step 2

Bind them in the middle with the 0.4 mm binding wire. Place two wires next to each other. Place the third one perpendicular and under them. Bind them several times tightly.

2 / a

Step 3

Bend the wires downwards. Adjust them so that they are the same length. If necessary, snip off any excess wire. Create loops at the ends of the wires. Twist the ends around the round point of the pliers. Connect the loops using the 0.6 mm binding wire. 
String 10x R1 between the individual loops in the small tree and 15 in the larger one. Check that the tree will stand straight. Make the loops bigger or smaller as necessary. Twist the ends of the binding wire together and cut it off.

3 / a

Step 4

Snip off a piece of wire at a length which is easy to work with. Twist the beginning of the wire around the thick wire next to one loop. Always string the amount of R1 which is necessary to fill in any gaps between the other thick wires. You can twist the wire onto each thick wire or after every second wire. The wire with the R1 will be gradually wound around the structure in 
a spiral. When you run out of wire, twist the end around the thick wire. Snip off any excess. Snip off another wire. Twist it around the thick wire and continue.

4 / a

Step 5

Snip off another long wire. Twist it onto the thick wire above the loop one thick wire further on from the first one. String the R2. The twisting and stringing are the same. Twist it in a spiral as close as possible to the first wire.

5 / a

Step 6

Once again snip off a long wire. Twist it onto the thick wire above the loop one thick wire further on from the second one. String the R3
The twisting and stringing are the same. Twist it is a spiral as close as possible to the second wire.

6 / a

Step 7

There are probably still gaps between the individual rocaille spirals. You can fill them with a fourth or even a fifth spiral. Once again, start from the bottom. Select the size of the rocailles according to the size of the gaps. Snip off all the wires and clamp their ends.

7

Step 8

The thick wires are close together at the top of the tree, so that it is not possible to twist the beads around them. Therefore, thread the binding wire under one of the previous rows.

8

Step 9

Stick a 12 -14 mm bead on top.

9

Step 10

Prepare the shapes as decorations. String the shape onto an eye pin. Make an eye. You will need 8 – 10 mm of free wire. 
Grasp the end of the wire between the round ends of the pliers. Twist it. Gently fold it back. The eye will be located above the centre of the shape. Connect the eyes with earring hooks. Hang them in various places on the tree.

10 / a

Step 11

If you have lots of earrings, you can use them to decorate the tree. Otherwise, you can sew earrings in the shape of stars using PRECIOSA FarfalleTM seed beads. You can find the tutorial on how to make them in the Shiny Stars project.

If the tree has been made using transparent rocailles, you can use it with a candle. Place a tea light under it. Put them both on 
a flameproof base. 
CAUTION! The tree will become hot with a candle beneath it.

11 / a

Downloads

This website is using cookies

To improve our services and provide information that suits your interest, we use the advanced website traffic analytics tools. However, we need your consent. More information about how we process and protect your data can be found in the privacy statement. We ask you for approval of the terms.

Functional cookies These cookies are necessary for the proper functioning of the website and therefore cannot be turned off.
Analytics cookies Analytical cookies help us track and analyze the way visitors interact with our site in Google Analytics 4. This information allows us to improve content and provide a better user experience.
Marketing cookies Reading and writing cookies for marketing purposes for advertising systems such as Google Ads or Sklik. These cookies allow us to track user behavior and measure website performance and the effectiveness of our advertising campaigns.
Personalized advertising Remarketing cookies allow us to present you with personalized advertising based on your previous interactions with our site in systems such as Google Ads, Sklik.
Use of personal data With this option, you consent to the sending and processing of your personal data to Google for the purposes of targeting and evaluating online advertising and targeted marketing.