Swing

Difficulty: 2
Technique: linking

Earrings made from the PRECIOSA Pip™ bead with a laser decor

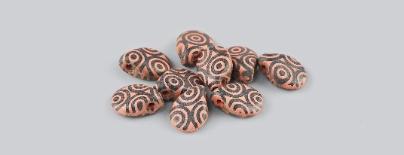
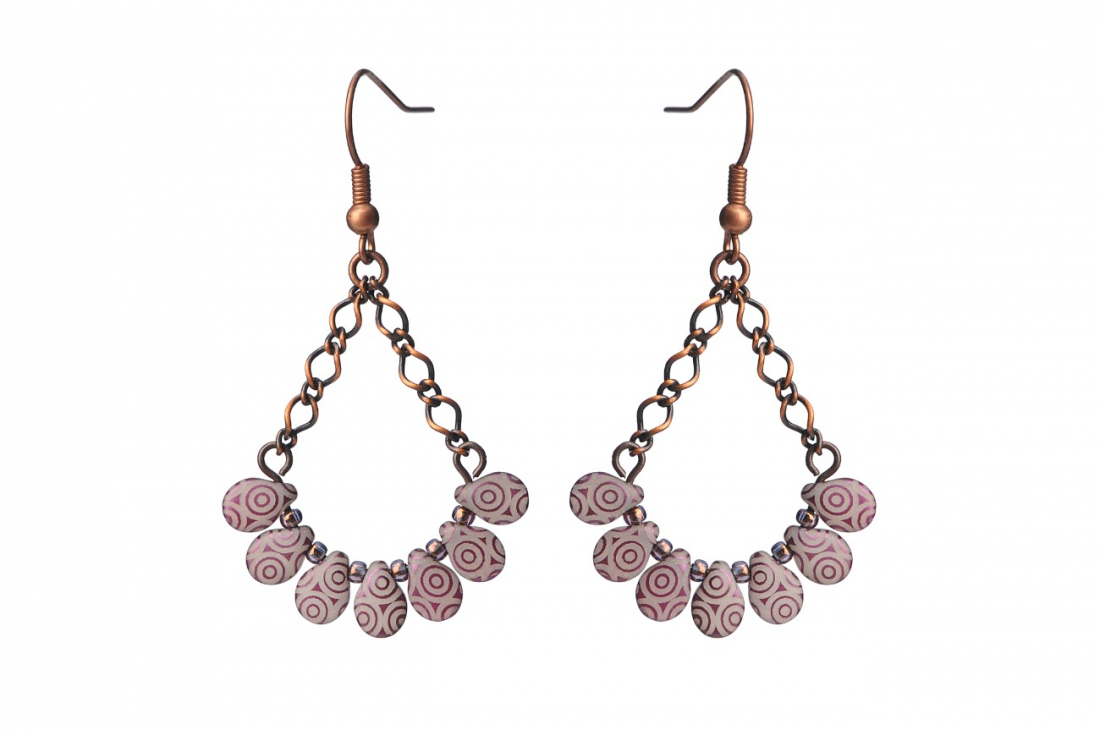
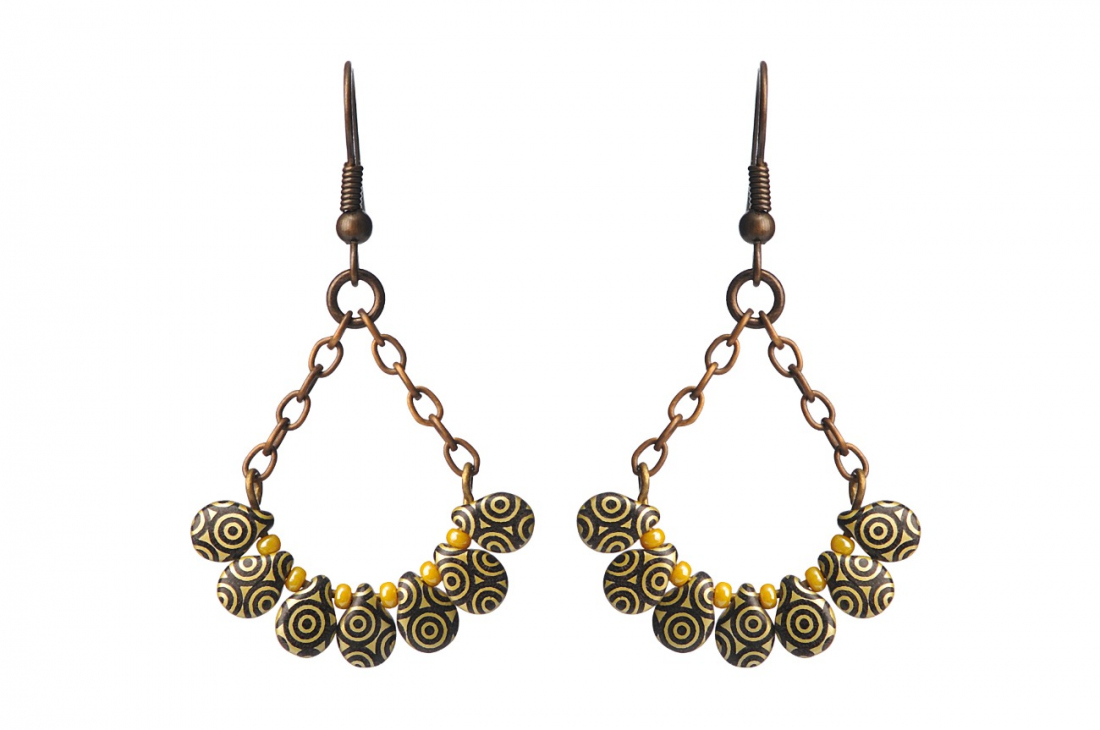
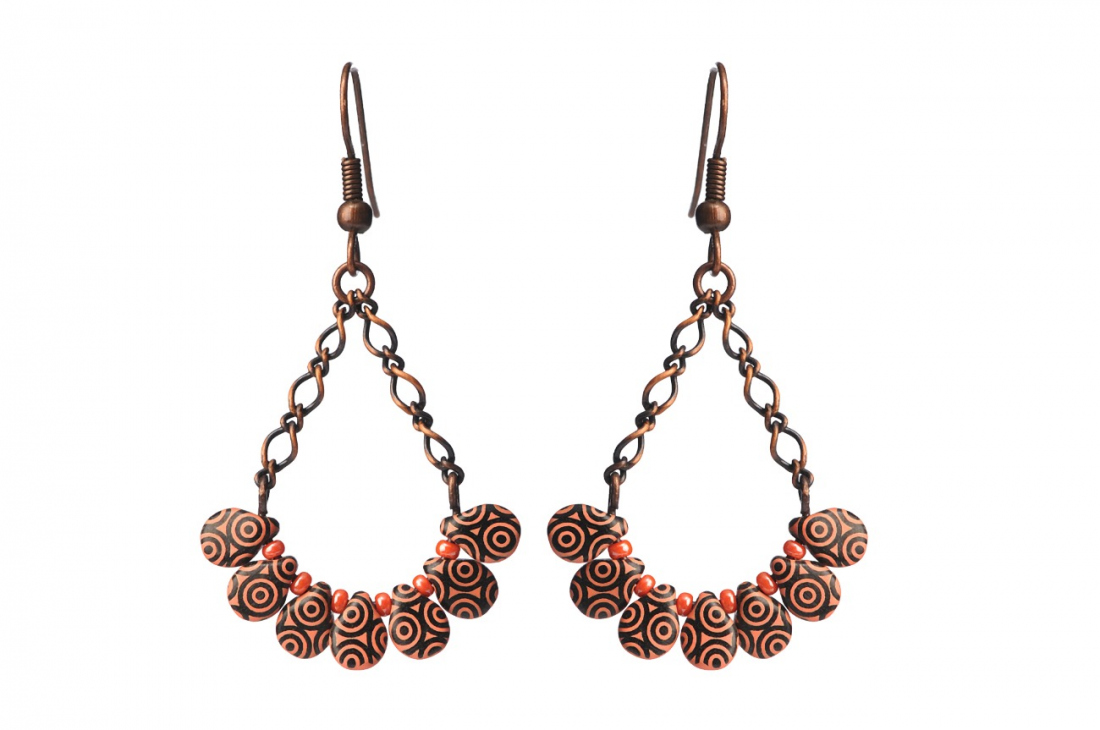
Are you interested in wearing a new, original accessory? Try making this simple pair of earrings from PRECIOSA Pip™ beads. We have recently added distinctive ornamental decorations created with lasers to our wide range of surface finishes.

Ambassadors

Helena Chmelíková

She is able to switch from luxurious and extravagant fashion show pieces to the preparation of hobby projects,

Learn More

Materials & Tools

Other materials

50 – 40 cm eye pins; a thin chain (8 links over about 2 cm); 5 mm rings; earring hooks

Tools

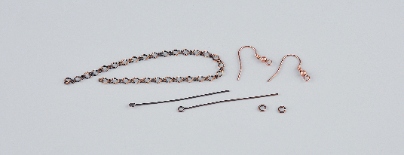
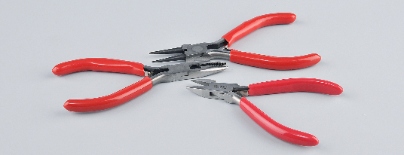
Snipping pliers (for shortening the chain and the eye pins); flat nose (handling the rings and the eyes); needle nose pliers (the eye on the eye pin)

Procedure

The Pip stringing

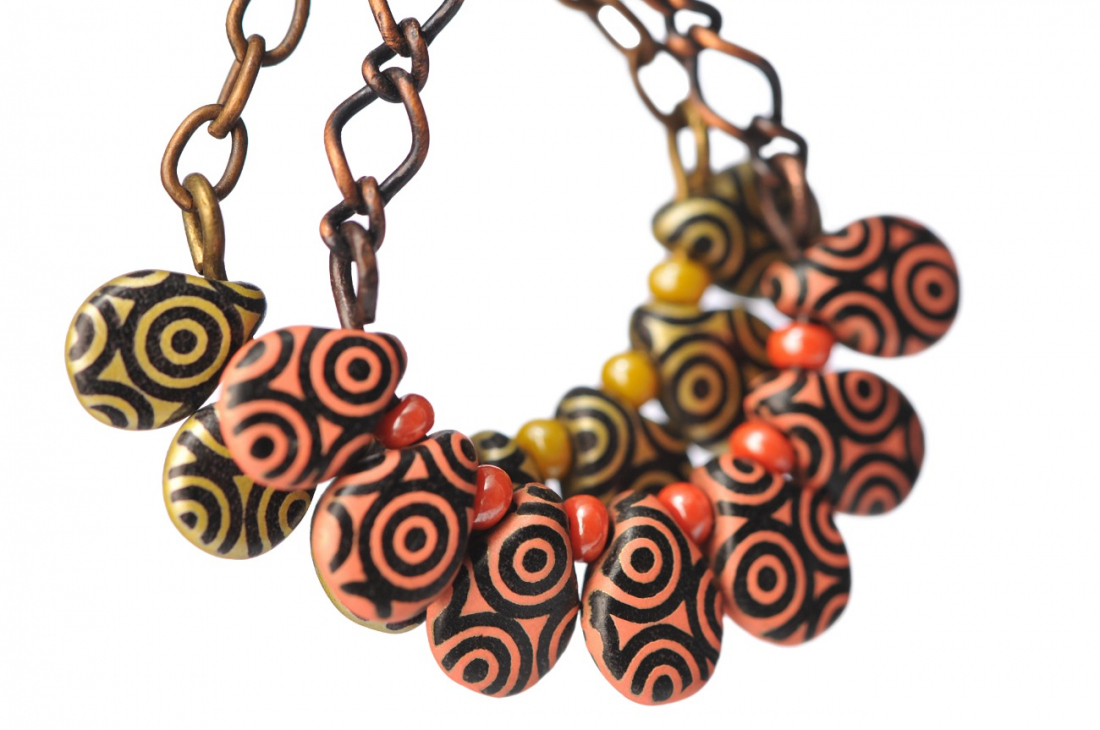
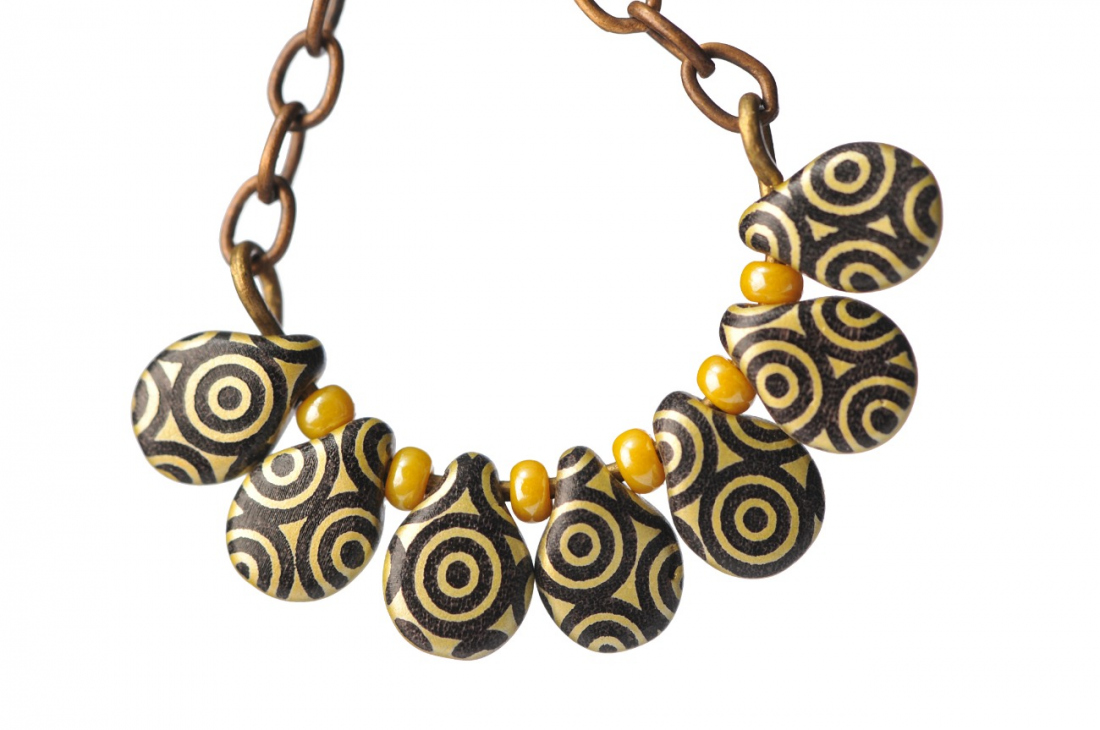
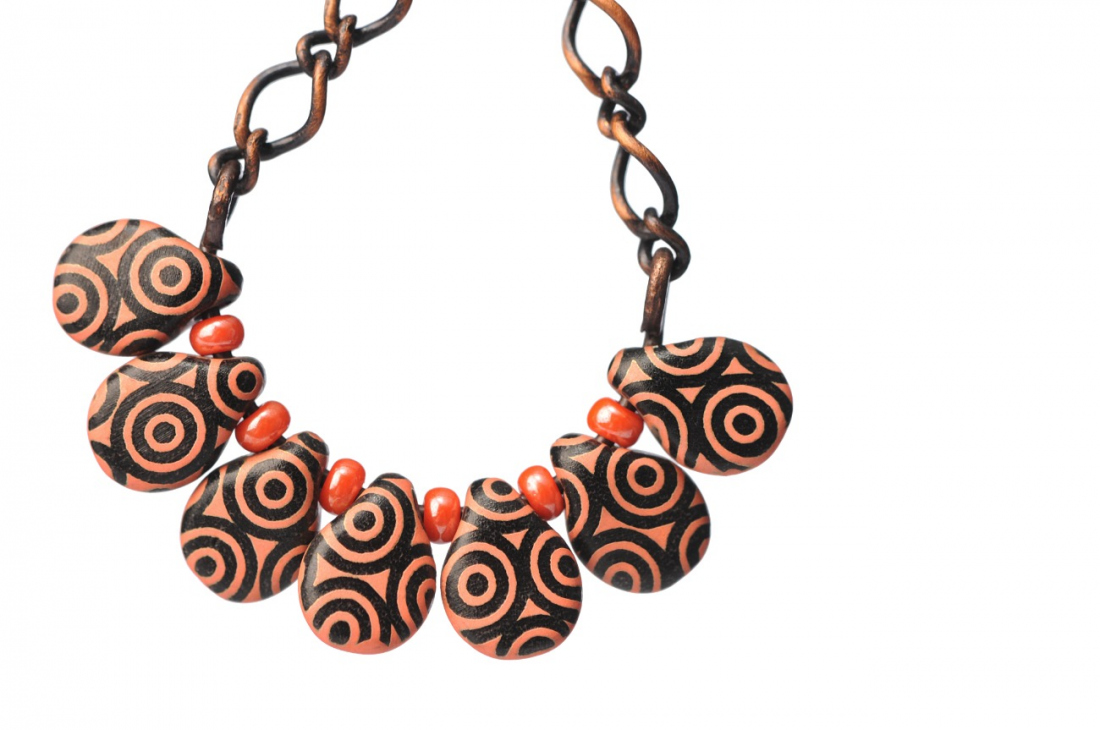
Gradually string the P onto an eye with rocailles between them (7x P, 6x R10). Twist the eye on the eye pin vertically (when viewed from the front, it will form a circle).

Step 1

String 1x P, 1x R and 1x P. Bend the pin slightly (fig. nos. 1a, 1b).

1 / a

Step 2

String another P and R10 and once again bend the pin slightly (fig. nos. 2a, 2b, 2c). Once the pin has been twisted, the individual P will be in direct proximity to one another or there will be a slight gap between them.

2 / a

Step 3

You require about 8 - 10 mm on the opposite end of the eye pin to create the second eye (fig. no. 3a). Snip off any excess length. Twist the eye in the same way as the first one. Grip the end of the wire between the points of the needle nose pliers. Twist the wire around the point (fig. no. 3b). The P should hang freely and be able to move slightly (fig. no. 3c).

3 / a

Step 4

The chains

Cut off the chains at a length of 1.6 – 2 cm (four identical lengths). There should always be an odd number of links (fig. no. 4).

4

Step 5

Gently open an eye on the eye pin and thread the outer link of a chain onto it. Close the eye (fig. no. 5a + 5b). Do the same with the second eye.

5 / a

Step 6

Straighten up the chains; be careful not to twist them. Open the ring. Thread it through the free outer links of the chain (fig. no. 6a). Add the eye from the earring hook. Close the ring (fig. no. 6b).

6 / a

Step 7

Create a second earring to go with the first (fig. no. 7).

7

Downloads

This website is using cookies

To improve our services and provide information that suits your interest, we use the advanced website traffic analytics tools. However, we need your consent. More information about how we process and protect your data can be found in the privacy statement. We ask you for approval of the terms.

Functional cookies These cookies are necessary for the proper functioning of the website and therefore cannot be turned off.
Analytics cookies Analytical cookies help us track and analyze the way visitors interact with our site in Google Analytics 4. This information allows us to improve content and provide a better user experience.
Marketing cookies Reading and writing cookies for marketing purposes for advertising systems such as Google Ads or Sklik. These cookies allow us to track user behavior and measure website performance and the effectiveness of our advertising campaigns.
Personalized advertising Remarketing cookies allow us to present you with personalized advertising based on your previous interactions with our site in systems such as Google Ads, Sklik.
Use of personal data With this option, you consent to the sending and processing of your personal data to Google for the purposes of targeting and evaluating online advertising and targeted marketing.