Rovoli with pellets

Difficulty: 2
Technique: basic beadweaving

Brooch using PRECIOSA Pellet™

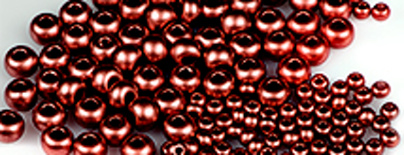
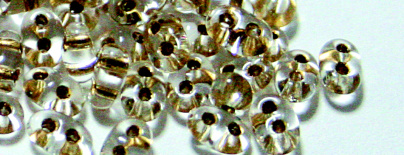
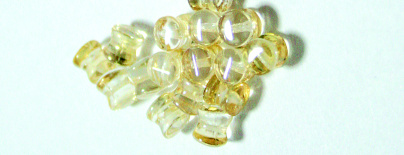
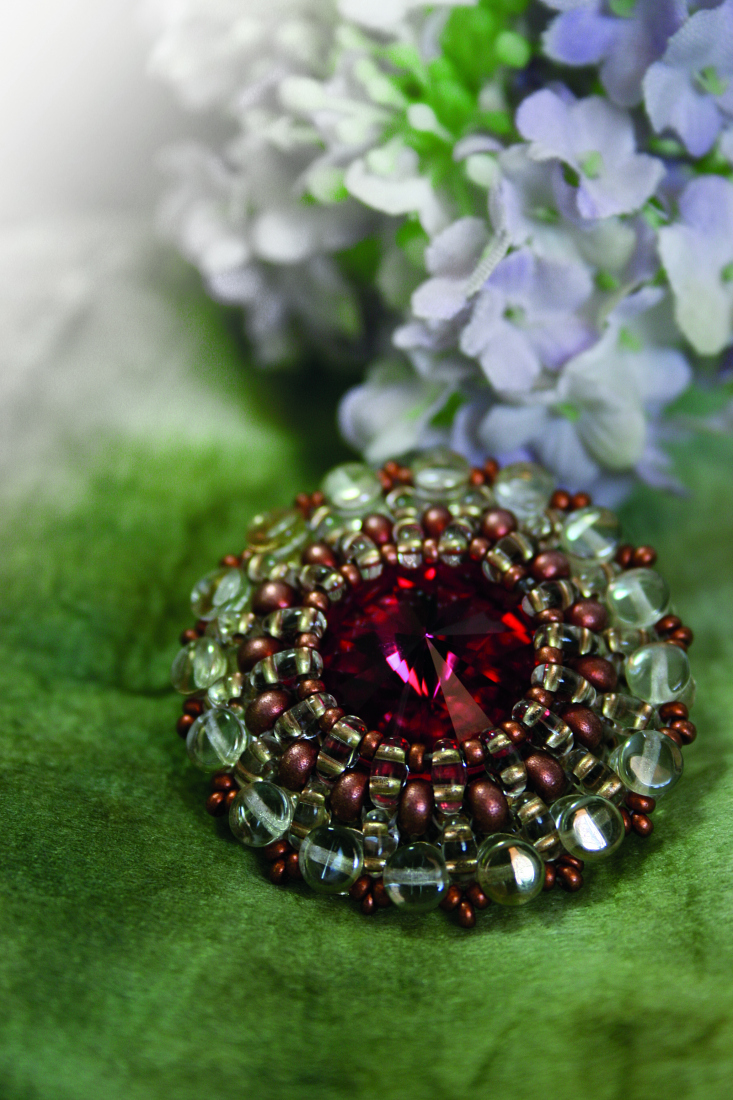
The edging of stones, buttons, cabochons and other central costume jewellery components is one of the most popular procedures in beadworking involving the use of seed beads and fine beads. Preciosa Ornela presents a tutorial for the creation of a broach based on the edging of a Rivoli stone with seed beads and beads from the Preciosa Traditional Czech Beads™. brand. We also present the new PRECIOSA Pellet™ bead which excellently complements various types of seed beads and beads.

Ambassadors

Alexandra Lysenko - Snow Mirna

Her name has resounded throughout the world of bead and seed bead costume jewellery for a number of years.
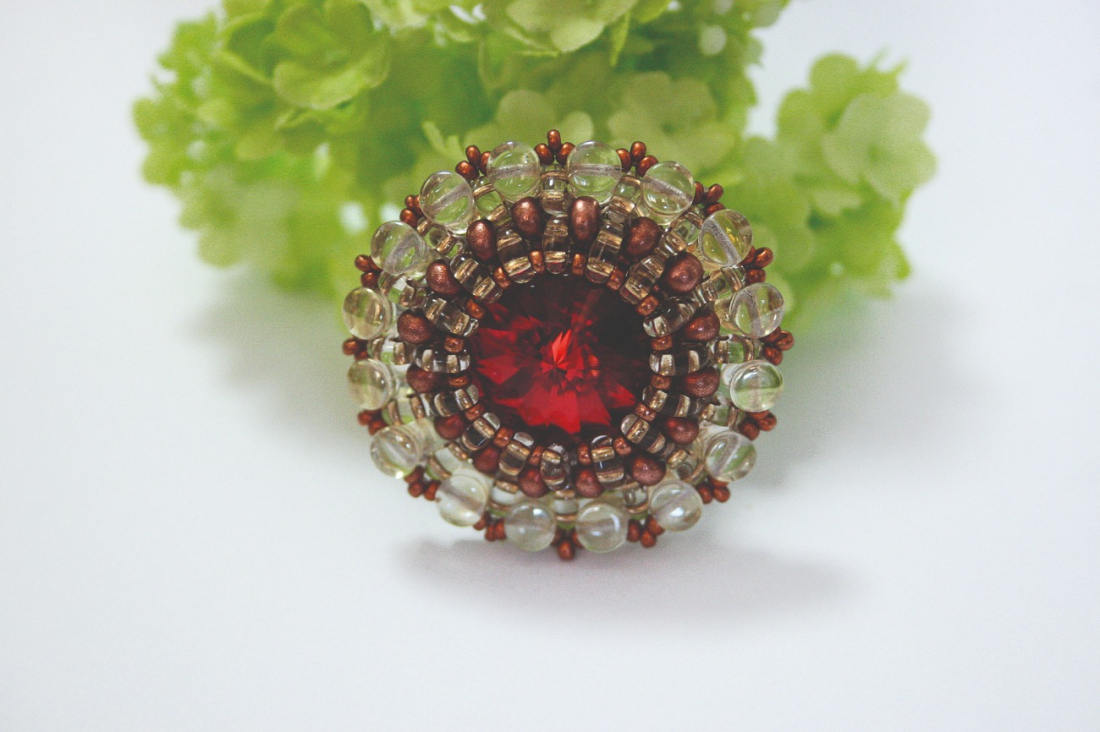
Learn More

Materials & Tools

MC Rivoli

436 11 177; 16 mm; Siam 90090; 1x
(MC)

Tools

scissors, flat nosed pliers (for flattening the nylon line)
a thin needle, a broach mechanism, felt, leather or imitation leather, a 0.20 mm nylon line

Procedure

Step 1

Alternately string 16x T and 16x R11 (T - R11 - T - R11 - T - R11…) onto the line in the first row and tie the stringing into a circle. Thread the needle and the line through the second hole of the nearest T and begin the second row. (fig. no. 1)

1

Step 2

In the second row, add 1x R6 between the second holes of the T from the first row. String a total of 16x R6. (fig. no. 2)

2

Step 3

In the third row, add 1x T between each of the R6 from the previous row. Add a total of 16x T. At the end of the row, thread the needle and the line through the second hole of the nearest T. (fig. no. 3)

3

Step 4

In the fourth row, add R11 between the second holes of the T from the previous row. Once again add a total of 16x R11. (figure no. 4)

4

Step 5

Insert the 18 mm Rivoli into the created circle and tighten the stringing of the previous four rows so that the inserted Rivoli is affixed in the centre of the created circle. (fig. no. 5)

5 / a

Step 6

Once again add 1x T between each R6 from the second row. Add a total of 16x T. (fig. no. 6)

6

Step 7

Add 1x P between the second holes of the T from the previous row. String a total of 16x P. (fig. no. 7)

7

Step 8

Add 3x R11 between each P from the previous row. Thread the line again through the nearest P at the end of the row. Tighten the stringing of this row and tie it off with a knot. Pull the end of the line into the holes of the nearest seed beads and beads and cut it off. (fig. no. 8)

8

Step 9

Cut a circle of ca 18 – 20 mm from the felt and firmly sew the broach mechanism onto it. (figure no. 9a) Sew the entire semi-product onto the created broach. (figure no. 9b)
Cover the felt circle and the metal part with a circle of leather and once again carefully sew them together. (figure no. 9c)

9 / a

Downloads