Little bunny

Difficulty: 3
TECHNIQUE: sewing

Sewn figures of Easter bunnies

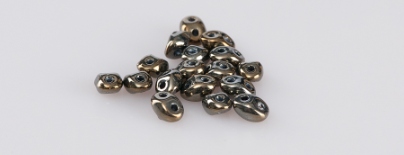
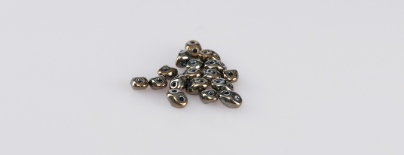
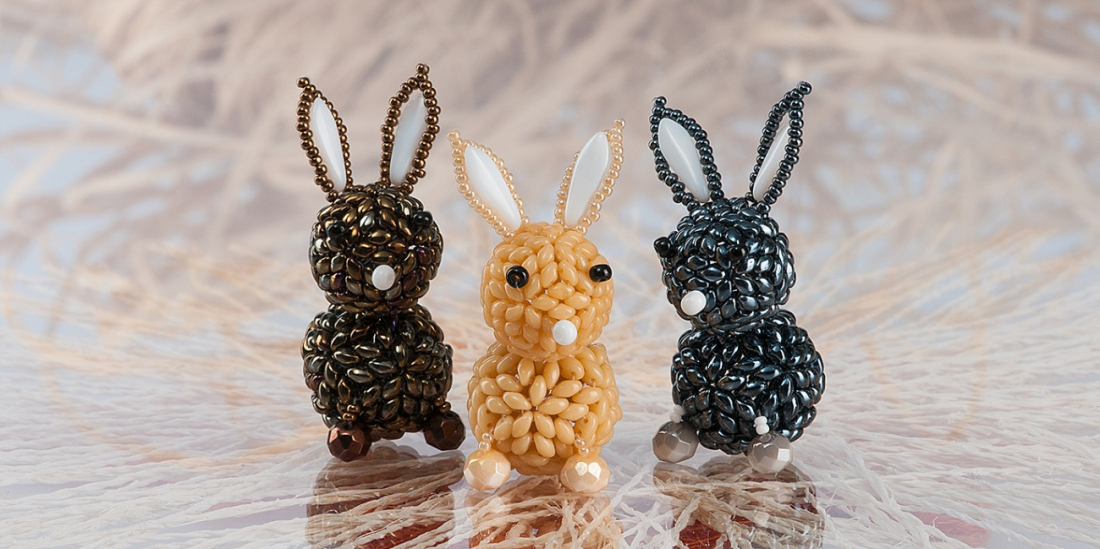
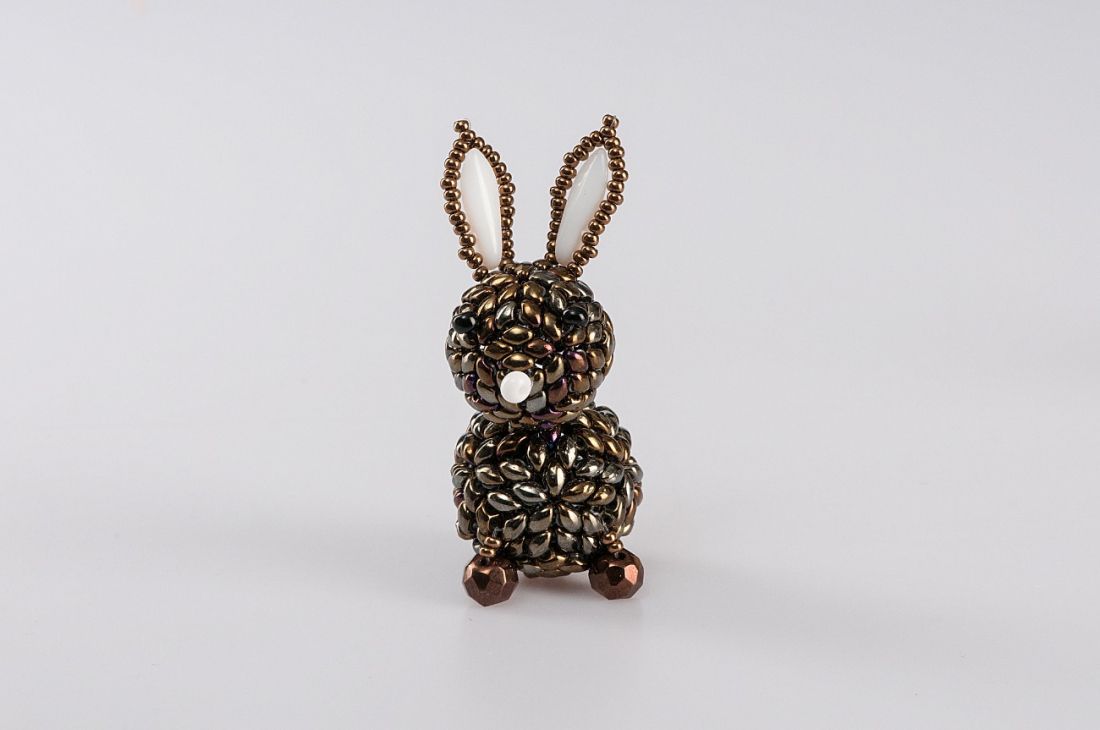
Would you like to beautify your home, invoke a spring atmosphere or welcome in sunny aromatic days? Create little bunnies from PRECIOSA Twin™ Pressed Beads.

Ambassadors

Helena Chmelíková

She is able to switch from luxurious and extravagant fashion show pieces to the preparation of hobby projects,
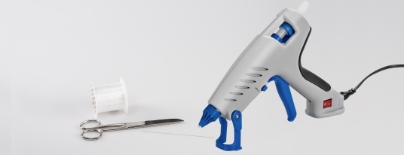
Learn More

Procedure

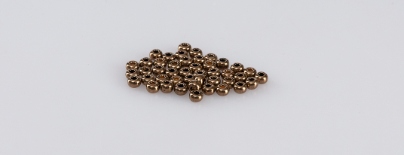
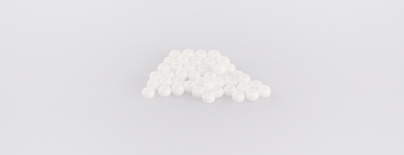
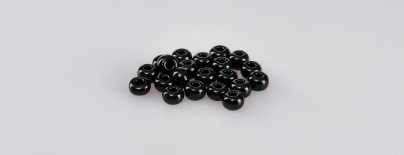
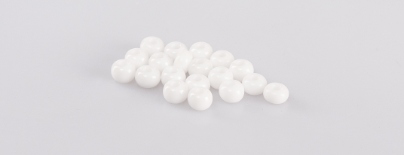
The larger sphere – the body consists of twelve pentagons sewn from T1. The internal part consists of 5x T1.

Step 1

String 5x T. Tie them off with two knots.

1

Step 2

Thread the line through the second hole of the T1. String 2x T1 into each gap. You now have your first pentagon. Each of the others will always have a common wall with the previous ones (one, two, three, four). One wall consists of 3x T1. The central one is tilted into the centre and forms a star.

2

Step 3

Thread the line through the second hole of the T1. Add 1x T1 into the gap between the T1. Thread the line through the second hole of the next T1. String 12 T1 (4 x 3). Join them into a circle. Thread the line into the second hole of the T1 added to the gap. Tilt every third T1 into the centre and sew through. Connect. Zig-zag through the T1 at the edge.

3

Step 4

Add 1x T1 to the gap. Emerge from the side T1. String 9 (3x 3). Connect them into a circle and into a pentagon. Add 1x T1 in the gap. Thread the line through to the adjacent T1. Thread the needle into the second hole of the added T1. Sew through the central T1, every third one. Connect. Thread the needle through to the edge of the pentagons.

4

Step 5

Continue the same way as in Step 4 two more times (the 4th and 5th pentagons).

Step 6

Add T1 to the gaps in the 6th pentagon. Additionally string 6 (2x 3). Tilt the central T1. Sew through it. Thread the line through to the edge.

6 / a

Step 7

Continue in the same way as in Step 4.

Step 8

Continue in the same way as in Step 6 3x.

Step 9

Add T1 to the gaps. Additionally string 3x T1. Tilt the central T1. Sew it through. Thread the line to the edge.

Step 10

Sew the line through the last central T1. Connect. Sew in. The ball is finished.

10 / a

Step 11

Tie on the line near the paw (H1). Emerge from the T1. String 1x H1 and 2x R10. Thread the line under the line between the T1. Thread the line through the R10 and H1 again. Thread the line through a hole in the T1. Zig-zag with the needle to the second paw (H1). Sew the paw. Thread the needle through the inside of the body. Emerge next to the T1 at the place of the tail. Thread the line through the T1. String 1x H2 and 1x R11. Thread the line through the H2. Thread the line through the adjacent T1. Sew it in.

The small sphere – the head consists of twelve pentagons sewn from the small T2. The internal section consists of 5x T2.

11 / a

Krok 12

Proceed in the same was for the body from Step 1 to 10. Be careful: the small T2 have smaller holes. Proceed with caution.

Step 13

The ears. The centre is filled with PB – the points. They are attached to the twice-threaded circumference consisting of R10 using the threaded holes. Both are attached to the head between the T2.

13 / a

Step 14

The face. Attach the eyes made of R7 and the nose made of R6 above the openings between the T2. Tie a line to the line between the T2 at the most distant place on the head. Pass the needle and thread through the inside of the head and emerge at the site of the eye. Thread a R7 and return back through the same opening. Thread the needle through the inside again. Attach the nose. Finally, sew on then second eye. Sew the line in on the far side of the head.

14 / a

Step 15

Thread all the protruding lines through the sewn beads Cut them off on the opposite side.

Step 16

Glue the spheres together using the hot melt glue. Place the centres of the pentagons together.

16 / a

Downloads