Cactus Flower

Difficulty: 2
Technique: Stringing, Basic Beadweaving

Cactus flowers made from PRECIOSA Pip™ and Twin™ Pressed Beads

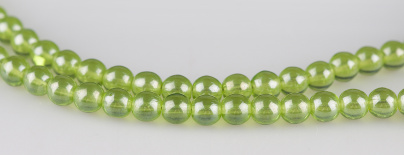
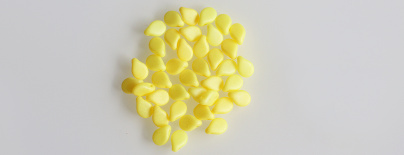
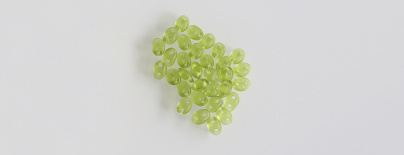
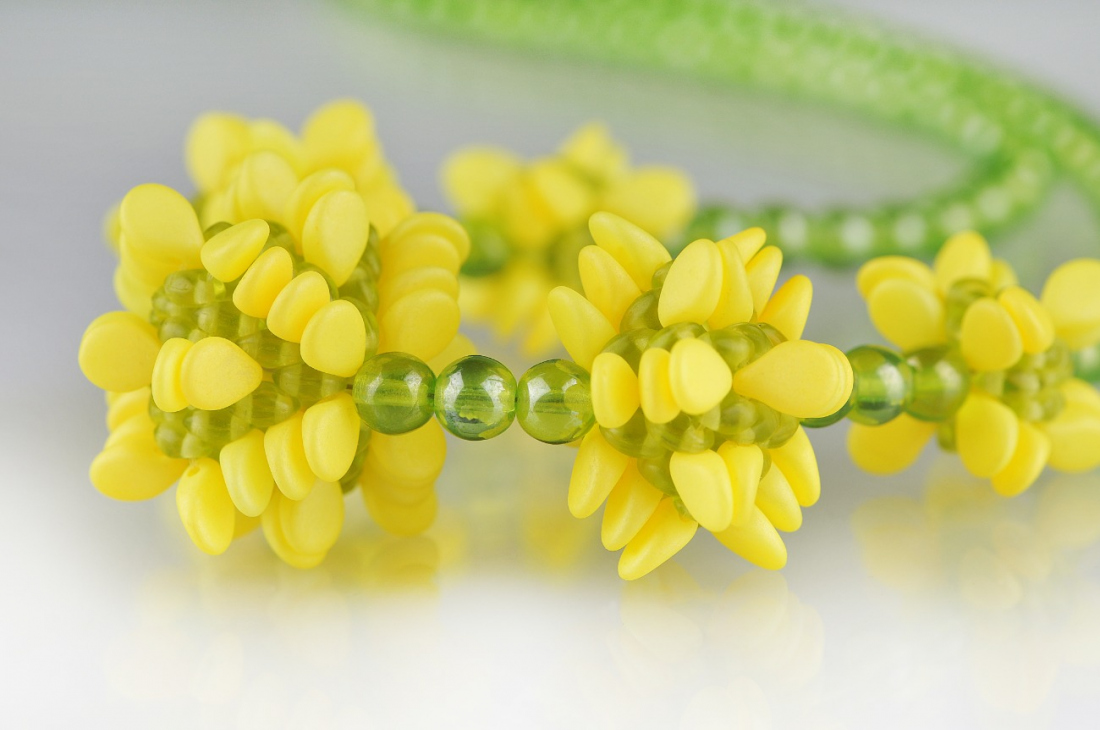
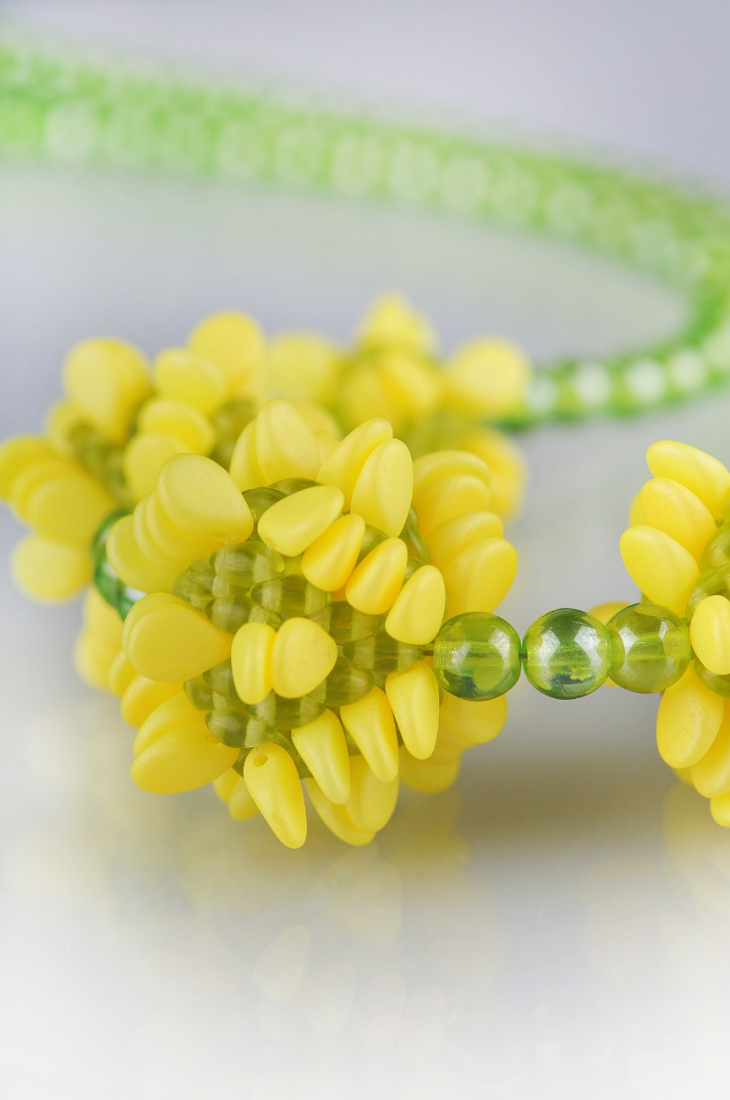
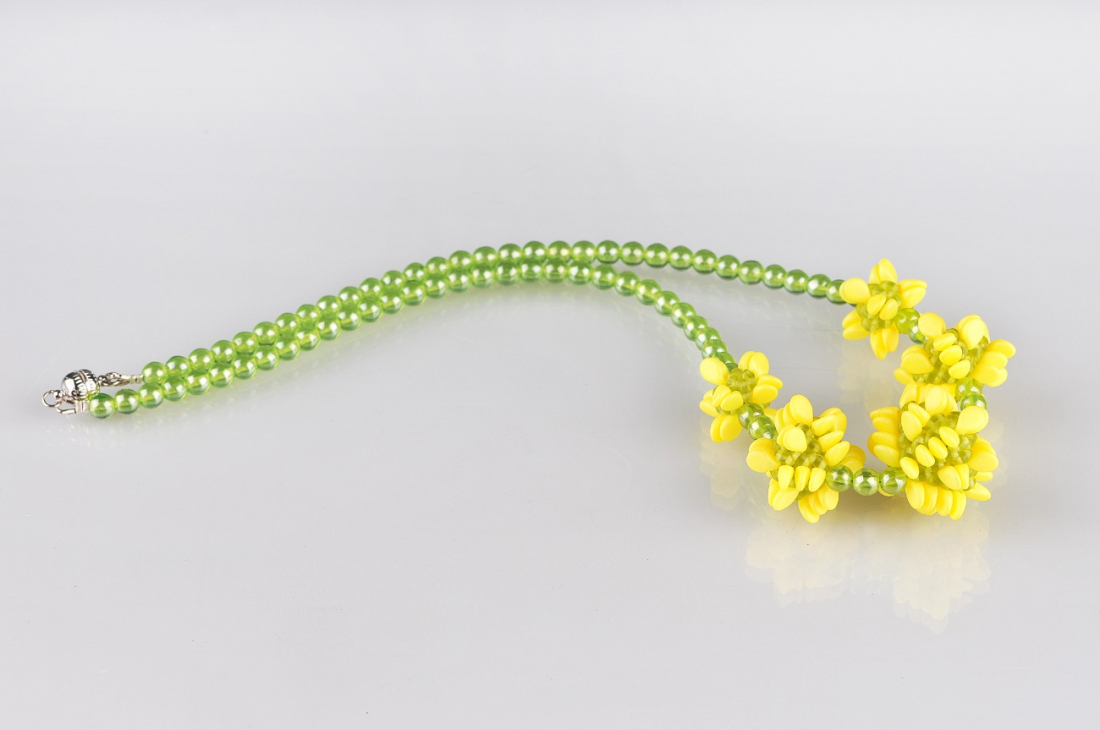
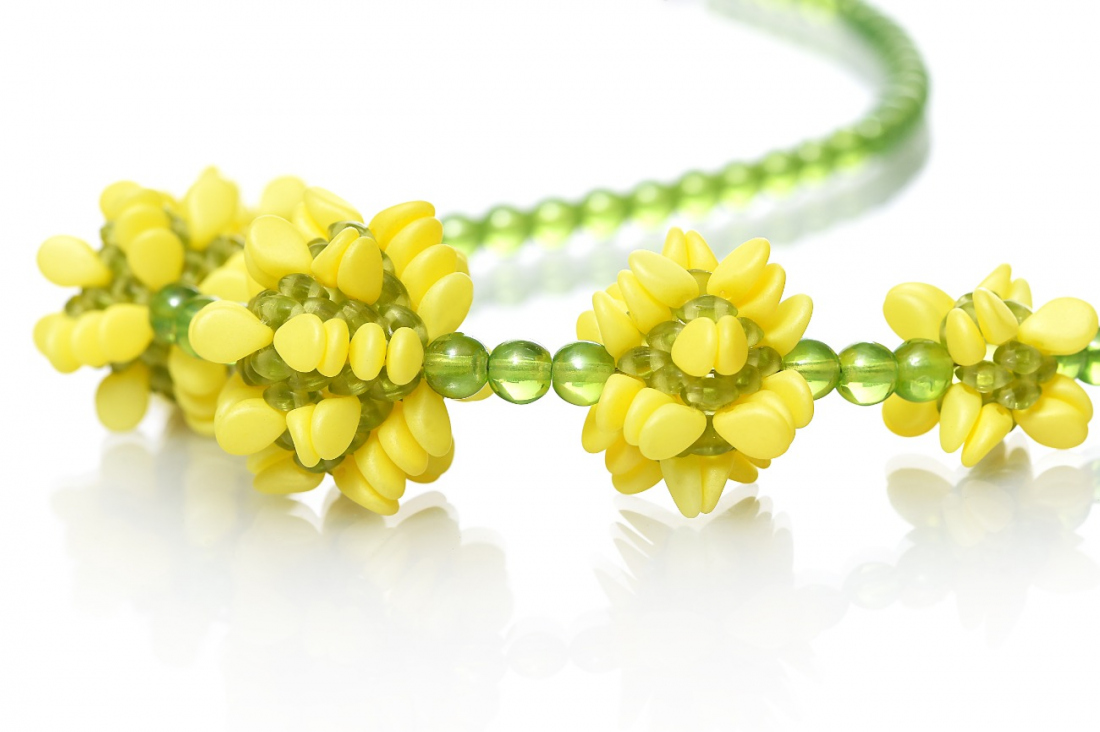
Preciosa Ornela presents a relatively simple tutorial which excellently combines the most popular glass beads from the PRECIOSA Traditional Czech Beads™ brand. PRECIOSA Pip™ complies with the current trend for mini beads thanks to its dimensions of 5 x 7 mm. The small projection on this bead, makes it an excellent supplement for PRECIOSA Twin™ two-hole beads and seed beads. Choose a suitable color combination and follow the tutorial to make simple flowers which you can then use in various costume jewelry accessories.

Ambassadors

Jana Shweiki

Designer with playful and clean-lined designs of jewelry made using Czech beads and seed beads from the PRECIOSA Traditional Czech Beads™ range.
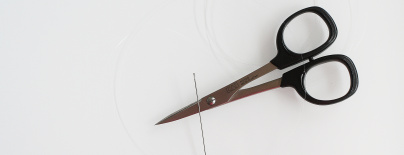
Learn More

Procedure

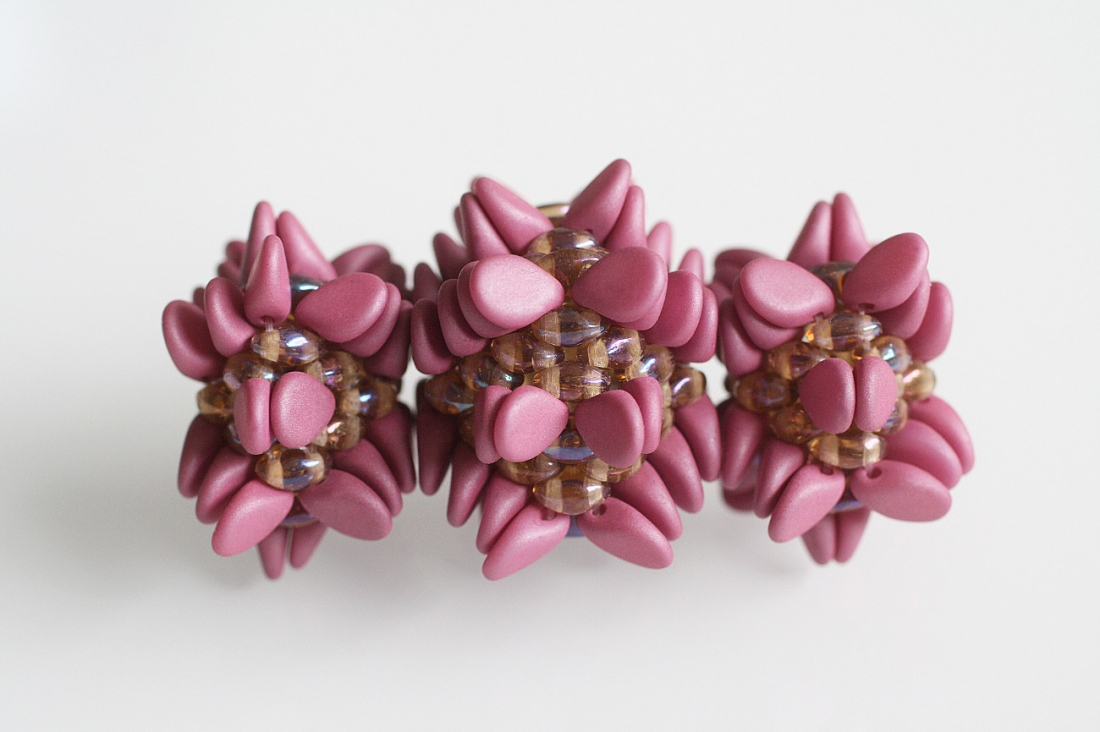
Sew through every row twice so that it is strong. Automatically pass into the second hole of the Twin upon the completion of each circle.

Step 1

The larger flower - component

Alternately string 4x T and 4x P (fig. no. 1a) and tie them in a circle with a double knot (fig. no. 1b). Leave ca. 8 cm of line free at the end to be sewn in.

1 / a

Step 2

String a T, P and T (fig. no. 2a) pass to the adjacent T from the previous row (fig. no. 2b). Repeat this around the entire circle (fig. no. 2c).

2 / a

Step 3

The line will emerge from the T above the P. Add a T, P and (fig. no. 3a) and pass to the adjacent T from the previous row (fig. no. 3b). String a P and pass to the next (fig. no. 3c). Repeat again until the row is completed (fig. no. 3d).

3 / a

Step 4

The line will extend from the T above the place where you added the P in the previous row (fig. no. 4a). Add a P and thread the line through the adjacent (fig. no. 4b). Now add a T, P and T (fig. no. 4c) and thread the line through the adjacent T again (fig. no. 4d). Repeat this around the entire circle until it has been completed (fig. no. 4e).

4 / a

Step 5

Emerge from the T from the previous row where you added the P in the previous row (fig. no. 5a), add a T and thread the line through the (fig. no. 5b). Add a P and thread the line through the adjacent (fig. no. 5c). Continue in this manner until the circle is complete (fig. no. 5d).

5 / a

Step 6

Add 4x P between the T in this final row (fig. no. 6a), close the circle (fig. no. 6b) and tie off the end of the line.

6 / a

Step 7

Sew in both ends of the line and one flower - component - is finished (fig. no. 7).      

7

Step 8

The smaller flower - component

Alternately string 4x T and 4x P (fig. no. 8a), tie them in a circle using a double knot (fig. no. 8b). Leave about 8 cm at the end of the line for sewing in.

8 / a

Step 9

String a T, P and (fig. no. 9a), pass to the adjacent T from the previous row (fig. no. 9b). Repeat this around the entire circle (fig. no. 9c).

9 / a

Step 10

The line will emerge from the T above the P (fig. no. 10a) pass to the P at this place (fig. no. 10b). Thread the line through the adjacent T and add a (fig. no. 10c). Repeat this again until the circle is completed (fig. no. 10d).

10 / a

Step 11

Only add P between the T in this row (fig. no. 11a) then close the circle (fig. no. 11b) and tie off the end of the line.

11 / a

Step 12

Sew in both ends of the line and the smaller flower – component – is finished (fig. no. 12a + 12b). 

12 / a

Downloads