Cocarde

Difficulty: 2
Technique: basic beadweaving, sewing onto the perforated base plate

Lace brooche made with the PRECIOSA Thorn™ bead

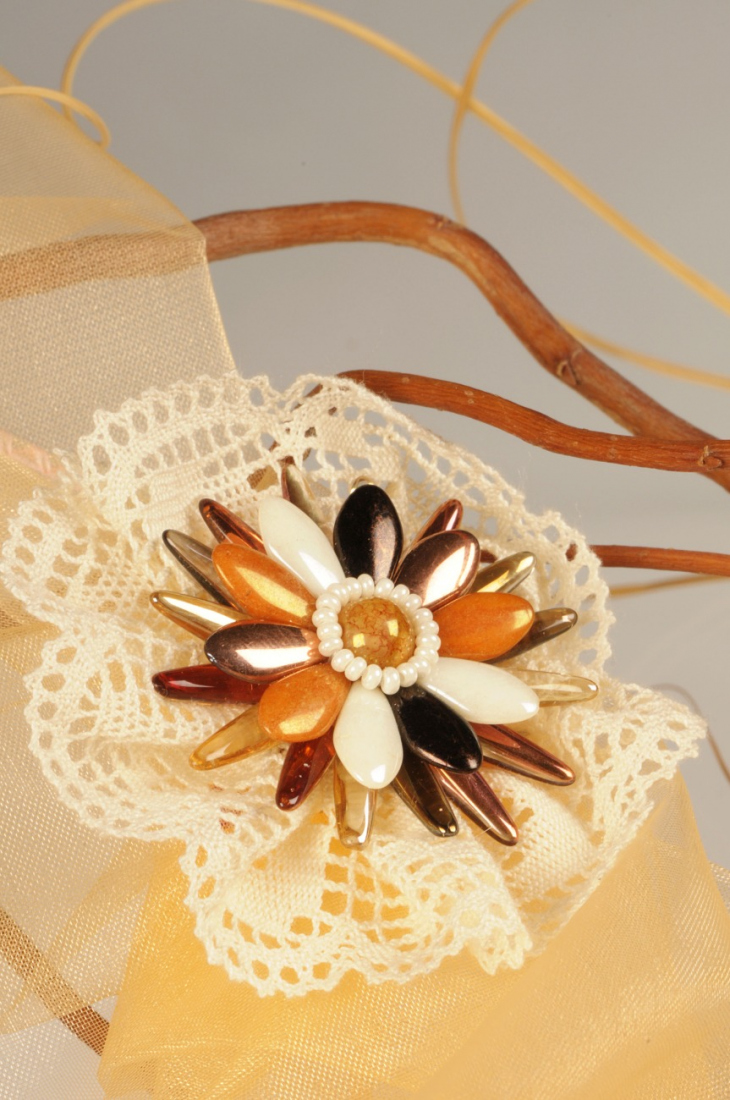
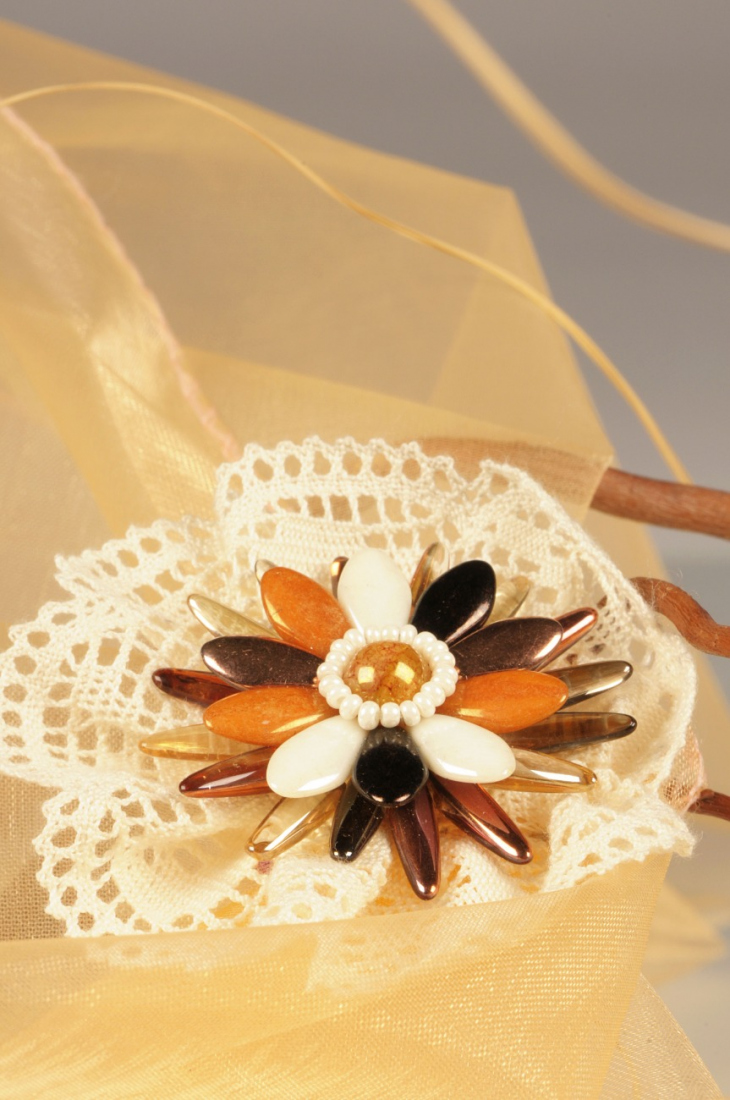
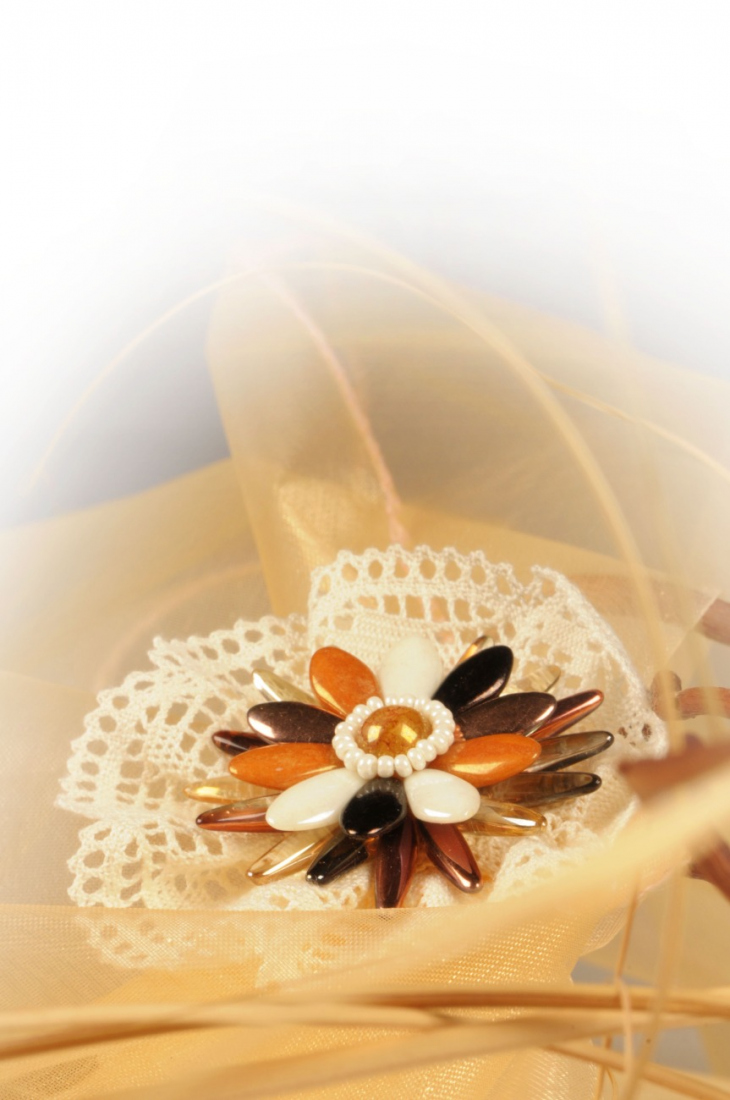
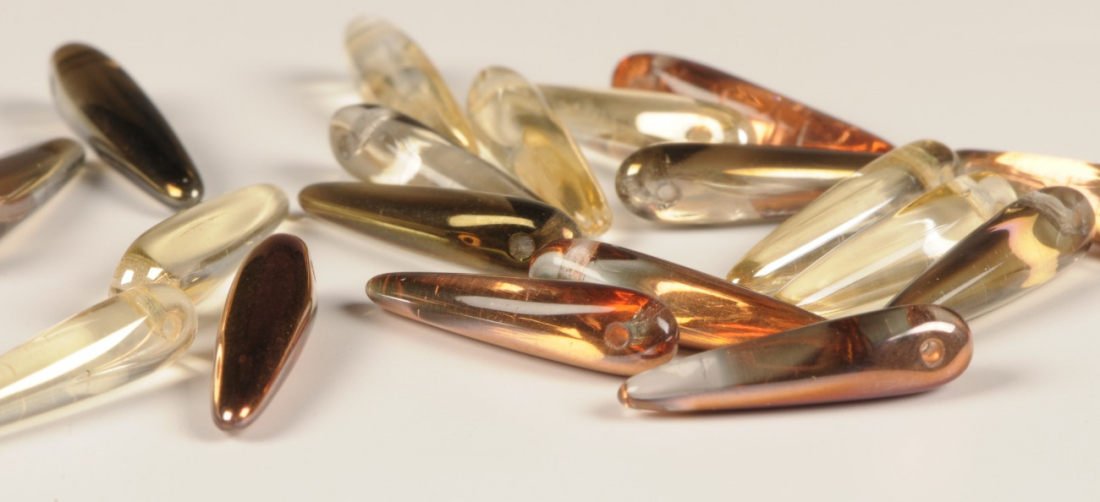
Brooches are still highly popular and they hint of the romantic when combined with lace. This time, we have supplemented classic lace with a floral centre, for which we have used the new PRECIOSA Thorn™ bead.

Cockades and cotillions are still popular thanks to the ongoing tradition of their use at dancing lessons. The girls pin them on the lapels of the boys’ suits during their final extended dancing lesson as an expression of thanks for the dance. This tutorial on how to make romantic lacy cockades is especially bound to come in handy during the dancing course season, but also during graduation balls or other students’ social events.We wish you many romantic inspirational ideas when working with Czech beads and seed beads from the PRECIOSA Traditional Czech Beads™ brand.

Ambassadors

Helena Chmelíková

She is able to switch from luxurious and extravagant fashion show pieces to the preparation of hobby projects,
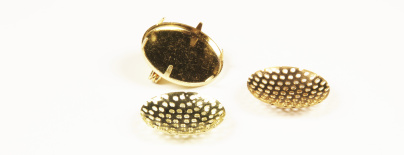
Learn More

Materials & Tools

Other materials

metal parts: a 21 mm brooch netting; (gold, cooper)
a 22 mm lower brooch part,
for setting or adhesion (gold, copper)

Other materials

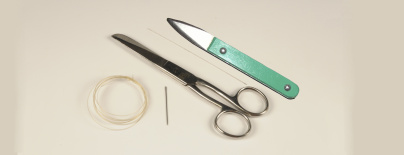
a ca 2.5 cm wide and 22 cm long piece of lace with a single straight edge, thin tailor’s thread (beige)


Tools

scissors, a needle (a thin long needle to sew on the beads and a stronger tailor’s needle for sewing the lace), a setting tool (the surface of a pointed item for pressing down the projections on the lower brooche part, a 20 mm nylon line

Procedure

Step 1

Start running stitch the lace strip (pass the needle and the tailor’s thread up and down through it) 1 cm from the edge. You should also finish 1 cm from the edge. Pull the lace into a circle and pleat it. Fold over ca 1 cm of one edge of the lace and place the second edge under it. Sew them together along the entire length and zapošijeme . Sew the created lace cockade onto the broach netting. Tie the line to the back of the netting. Attach the lace to the netting and sew around its entire circumference with the line. Then tie off the end of the line at the back of the netting and cut it off about 10 cm from the netting.

1

Step 2

String 16x TH onto the line and thread the line through them one more time. Then tie off the line using two knots. Pull the shorter end of the line into the TH holes. Place the created ring of beads onto the centre of the cockade. Thread the longer end of the line through the lace and the netting on the back and gradually sew the ring of beads onto the broach netting through the lace behind the line, up and down between the individual thorns in each second gap.
Tie the line on the back with the excess line and cut it off.
String 10x PB6 x 12 onto the line and thread the line through them once again. Tie off the end of the line and sew it in. Once again place the created ring on the netting above the previous rings of TH. Sew it on by threading the line up and down through the holes in the netting behind the line and between the individual beads. 
Once again, sew in the line on the back of the netting. Do not cut off this line.
Thread the line from the back of the netting to the front in the centre of the netting, at the edge of the top bead ring. String 1x PR8 and thread the line through the gap to the hole in the netting, from the front to the back.
Once again, tie off the line at the back.
Do not cut the line, if you want to trim the central ball with a ring of R10. Thread the needle and the line back to the front between the ball and the top bead cross. String about 20x R10, thread the line through them one more time and also thread it through a couple of extra rocailles. Tighten the line and sew on the rocaille ring in the same way as for the previous seed bead rings. Tie off the line at the back. Now, shorten all of the ends, about 1 cm from the netting.

2

Step 3

Attach the netting to the lower part of the brooch. You can stick it on using hot melt adhesive or connect it by pressing the projections under the lace onto the top side of the netting. Use the setting tool, the point of closed scissors or a single point from flat nose pliers.

3

Downloads