Satin wedding

Difficulty: 4
Technique: wirework, basic beadweaving, peyote stitch, gluing, Right Angle Weave, Stringing

Seed bead wedding set

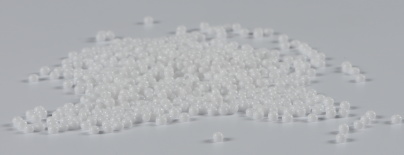
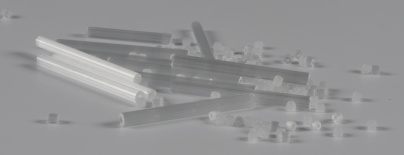
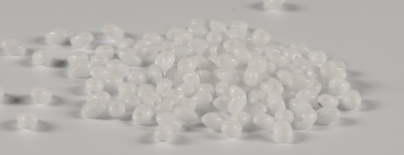
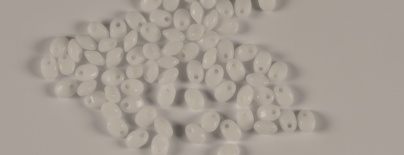
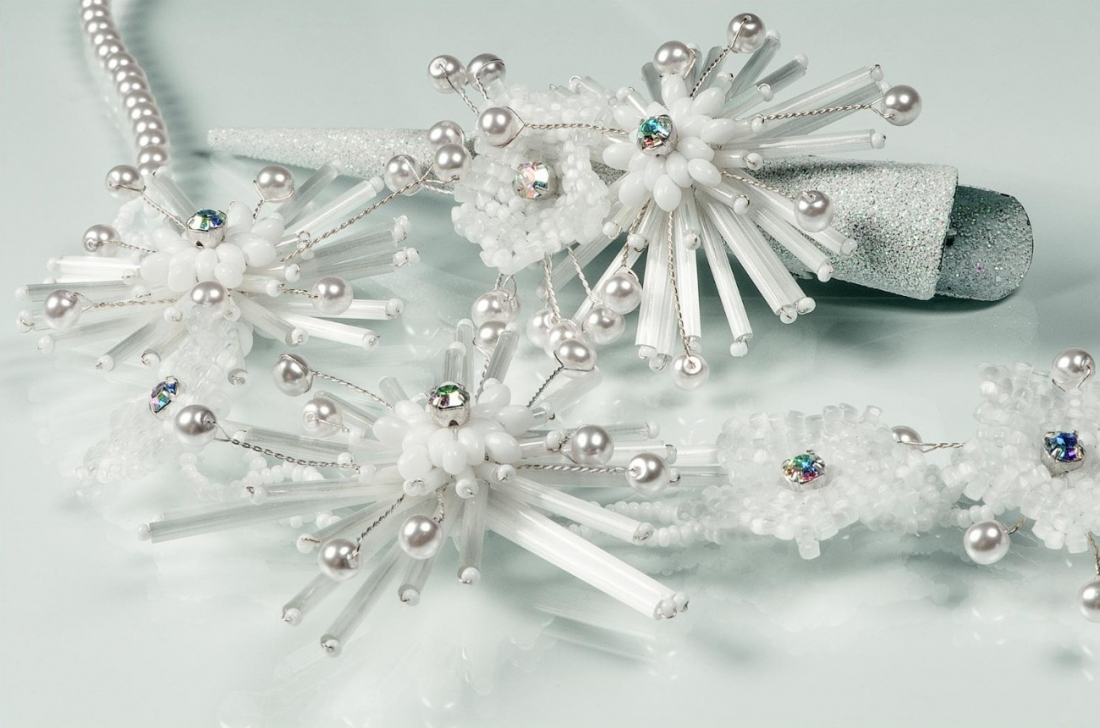
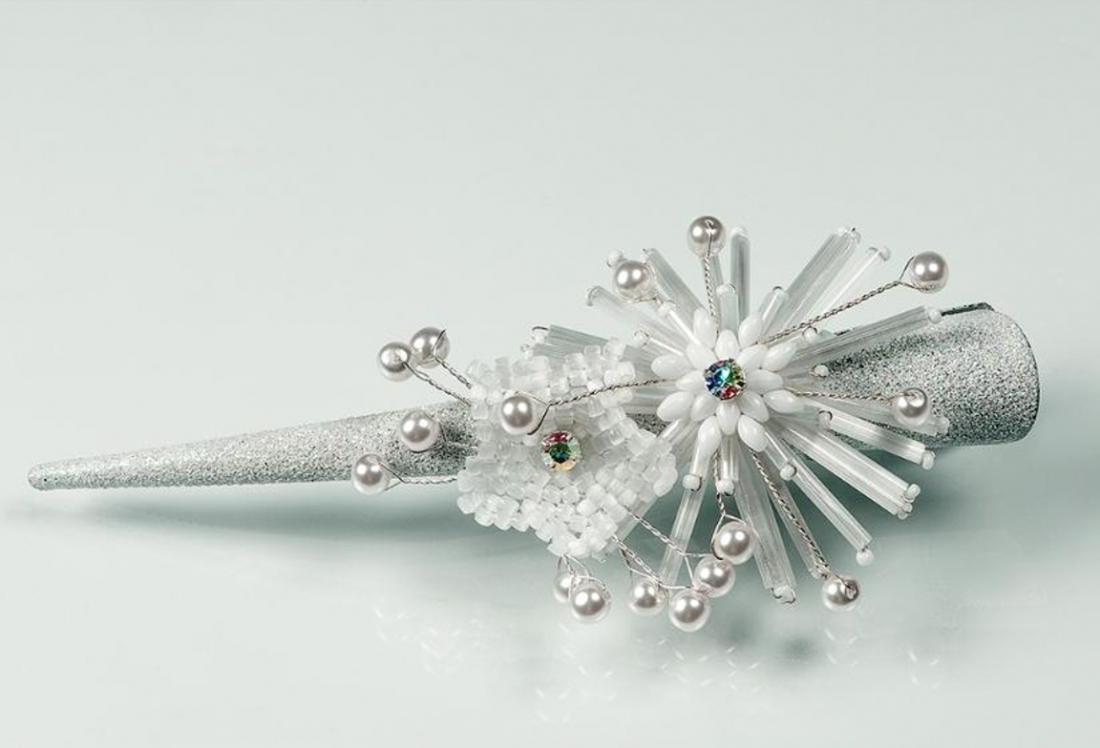
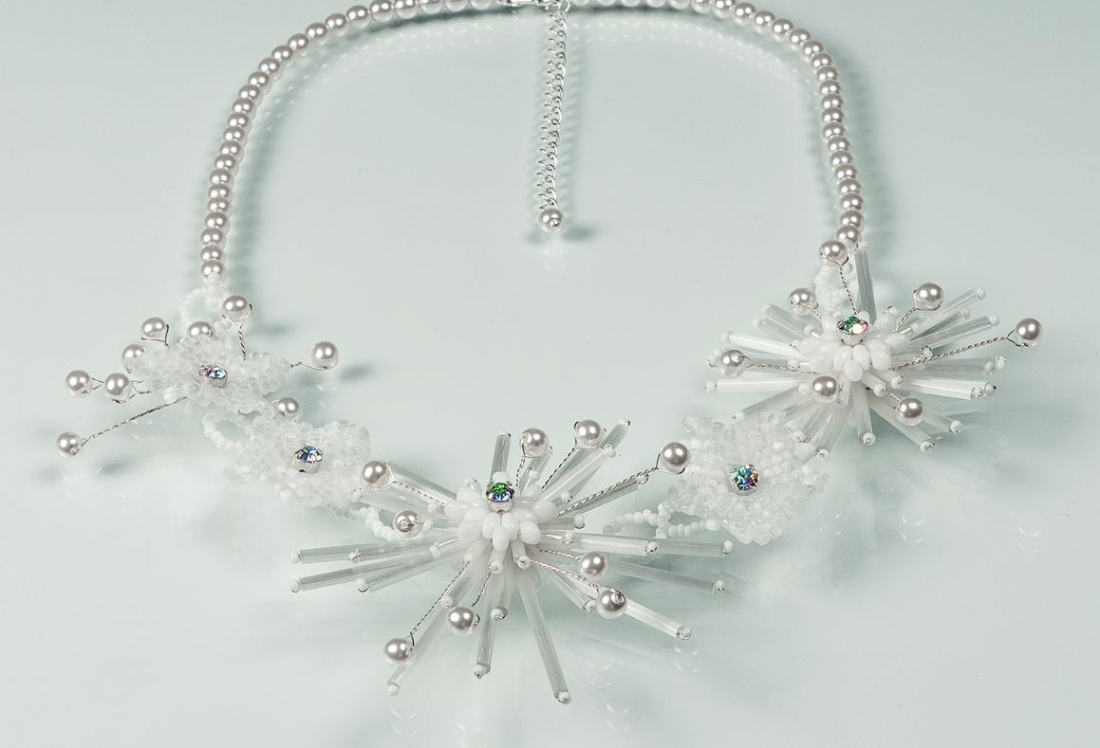
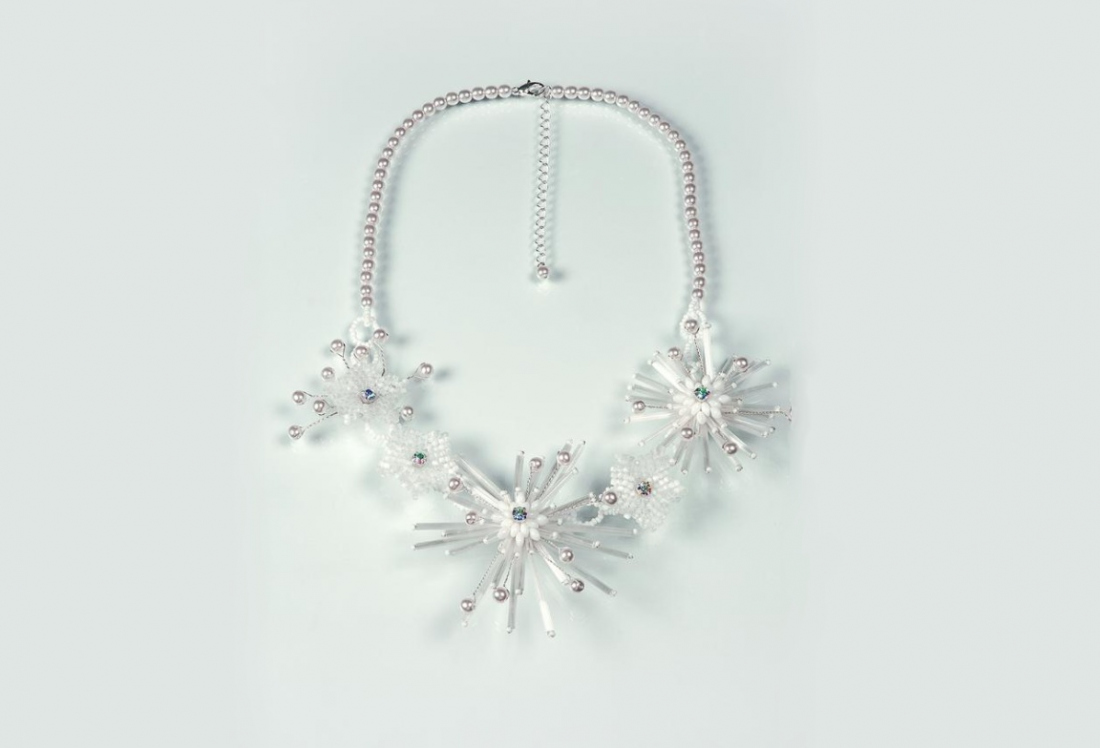
Preciosa Ornela presents a tutorial for the creation of an original wedding set, in which the new PRECIOSA Twin™ and PRECIOSA Solo™ beads and seed beads and highly effective seed beads in socalled satin colors called “Atlases” have been used. The wedding seed  bead avant-garde decoration is supplemented by a classic decoration in the form of white imitation pearls and white rocailles and chatons in a sewn cup with an AB finish. The easy production of white accessories made from white beads and seed beads from the PRECIOSA Traditional Czech Beads™ brand for this ceremonial and unforgettable occasion is sure to enchant you. We hope you come up with many elegant inspirational designs when working with PRECIOSA beads and seed beads.

Ambassadors

Helena Chmelíková

She is able to switch from luxurious and extravagant fashion show pieces to the preparation of hobby projects,
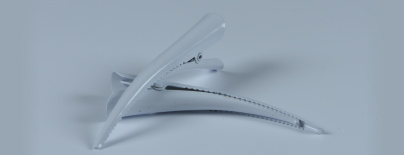
Learn More

Materials & Tools

Other materials

7192 5022/01 ss20 00030AB (Crystal AB), 2/5x thin 0.35 mm silver binding wind; a white or silver clasp, about 13 cm; a silver carabiner; an adjustable silver chain; a 15 mm silver linking chain (the end of the adjustable chain)

Tools

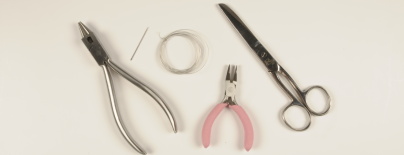
A thin needle with a large eye; scissors; a thin thread or wire; a crimp rocaille; scissors; snipping pliers; flat-nose pliers; hot melt adhesive

Step 1

The hair clasp

The star

Create “spiky” rings using the atlas bugles (B) which are placed on one another and sewn together so that they form a star. String bugle after bugle into the long wire. String 1x B and 1x R10 and return to B. Repeat this 12x. Twist the ends of the wires together. Separate one end with snipping pliers and shorten the second one to about 10 cm. Form two rings for the long bugles, but only one for the small bugles (3“).

1

Step 2

The top ring

String and tie 8x T. String the cup with the chaton in the middle; it has 4 adjacent holes to the cross. Thread the line through the openings in the cup from both sides. Twist the nylon line between the and return. Thread the nylon line through 2x T and once again secure the middle. Also thread the line through the second hole of the nearest T and continue adding S to the gaps between the individual T. String a total of 8x S and leave the line for the moment

2

Step 3

Connect the “spiky” rings together. Twist the wire between the bugles across all three rings. Try to connect them at the points adjacent to one another on the cross. Count out the bugles into four parts (3-3-3-3). After connecting all of the wires, twist them together and snip the ends off. Then press the ends into the empty centre. Add the top ring and sew it on. Fasten it to the wires on one side and return to the same place on the other side. Affix the threaded line behind the line between the T. In order to achieve better centring, sew the ring on at the places on the cross and once again count out the bugles into quarters. Then sew in the line.

3

Step 4

Create 7 “antennae” of various lengths. String 1 imitation pearl (IP) onto the wire, twist the wire with the strung pearl at the appropriate length of 2 – 3 cm and twist the pearl at the bend so that the wires are twisted together. Thread the wire through the empty centre between the rings from the bottom.

Step 5

The flower
String 5x TC (3-cut beads) and tie them together. Add 1 TC between them in the next row.
Proceed in the same way in the third and fourth rows. Add 2 TC in the fifth row, but in the sixth row add 1 to the gap between every two TC added in the previous row. In the seventh row, add 1x TC to the gaps. Now, it is easier to orient yourself according to the illustration (fig. no. 5). Add 1 TC in the eighth row and create the base for the protuberance; add 5x beads. Create the protuberance. Use 2x TC from each side around its base. First add 5x individual protuberances on each side. After creating all five protuberances, zigzag the atlases to the centre. Sew on the central cup with the chaton. Sew through the adjacent holes in the cup and secure the line behind the line between the atlases. Then sew it in.

5

Step 6

Twist 9x “antennae” (length from ca 2 to 3 cm) onto a long wire. Twist the antennae one next to the other so that they cover one half of the flower. Thread the wire through the centre of the flower from the bottom. Twist the ends of the wires together and snip them.

Glue the star and the flower onto the hair clip using the hot melt adhesive.

6

Step 7

The necklace

Both stars have rings made of T which have been sewn onto the bottom. They are sewn in the same way as the top ring, but they are made of T and the S are not used. Nothing is sewn onto the centre of these rings. Sew them onto the spiky rings from the bottom in the same moment as sewing on the ring of S from above. Try to sew on both rings in a cross as in the case of the hair clip.

7 / a

Step 8

Form the “antennae” before sewing on the rings. Thread the wire between the wires from the spiky rings. It is also possible to twist the wire between the individual “antennae”. The smaller side star has 7 “antennae”, while the large central star has 9 “antennae”. The large star has a lower spiky ring made from the largest B13.3“.

8 / a

Step 9

The highest positioned side flower looks the same as the flower by the clasp, while the remaining two don’t have “antennae”. Unlike the flower on the clasp, the initial row in this case consists of 5x T. String 5x T and tie them in a ring. Continue in the same way.

9

Step 10

Connect the T by the stars from below. 2x T at the stars, but leave them free in the rings facing inwards towards the neck. Use the other two sides for the connection. In the flowers, leave one T free facing towards the neck. Use the two adjacent ones to connect.
Create a chain from R10 (03000). The sides of the rings consist of 8x R10 (or 6x R10). String 2x R10 at the connection points. Manage the distances between the individual fragments according to the amount of rocailles. There are three loops between the central star and the side flowers. There are 2 loops between the side flowers. There are 3 loops (of 6x R10) between the side star and the flower. Make 3 loops in the stringing from the upper star and flower. Thread the line through the top loop 2x; it consists of 20x R10. String the chain onto the line and do each part separately.

10 / a

Step 11

String 25x IP onto the thread from both sides. Start from the carabiner or the adjusting chain. String the IP, 10x R10, thread the line through the top loop of the rocaille chain and return to the IP. Pass the thread through 2x IP and secure it with a double knot. Once again pass the line through 2x IP, secure with a single knot and then pass the line through several more IP. You can also use the wire. Then secure the ends with metal crimping beads. End the adjusting chain with 1x IP.

11 / a

Downloads