Frill with Pip

Difficulty: 3
Technique: Right Angle Weave, Linking

Band edged with PRECIOSA Pip™ beads

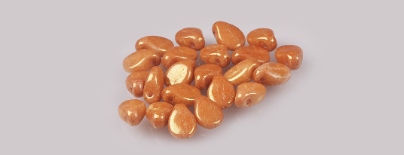
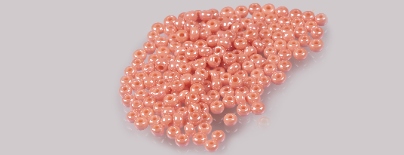
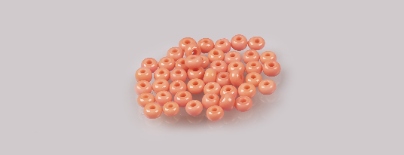
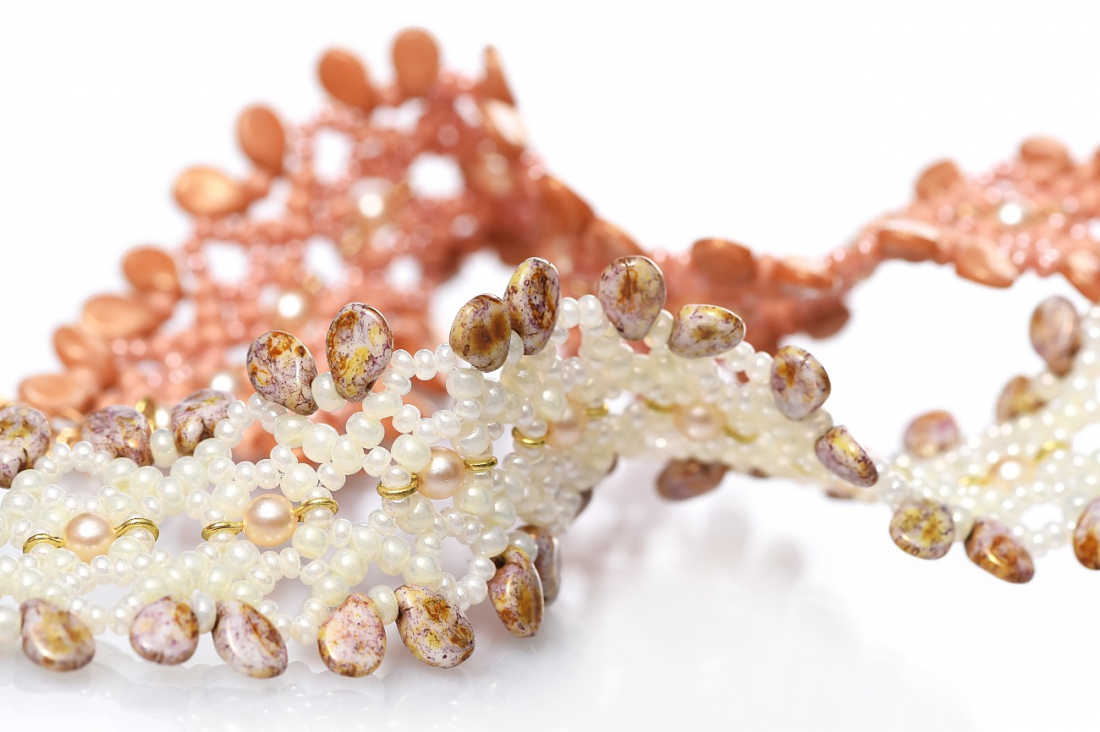
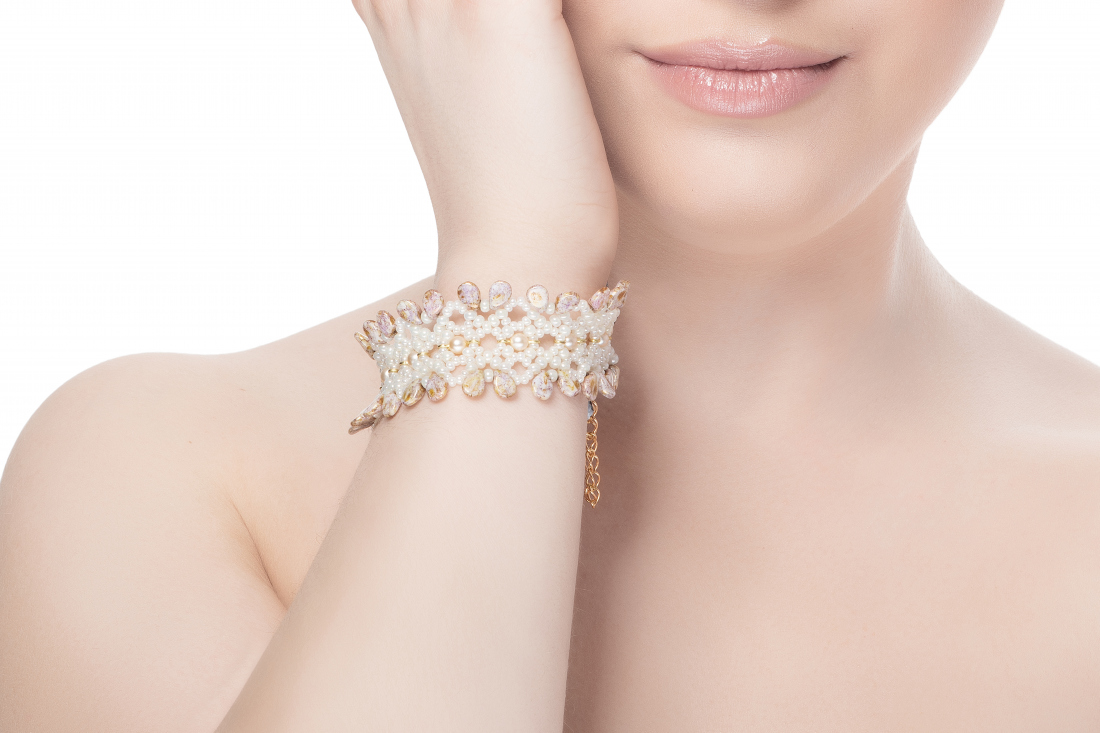
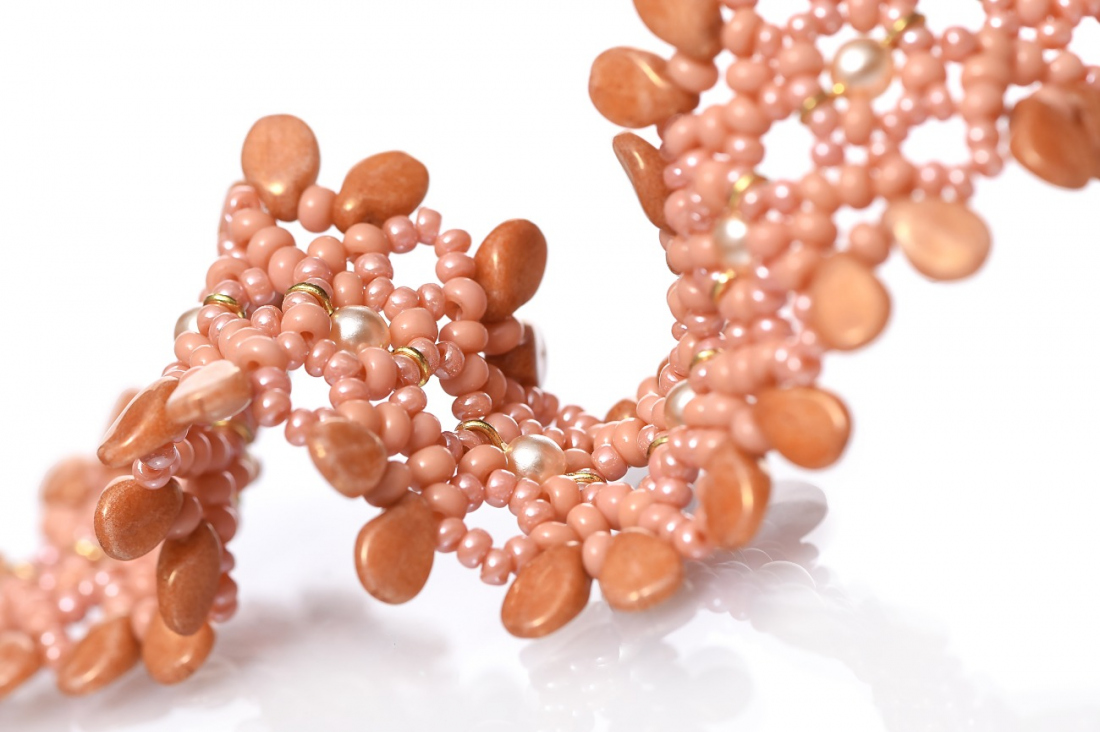
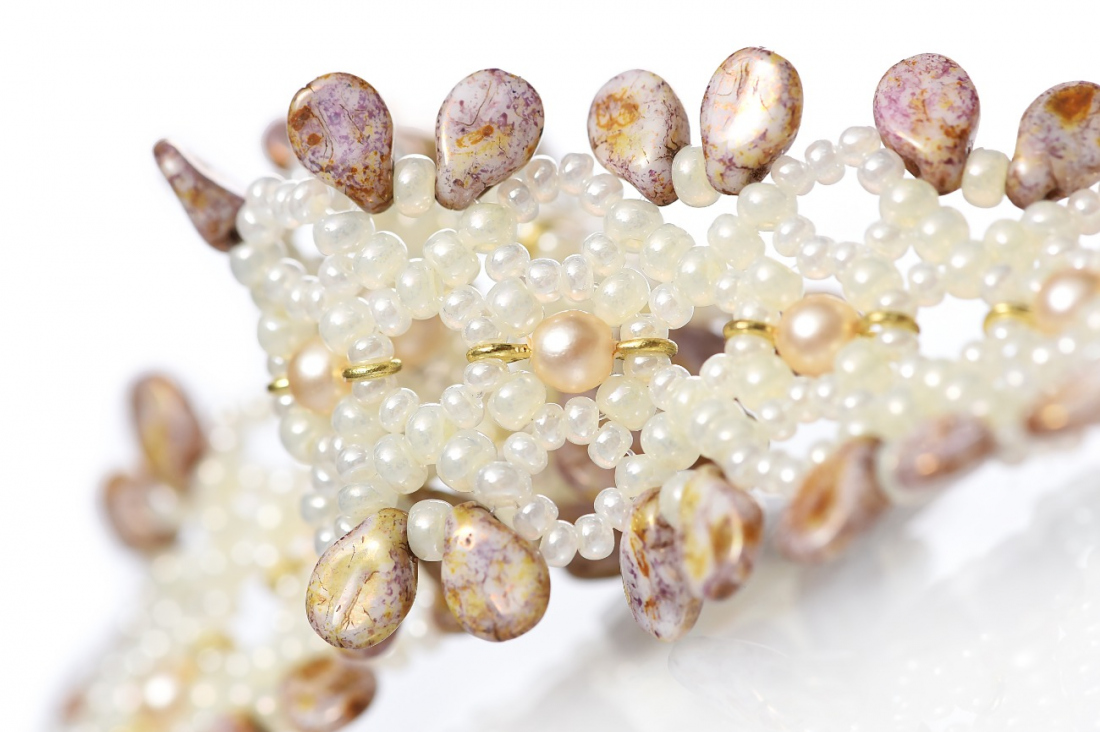
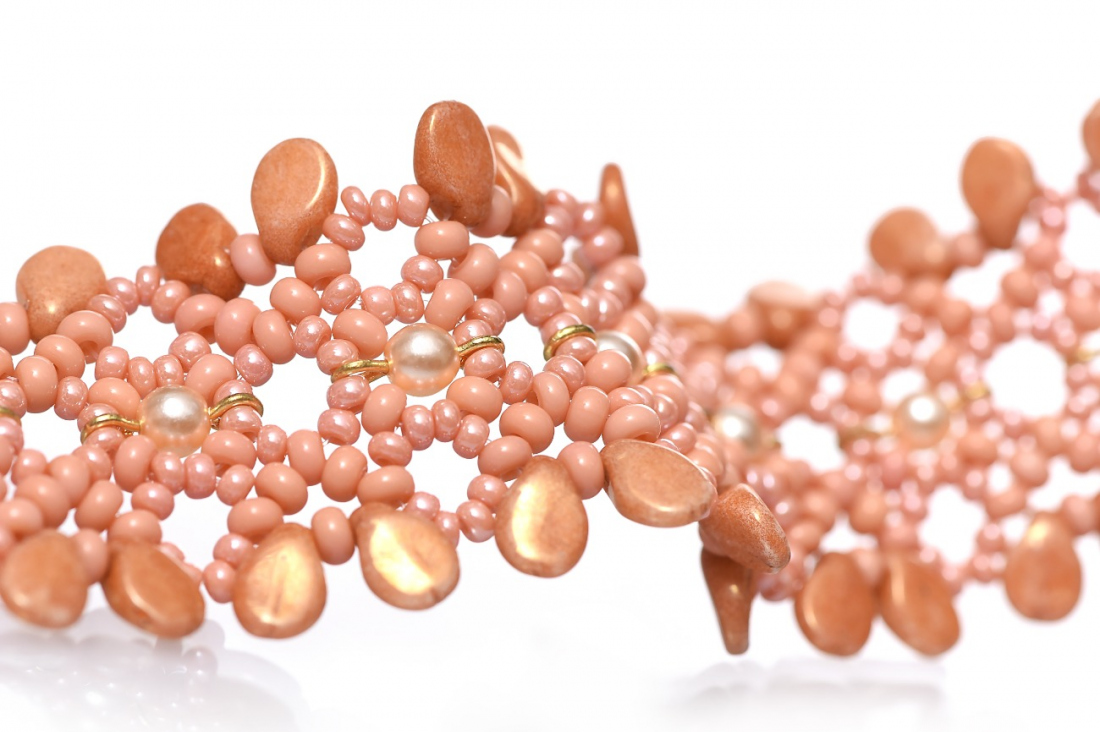
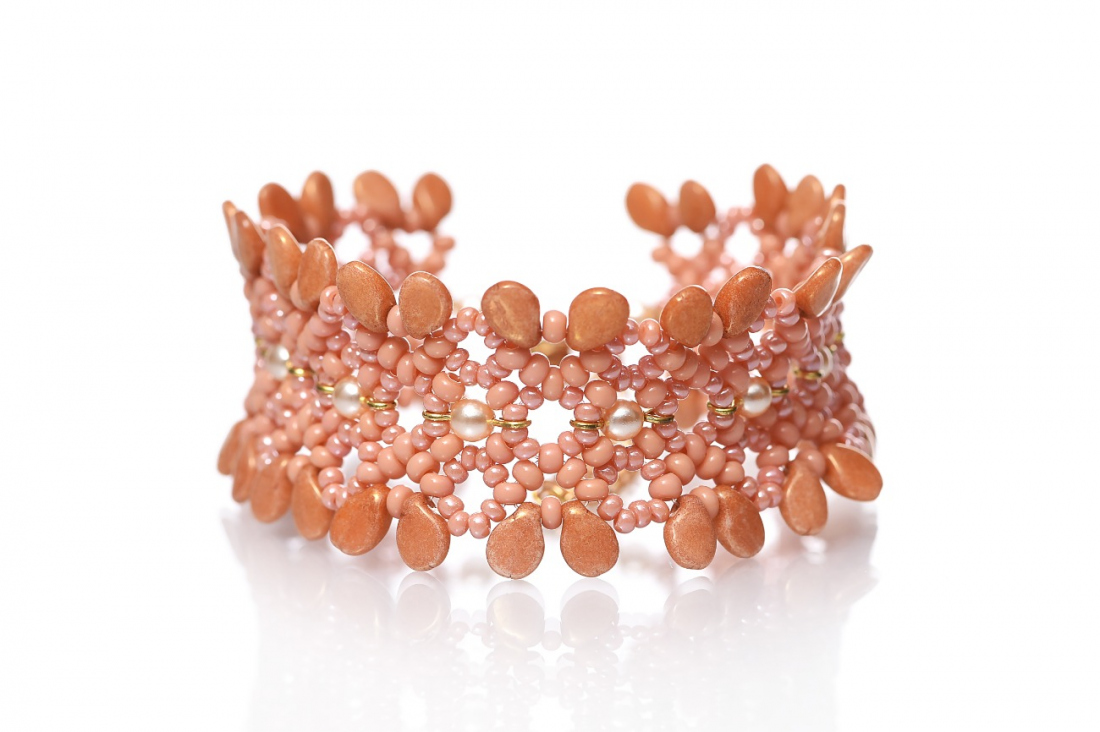
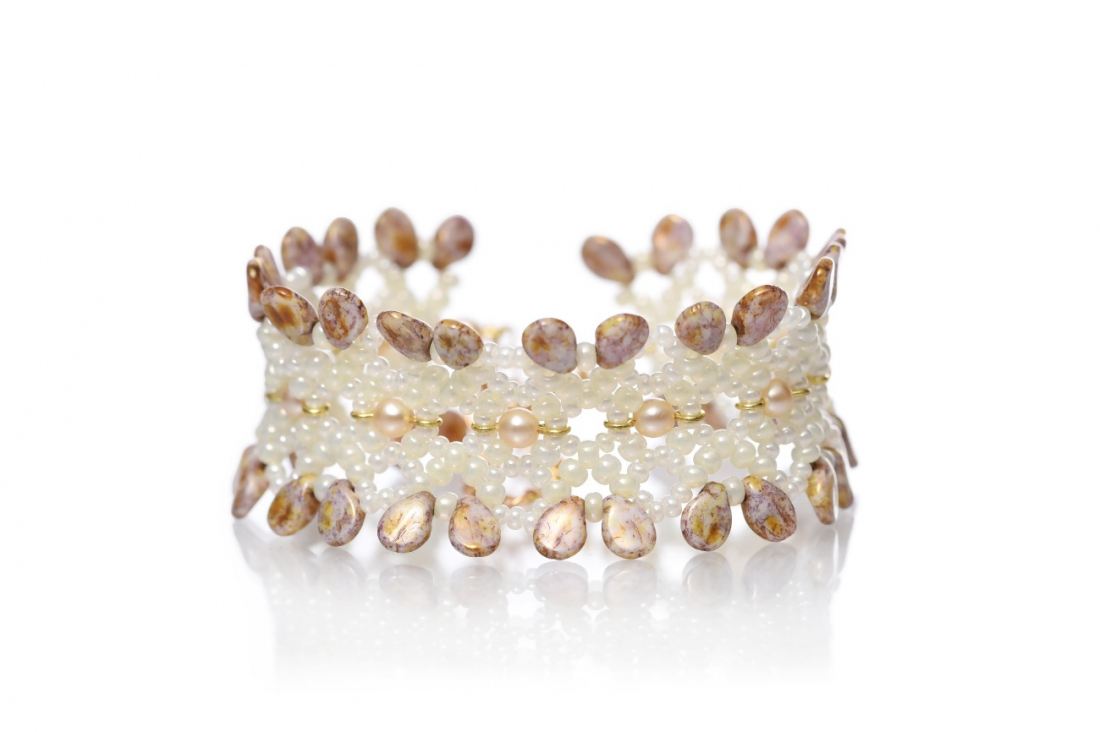
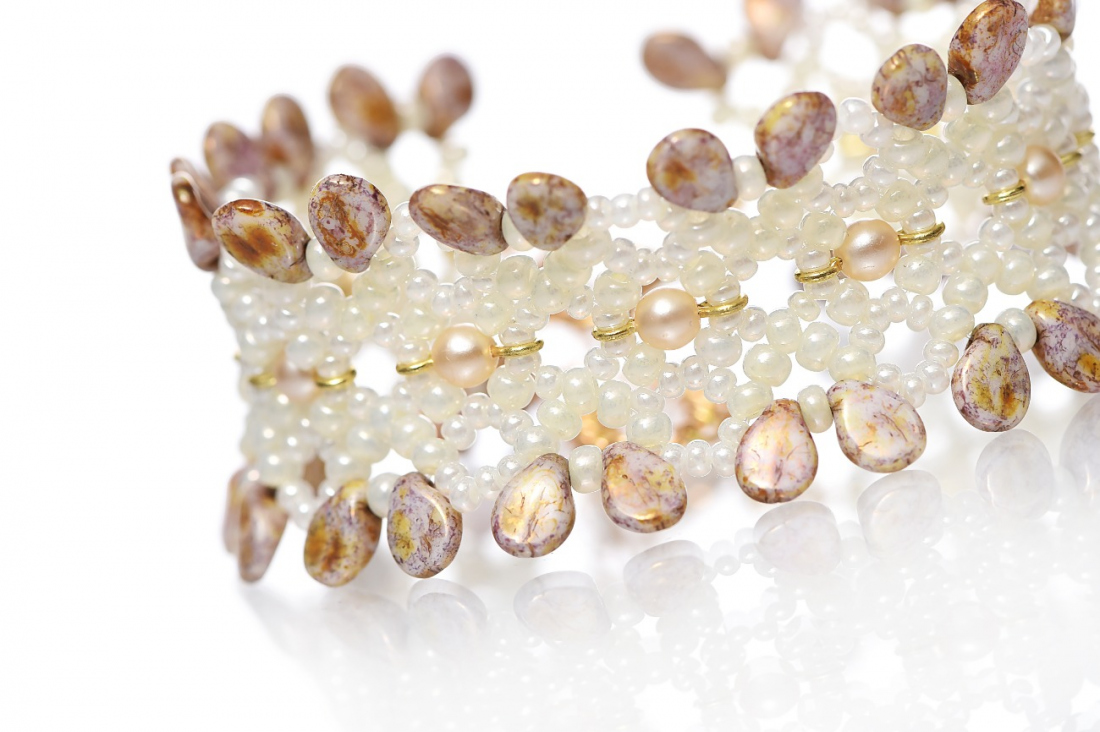
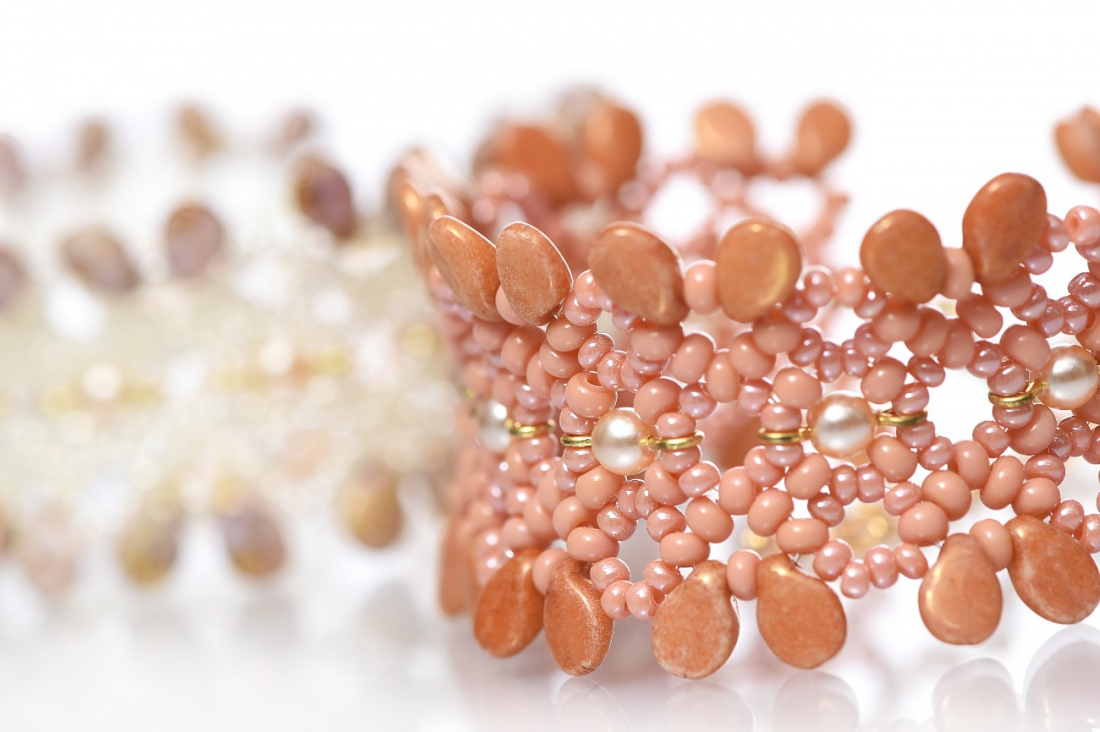
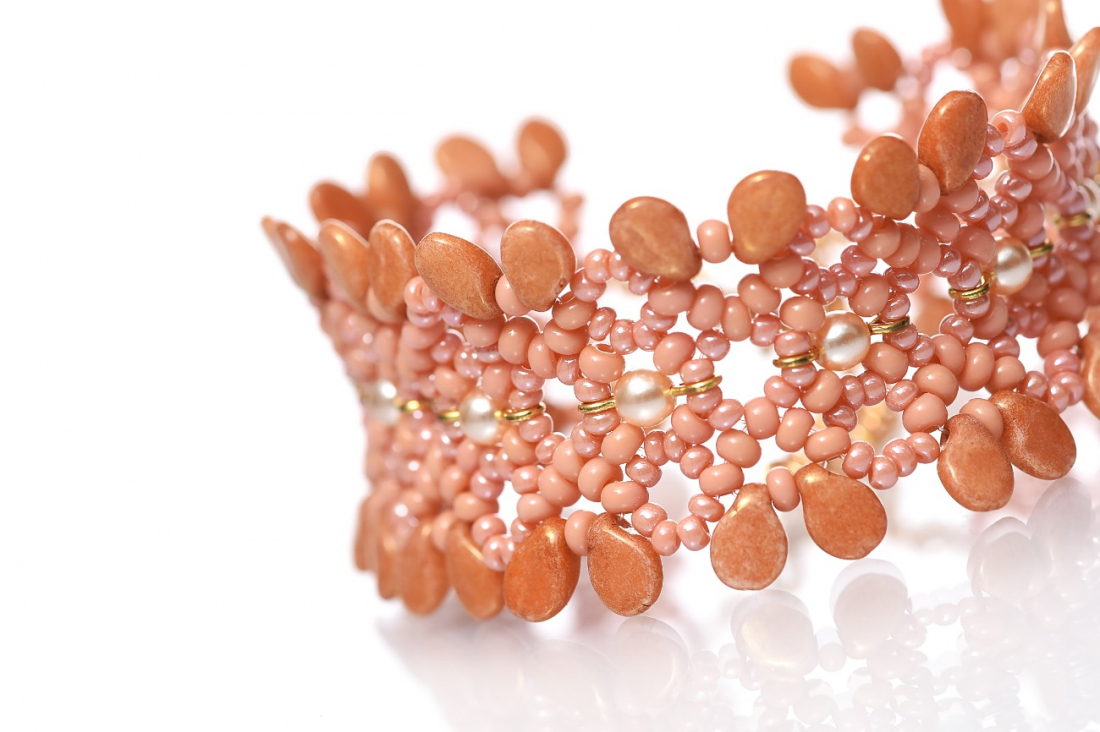
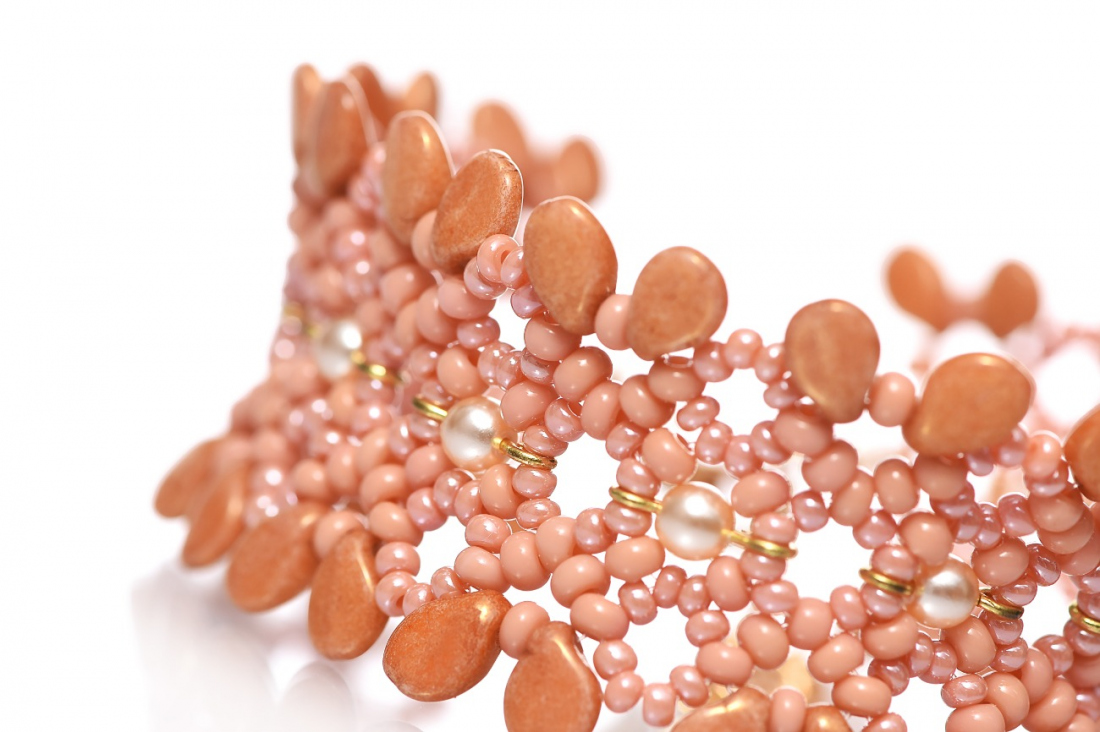
Create a lacy bracelet made using beads and seed beads from the PRECIOSA Traditional Czech Beads™ brand. The delicate rocaille ornament stands out thanks to the use of the melon-seed shaped PRECIOSA Pip™ Pressed Bead. The choice of the color and the surface finish from among the many provided by the beads and seed beads in the PRECIOSA Traditional Czech Beads™ range is entirely up to you.
Either choose coordinated tones for the bracelet tone or emphasise different types of beads and seed beads by means of contrasting colors. Your bracelet will either be an elegant piece of jewelry or a distinctive and original accessory depending on the color scheme you choose. We wish you many ideas and much enjoyment when working with beads and seed beads from the PRECIOSA Traditional Czech Beads™ brand.

Ambassadors

Helena Chmelíková

She is able to switch from luxurious and extravagant fashion show pieces to the preparation of hobby projects,
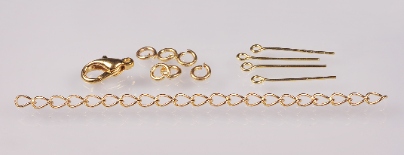
Learn More

Materials & Tools

Other Materials

Metal parts – gold eye pins (14 mm), a carabiner, a ring, an adjusting chain

Tools

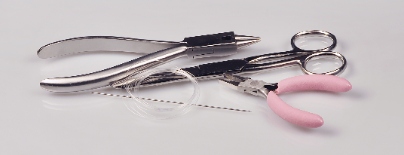
A thin stringing needle, a 0.20 mm nylon line, scissors, flat nose pliers (for flattening the end of the line, straightening the eye pins), needle nose pliers, snipping pliers, scissors

Procedure

First sew the upper and lower edges with Pip beads (P) using a right angle weave stitch. Then sew them to the central band.

Step 1

String two rows of rocailles and Pips onto the line. String 1x R8, 1x P, 1x R8, 1x P, 1x R8 and 4x R10 according to the drawing. Repeat this procedure 10x and add R8, 1x P, 1x R8, 1x P, 1x R8 and 3x R8 at the end of the row.

1 / a

Step 2

Gradually thread the line through the beads and seed beads in the second row in the opposite direction according to the illustration and
alternately add 4x R10 a 3x R8. Create a circle. Thread the line through the R8 to the left of the Pip. String 4 x R10. Thread the line through the R8 to the right of the next Pips. Continue in the same way until the end of the band. Tie off the line with two knots at the end of the created band, pull the line into the nearest holes and cut off the excess. You will need two of these bands to make the bracelet, so repeat
steps 1 and 2 one more time.

2 / a

Step 3

Thread the eye pins onto 12x imitation pearls (IP4) and finish them on the other side with an eye of the same size. Turn both eyes to face  the same way.

3

Step 4

Connect both sewn bands with the central band. Orient the Pips upwards on one band and downwards on the other. Use the same principle of the “right angle weave” stitch. Proceed according to the illustration. First string 2x R10 onto the line and then thread the needle and the line through the central R8 of the five. String 2x R10 and the eye of a pinned IP4. Then string 1x R10 and 1x R8. Thread the line through 2x R10 from the internal section of the circle between the Pips. String 1x R8 and 1x R10 and the second eye from the pinned IP4. Repeat this sequence a total of 10x (red line).

4 / a

Step 5

Create the final loop for the fastening. String 2x R10, thread the line through the central R8, string 2x R10, 1x eye pin from the IP4 and 2x
R10, thread the line through the adjacent central R8, string 2x R10 and thread the line through the eye from the previous pinned IP4. Thread the line through the entire created circle one more time (blue line).

5 / a

Step 6

It is now time to head back. Thread the line through 2x R10, one on each side of the eye pin. String 1x R8. String 2x R10 on the internal
side of the circle between the Pips. String 1x R8. Thread the line through 2x R10, one on each side of the eye pin. String 1x R10. Thread the line through the central R8. String 1x R10. Repeat this sequence a total of 10x (green line).

6

Step 7

String another 2x R10 and the eye from the last pinned IP4 and connect them with the initial rocailles from the central band. Thread the line through the created loop one more time. Tie off the line and pull it into the surrounding rocailles (blue line).

7

Step 8

Create the fastening. Attach the carabiner to the eye pin on one side using a ring. Connect approximately 9 cm of the adjusting chain on the other side to the loops of both ends. You can also use the band as hem on dresses, t-shirts, etc..

8 / a

Downloads